The Nichols Air Banjo #2 (AKA the BLT)
I have built several banjos through the years since I started in the 1970’s. I’ve always tried to make my stuff a little different than other banjos. It is not that I think the others were bad, but I just like to try different things. Several years ago, I built a banjo that incorporated a lot of my ideas into it. I first called it my prototype banjo. It did not have the traditional brackets that tighten the head like everyone else’s banjo had. Some guys asked me how you tighten the head on my banjo. I jokingly told them that this was an air banjo and I even had a little air valve from a tire mounted on the flange.
So, the Air Banjo was born. The first one had a light weight tone ring in it and this one will feature a traditional Gibson- type tone ring. I told those men that you put about 40 pounds in it for Scruggs picking and about 60 pounds for Stanley style. Of course all that was a big joke but I’m not sure they knew it.

Now, let’s get back to this banjo I’m building. The shell started out as some blocks of maple. I laminated a larger block than is usually in banjos. After it was turned down to size, it was around 1 and 1/2 inches thick and about the same height. The outside diameter is about the same as the outside of a traditional tension hoop (about 11 3/8″). My design eliminates the need for coordinator rods since the shell is strong enough to hold the tension on its own. The idea for this design actually came from the old Gibson ball bearing shells they made in the 20’s or 30’s. They used springs and ball bearings in the space between the tone ring and the shell. My design is a beefed up shell with screws and nuts to hold and adjust the tone ring. The tension hoop and head are stationary and the tone ring moves.
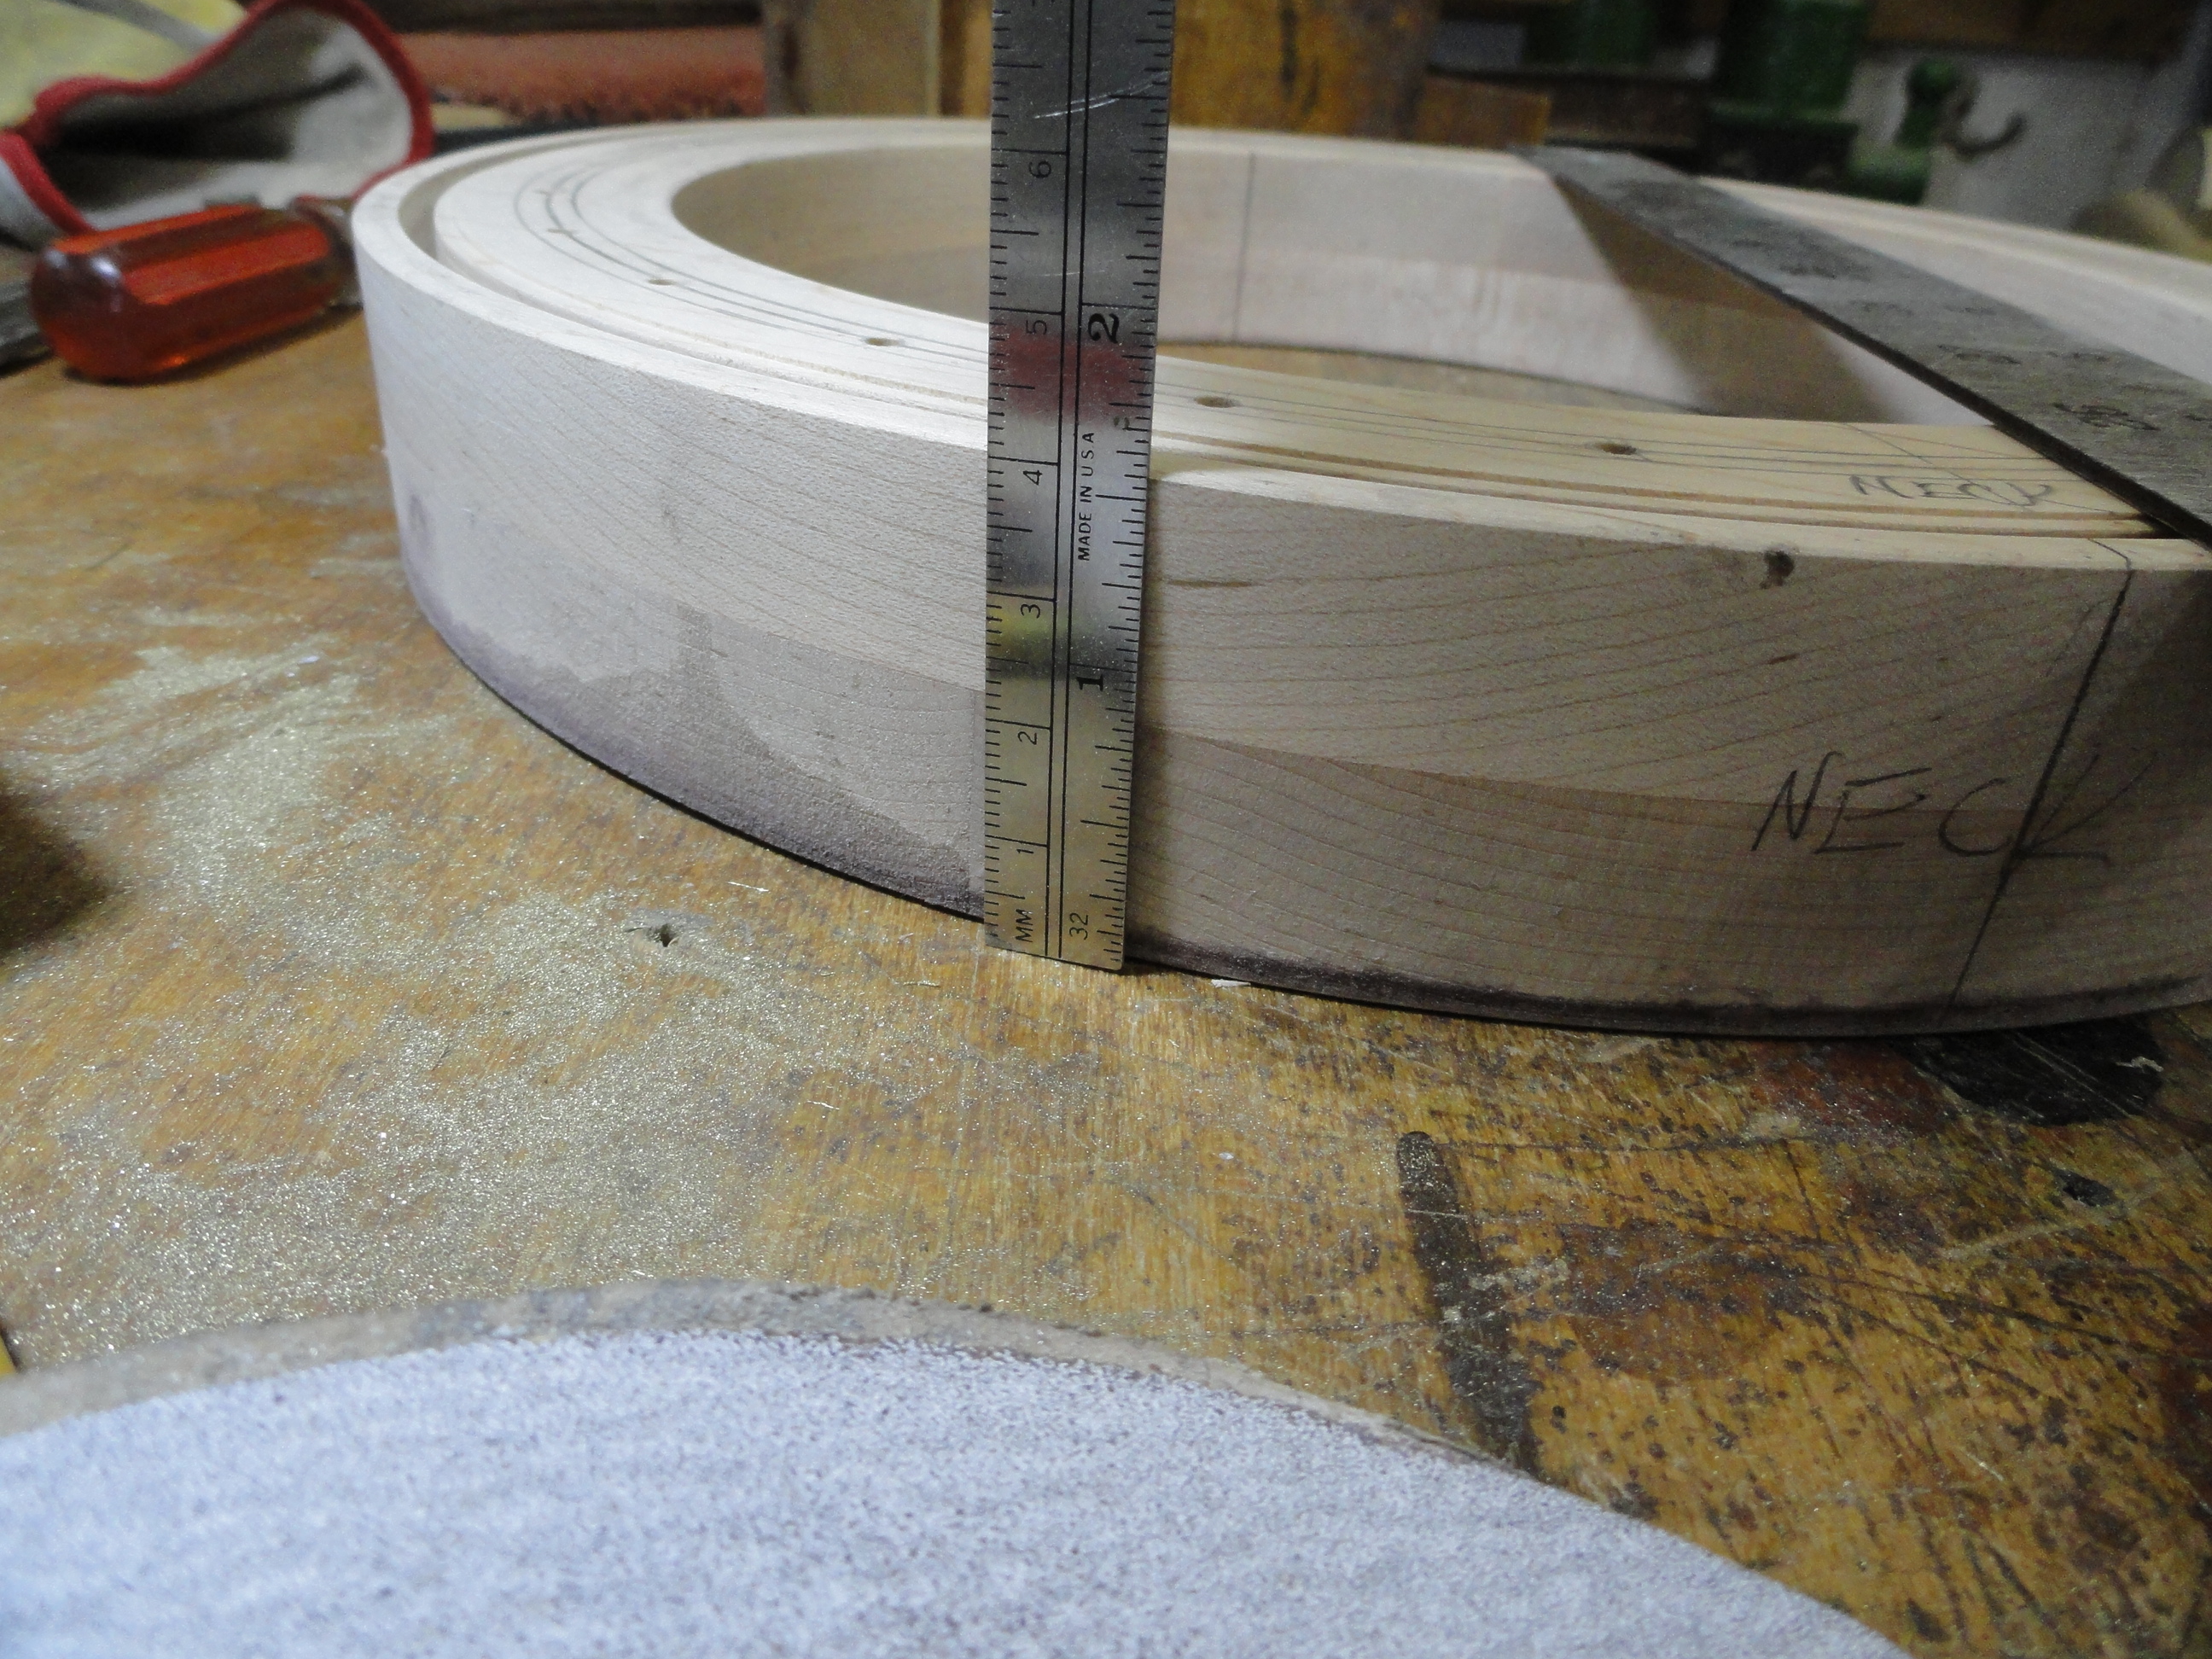
The shell from the side.

Here is the aluminum sheet for the outside shell. My first one had a stainless steel piece on it. This piece of aluminum is fashioned to fit around the outside of the wooden shell and the brass tension hoop. It is attached to the wood with stainless metal screws and to the tension hoop with stainless machine screws.

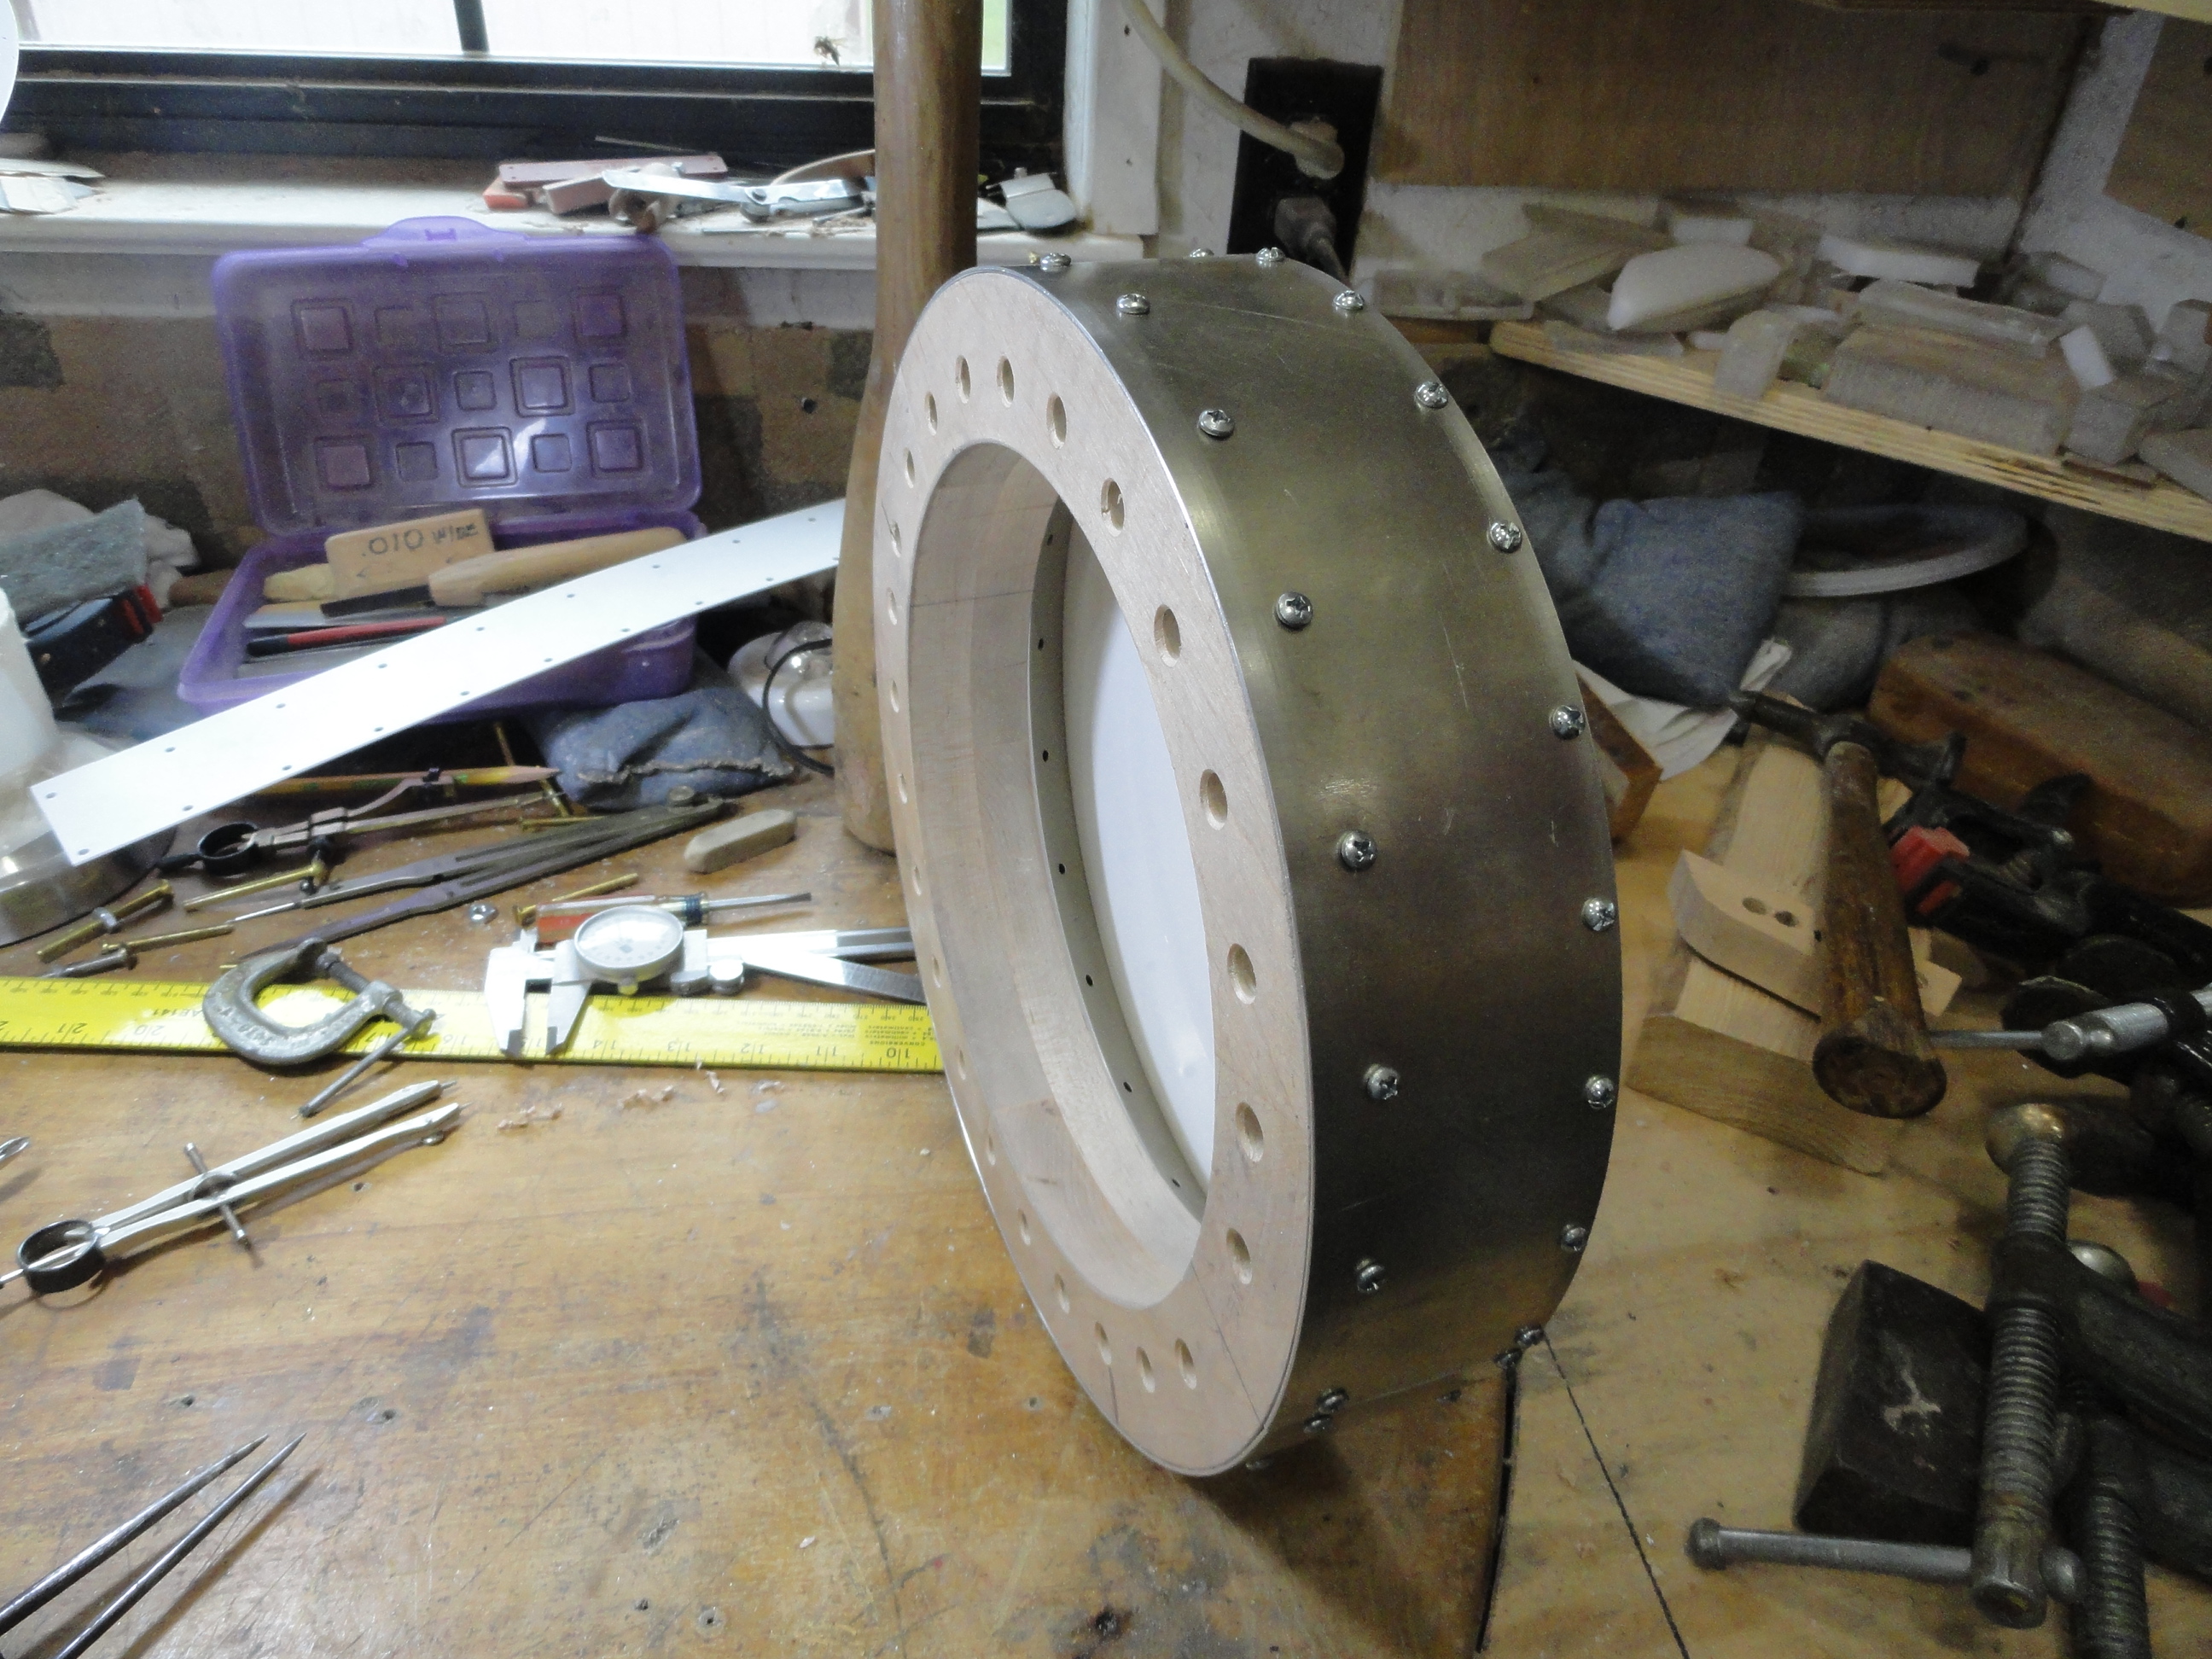
Here is a shot of the shell with the nuts in the top for the screws to adjust the tone ring. The tension hoop is brass and I machined it from an old brass tension hoop.
Here is the Gibson- style tone ring setting on the shell in the groove that was made for it. The screws coming through the shell hit on the flat surface on the inner portion of the tone ring. This picture is out of order since it was made before the outer metal shell was attached.
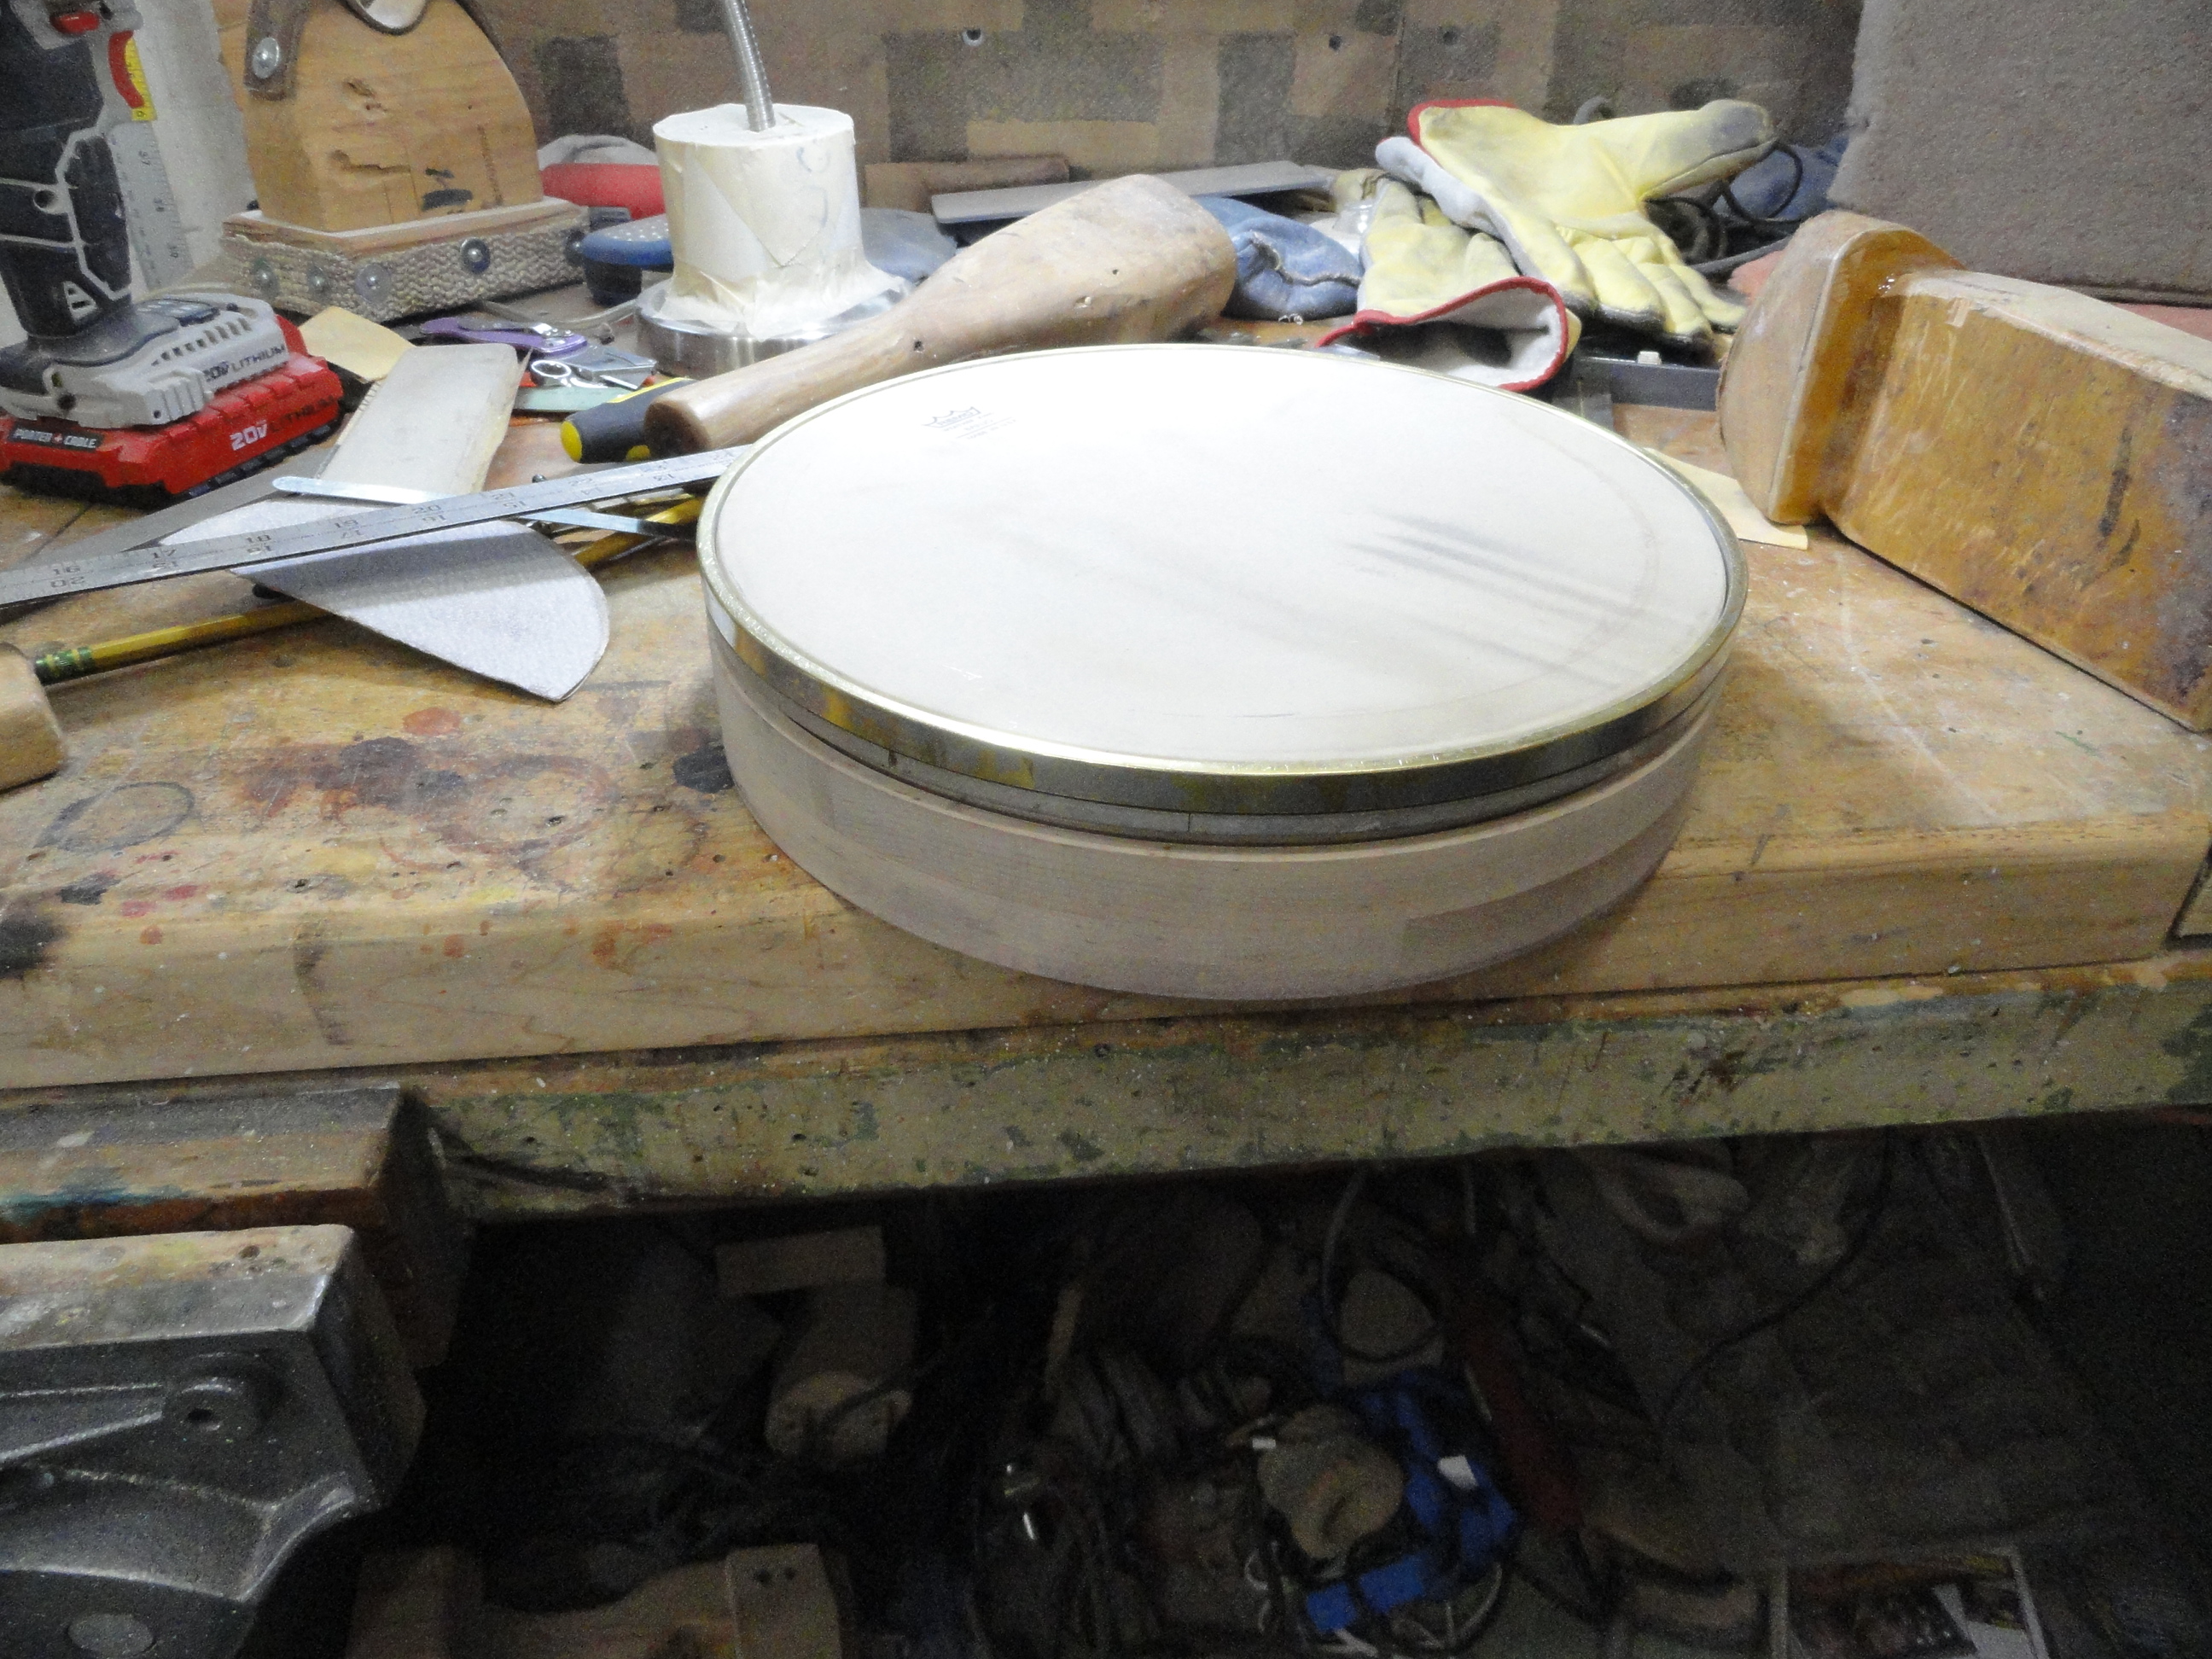
Another picture of the shell with the tone ring, tension hoop, and head setting on it.
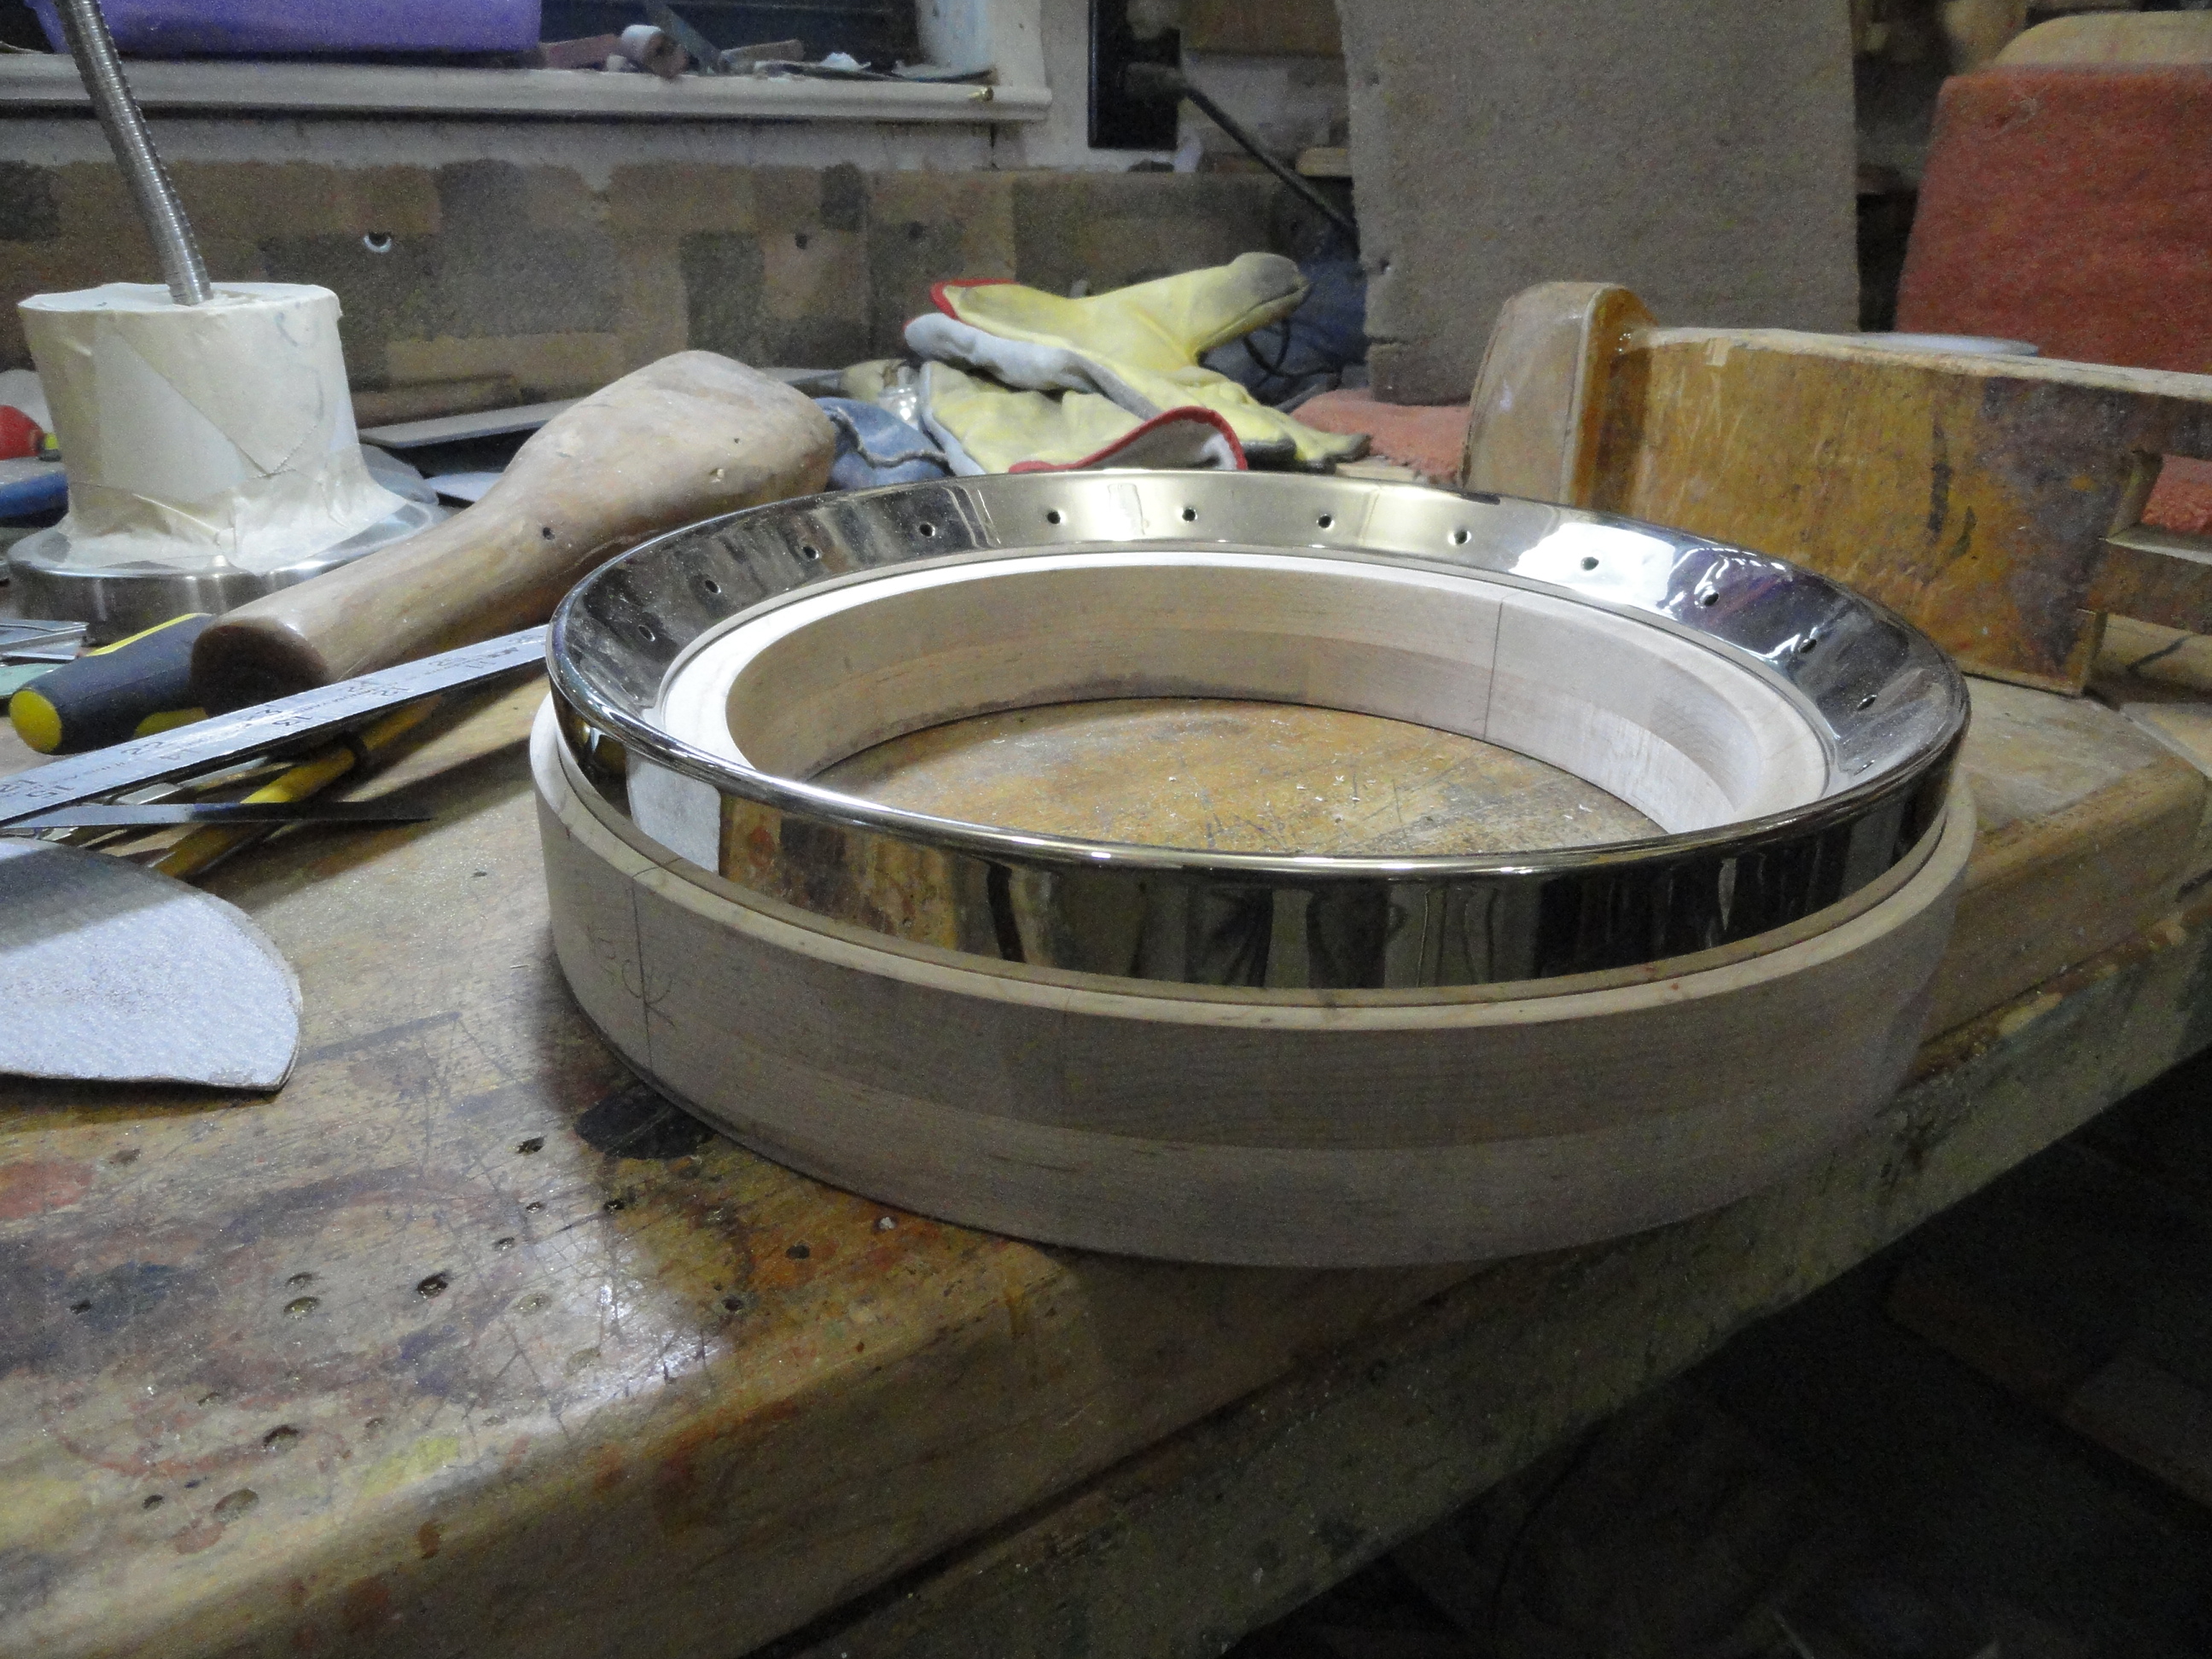
Here is the aluminum outer metal shell attached with the tone ring and head inside.
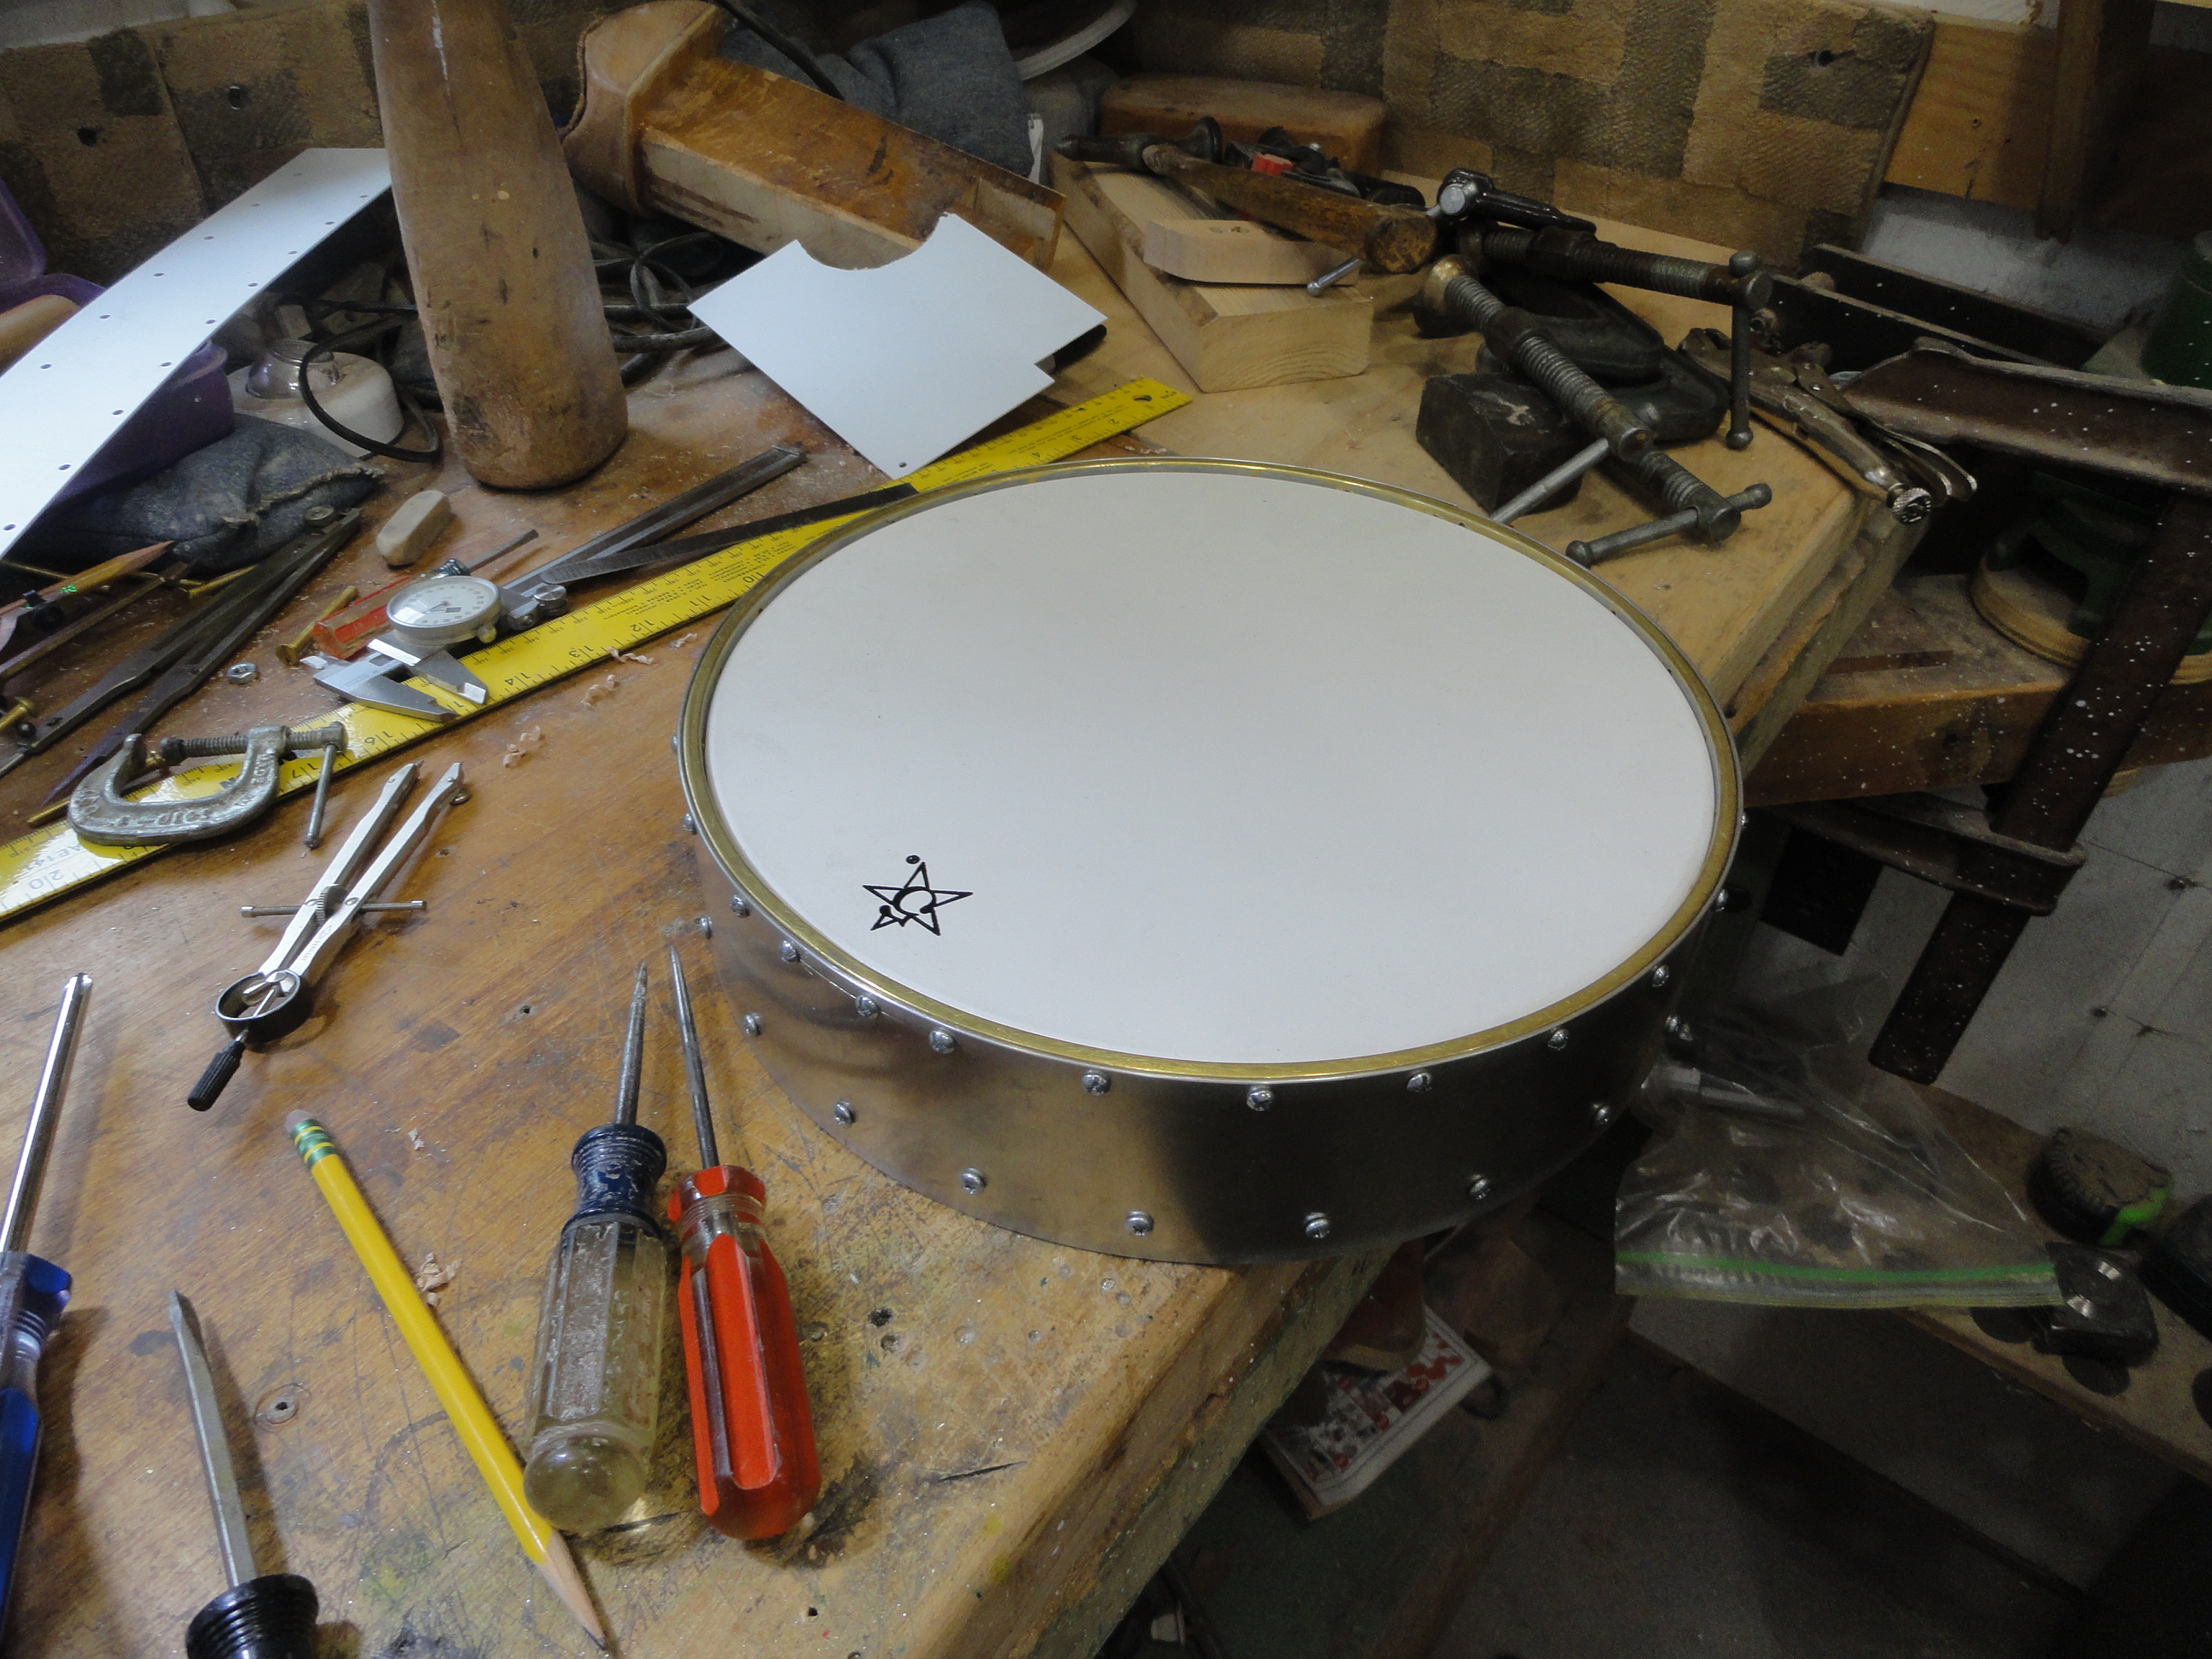
My basic pot.
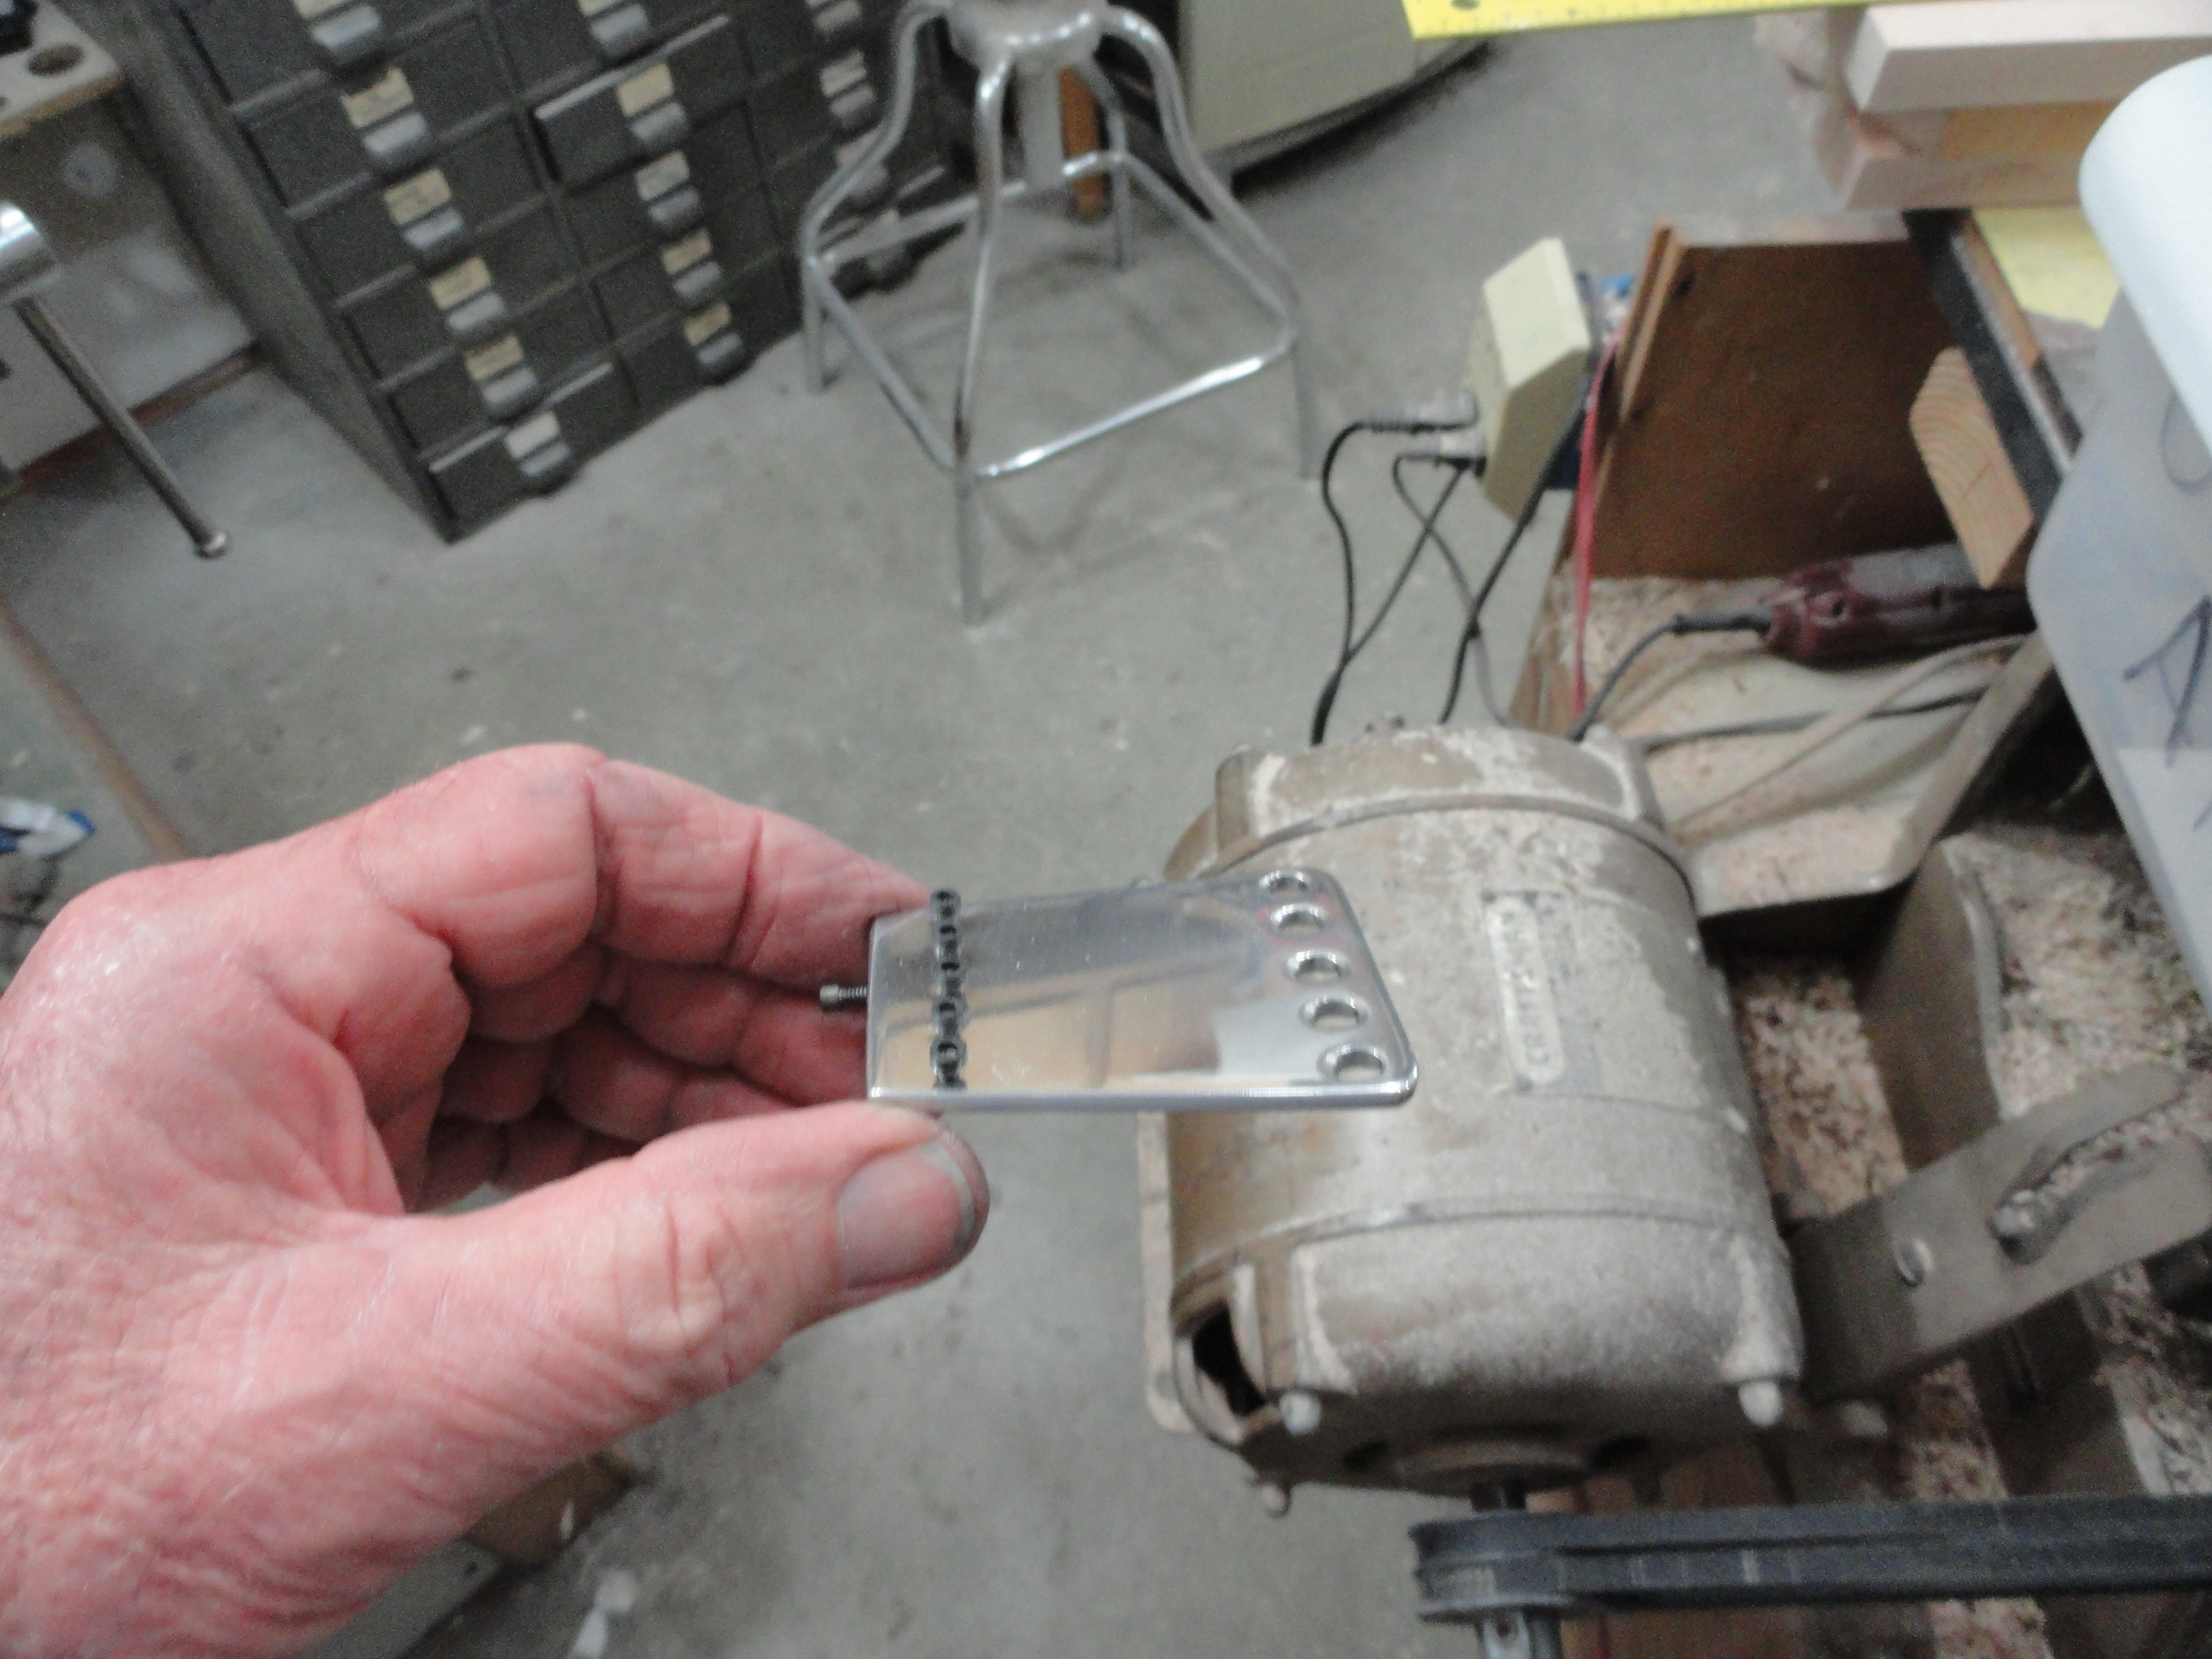
Since I am making most of the components of this banjo, I fabricated a tailpiece from some aluminum angle I found on Ebay. It was a 2″ by 3″‘ piece that is 1/8 ” thick. I shaped it and attached some small machine screws to attach it and hold the loop end strings. I polished it and fitted it to the pot.
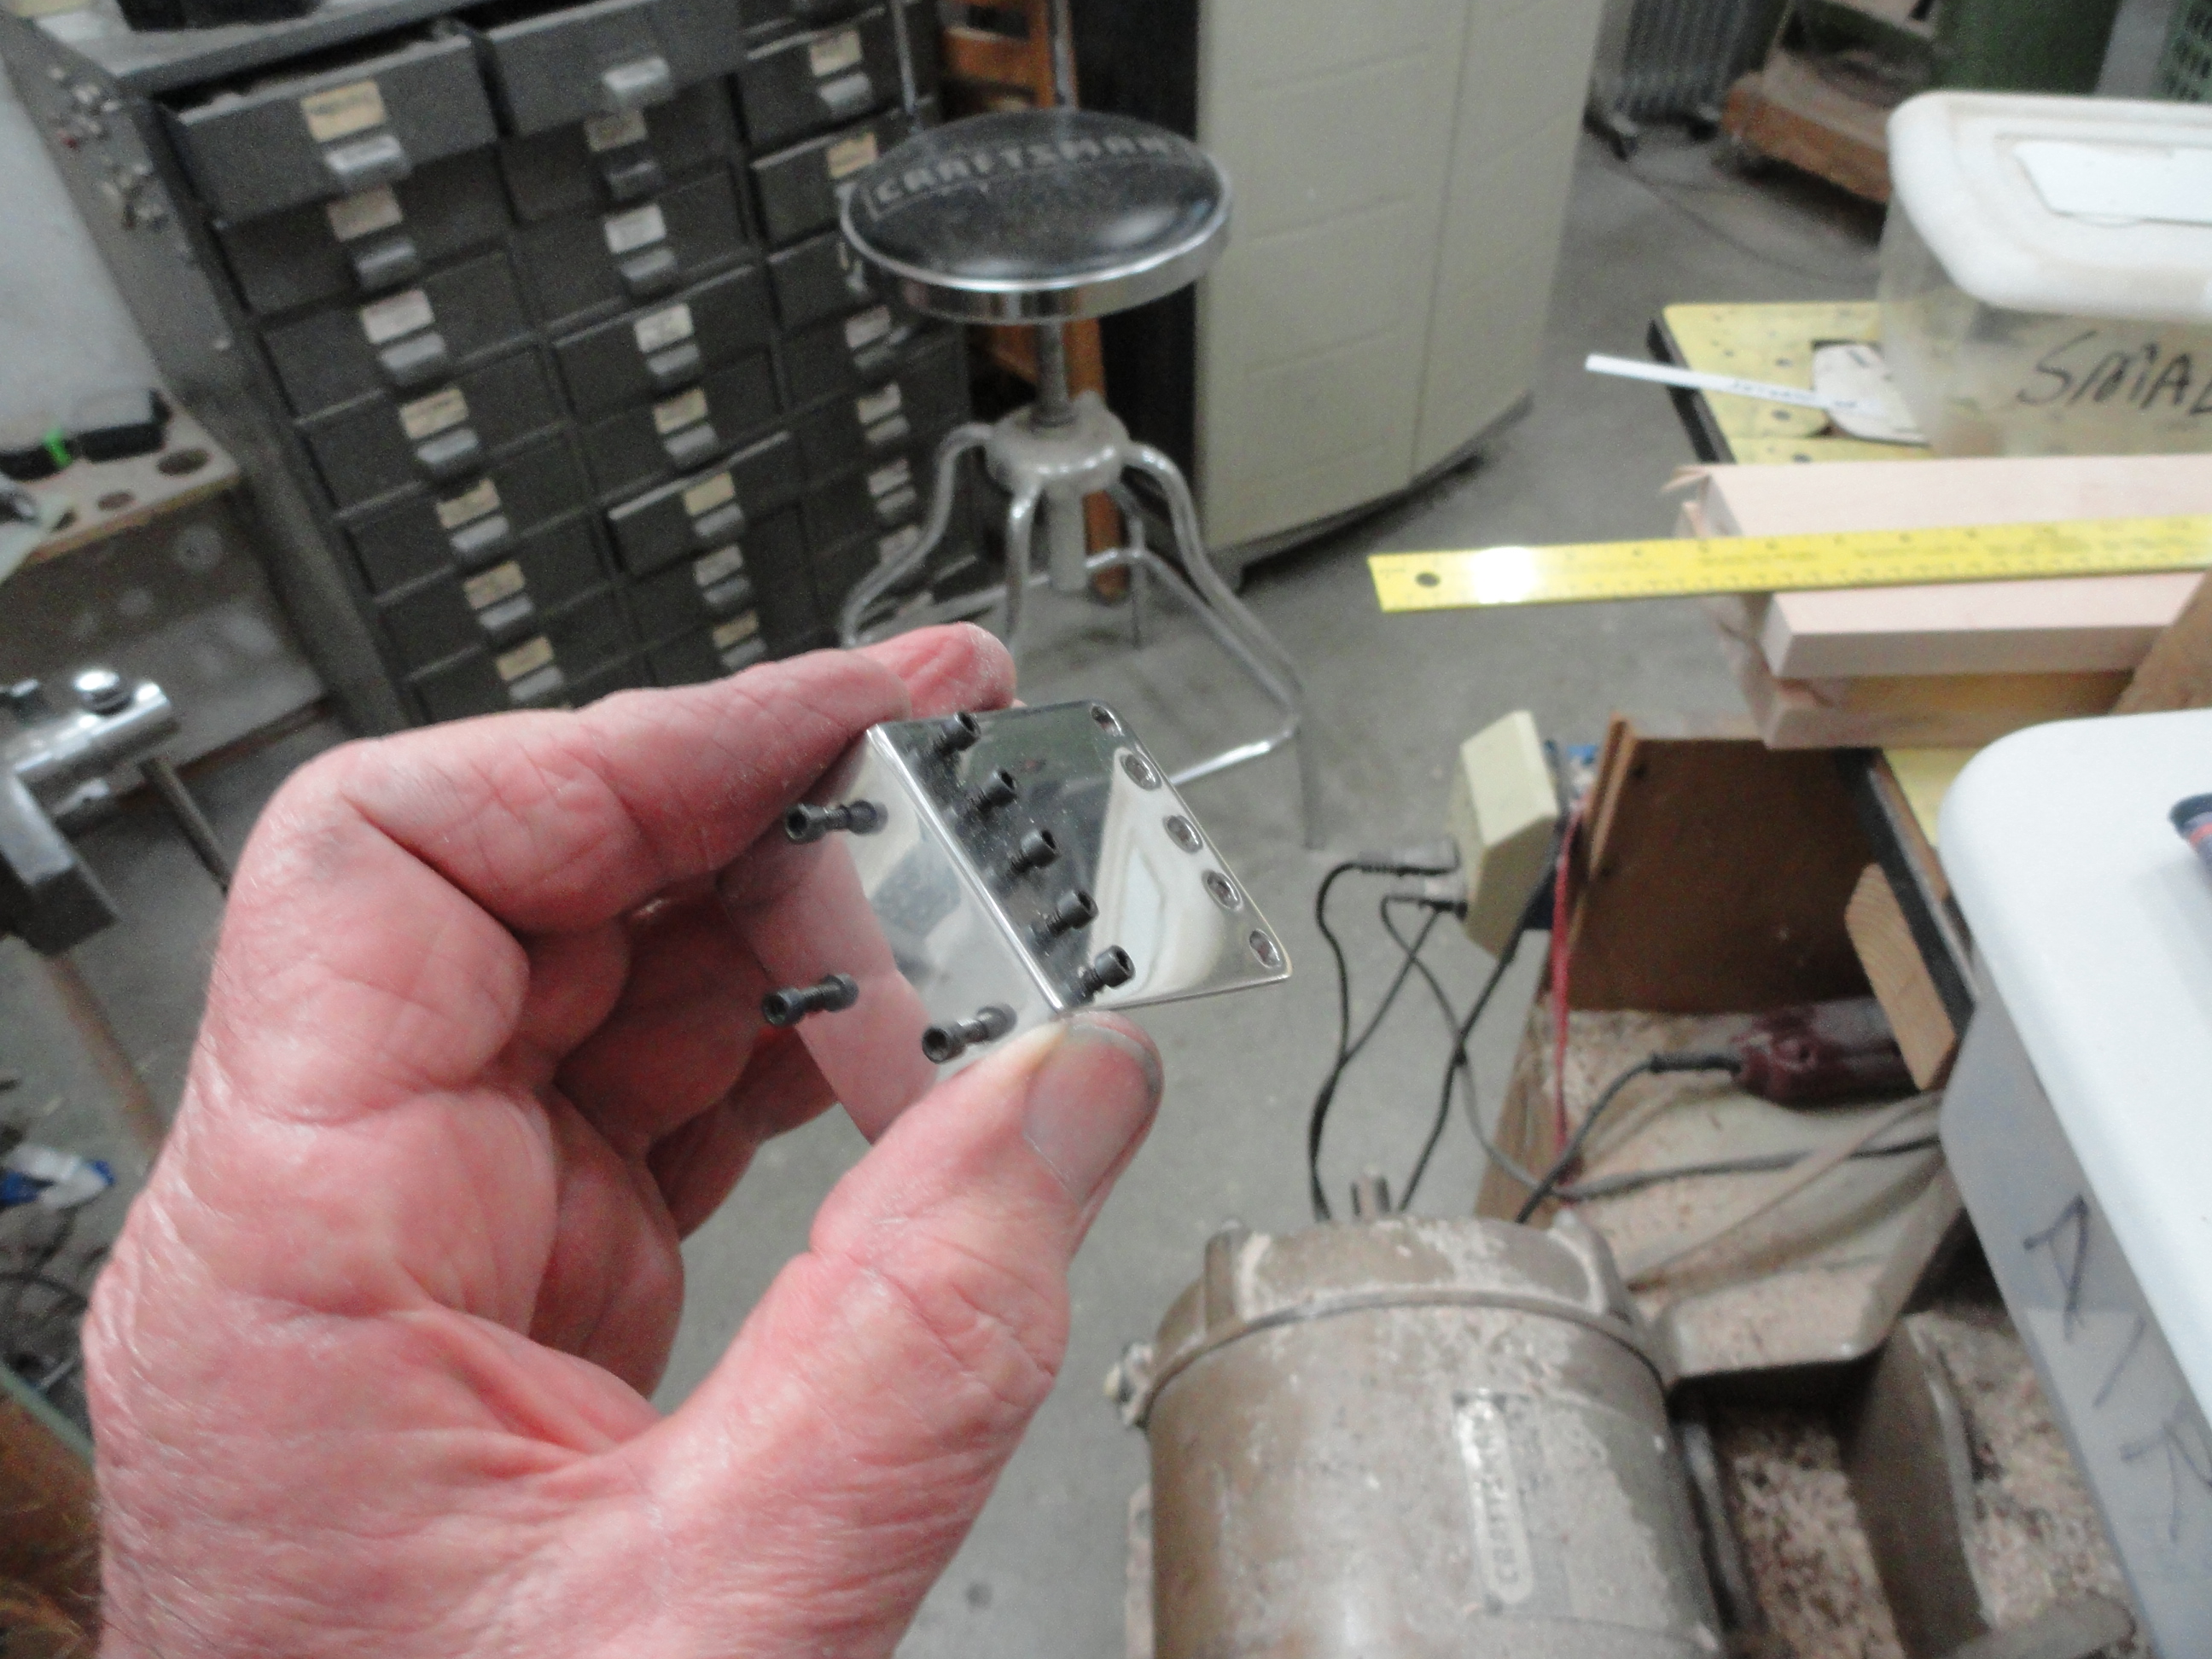
Tailpiece.
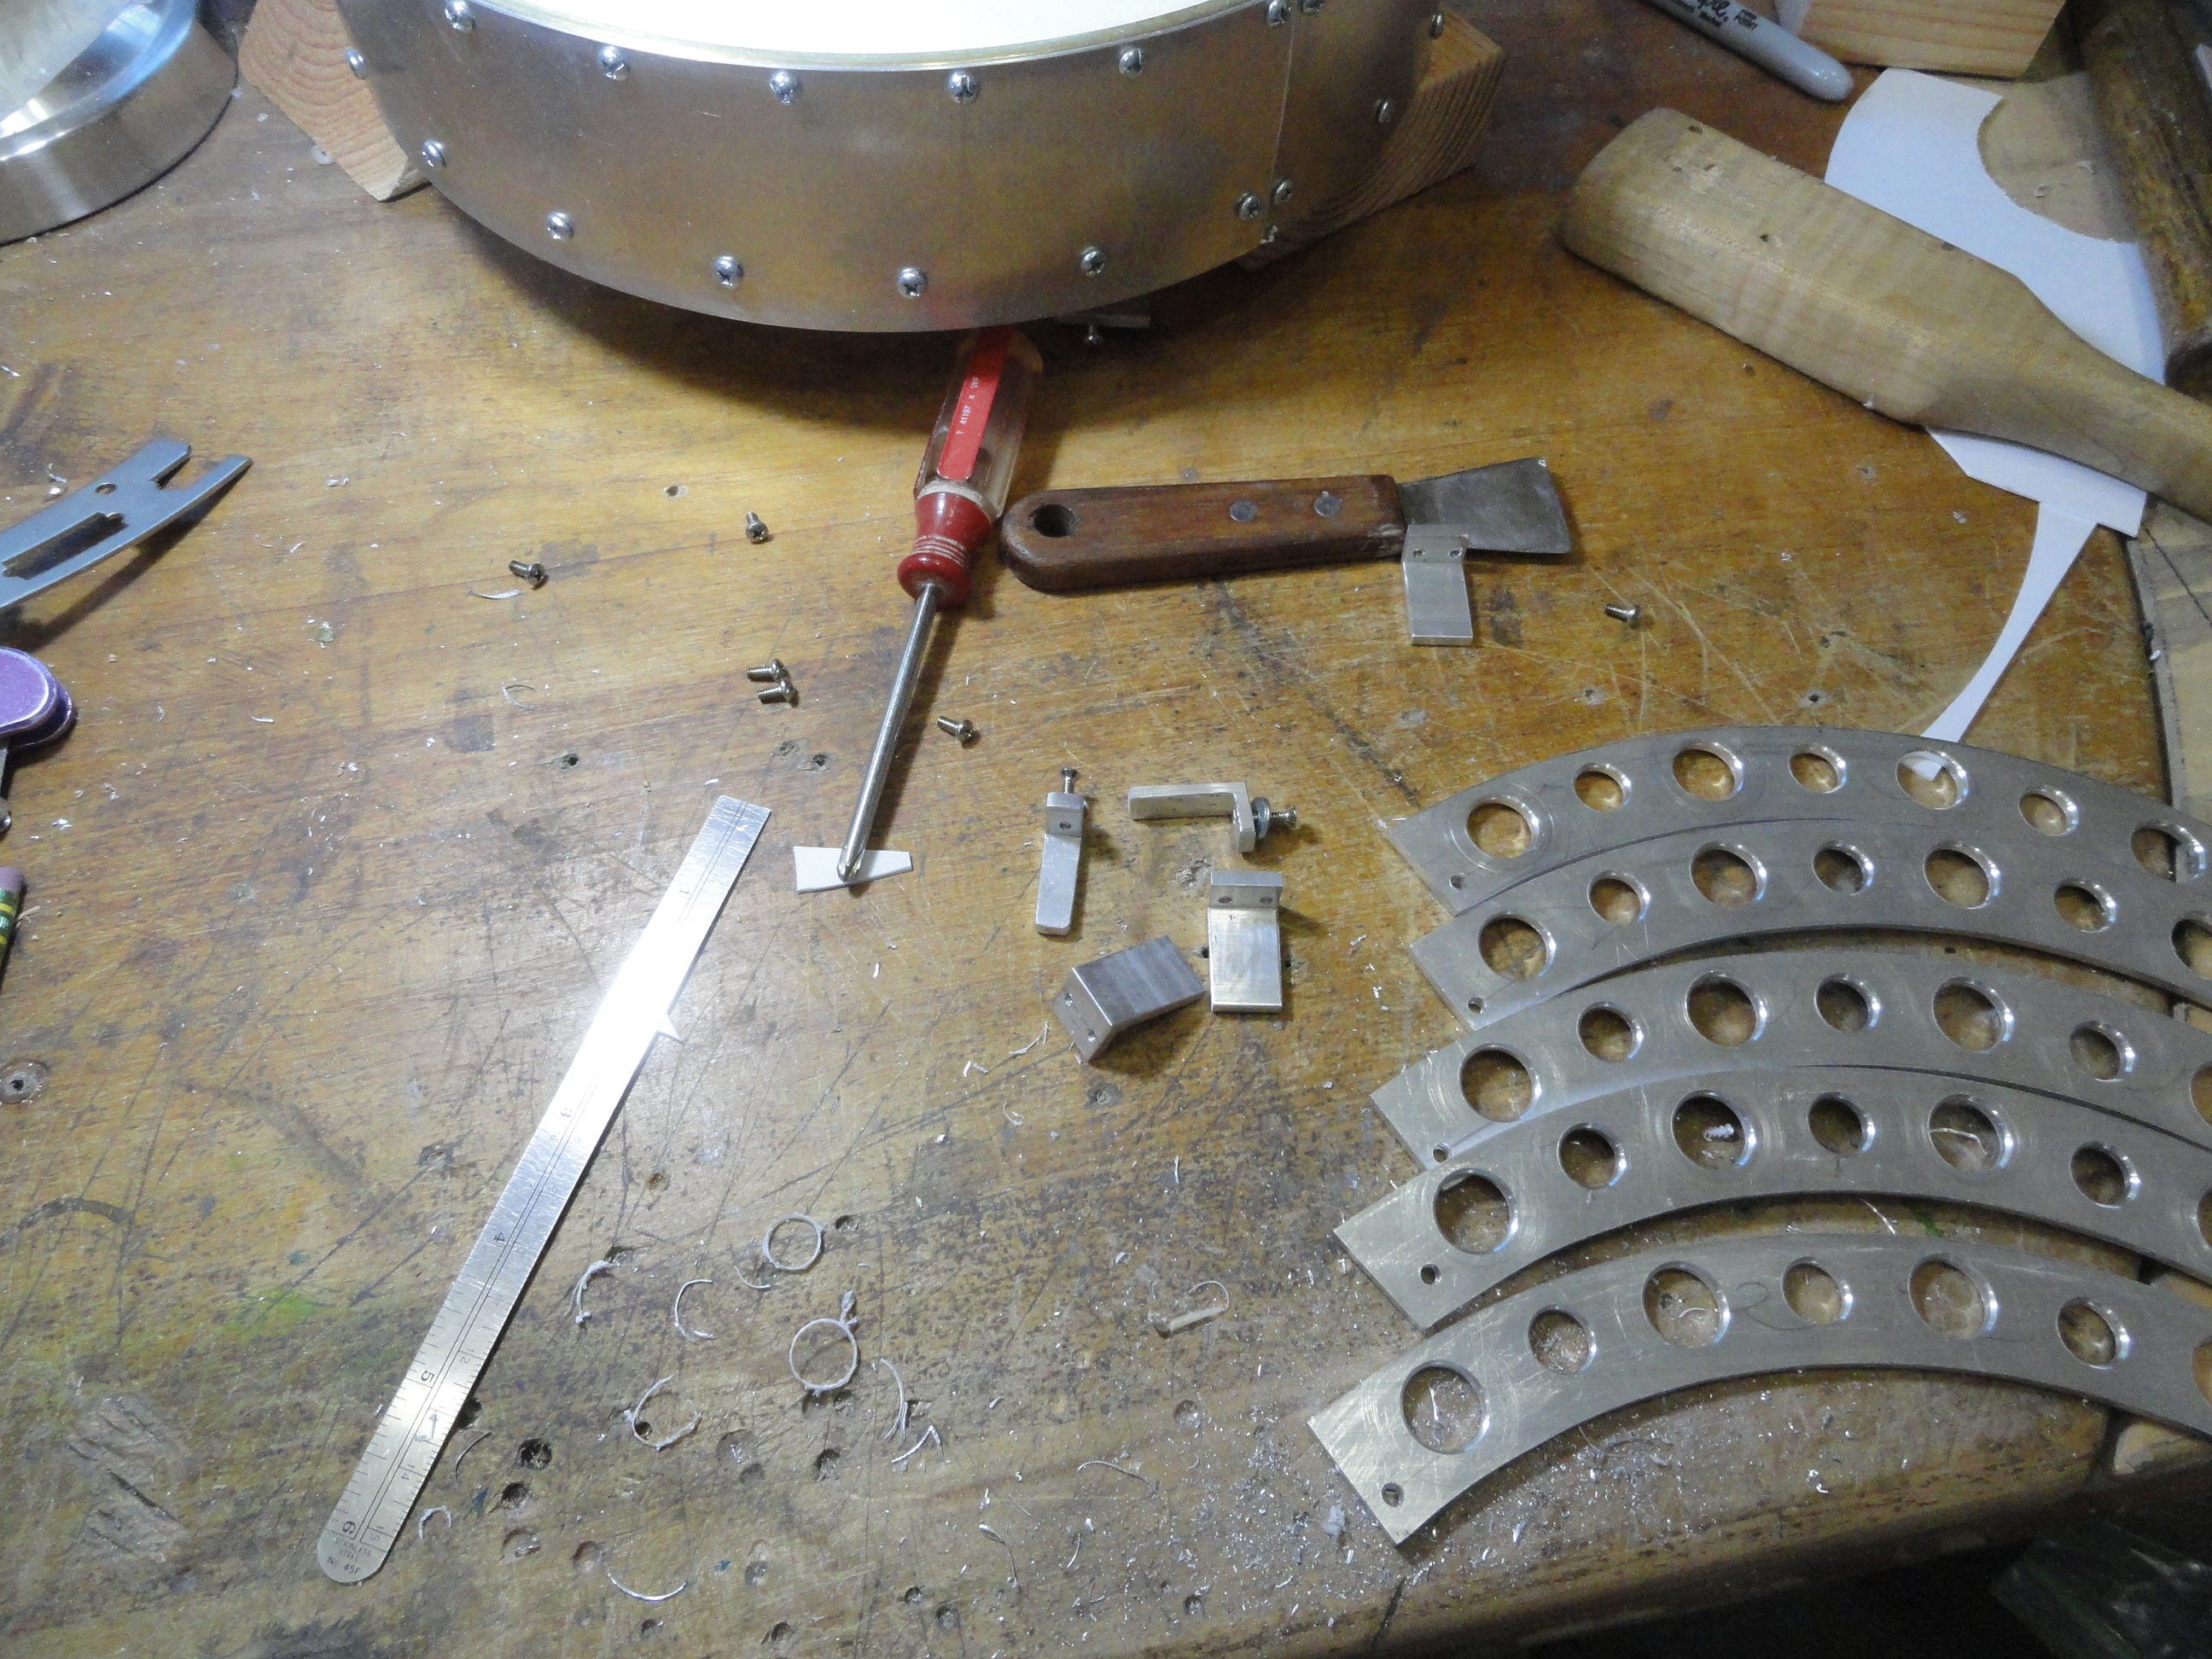
Now I needed something to fill in the space between the shell and the resonator. I purchased some 1/8 thick aluminum and fabricated a flange from it. It worked out to be 5 pieces because that was what the size aluminum I had dictated. I chose to just use holes in the flange instead of trying to make something that looked more elaborate. By using 2 different sized holes, I thought it turned out to look pretty nice for a home-made banjo. I also fabricated some aluminum brackets that hold the flange to the shell. They were fabricated from some aluminum angle that was 1/8″ thick.
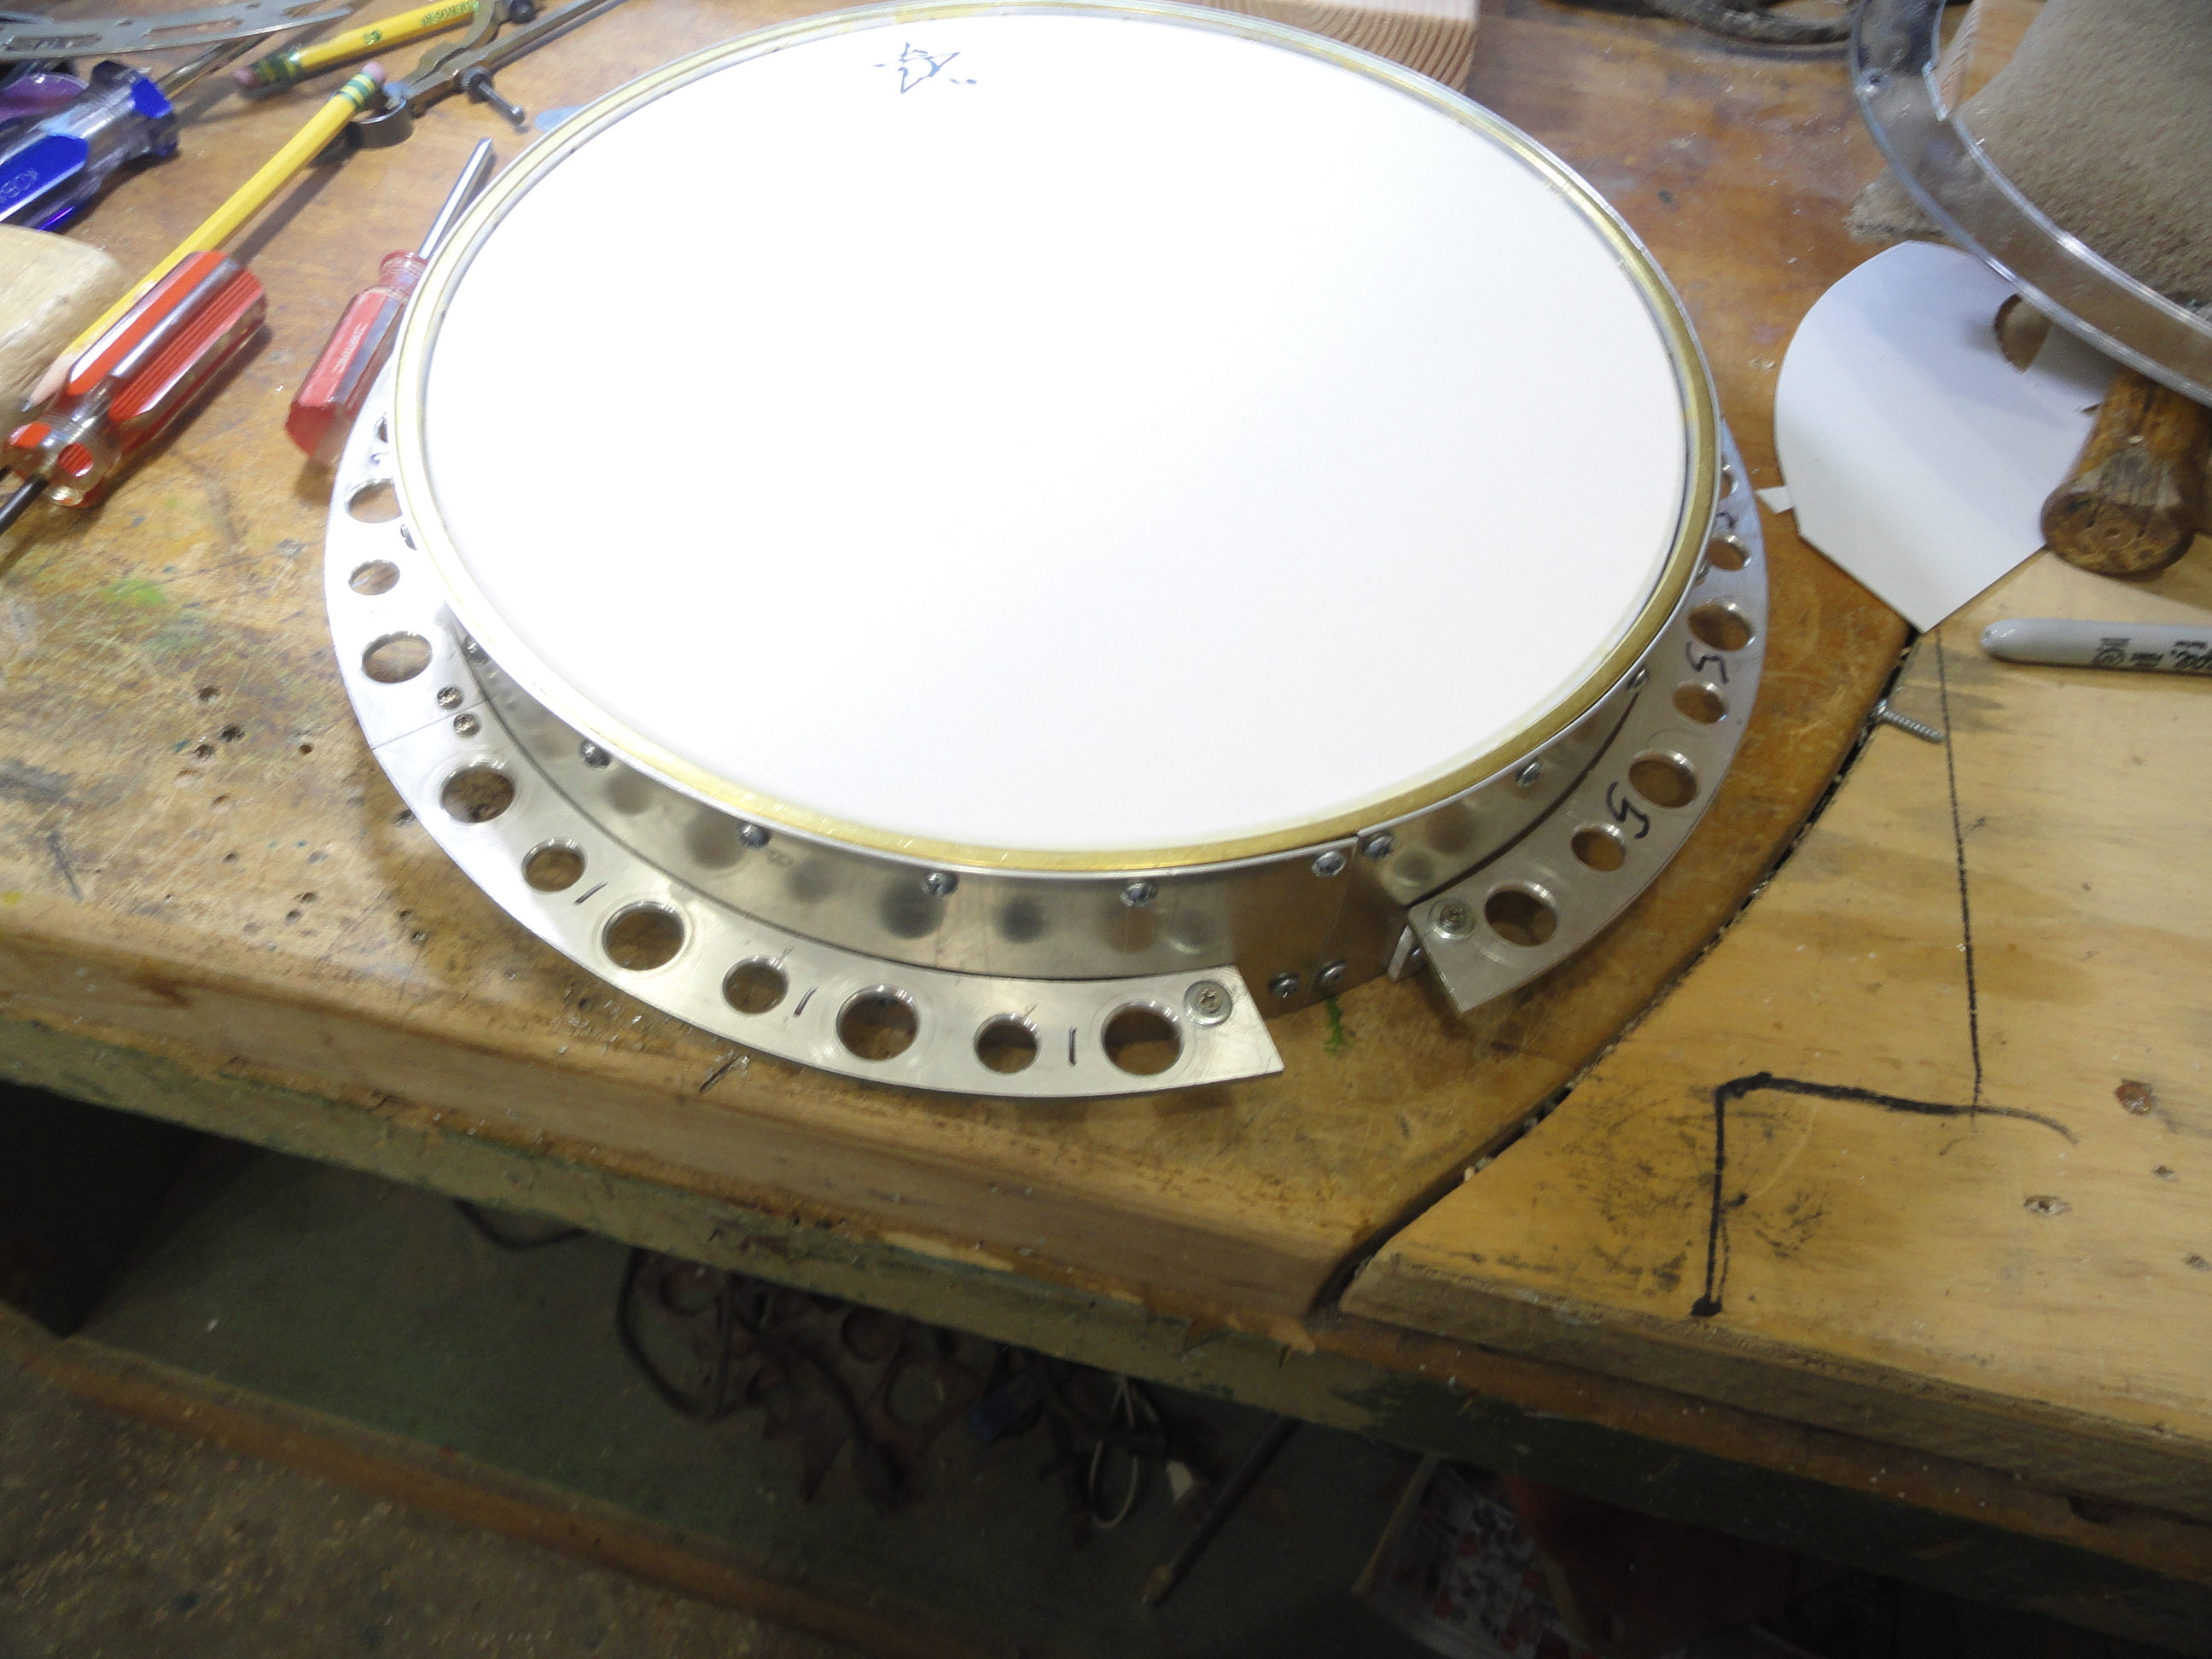
I fit these flange pieces to the shell and the brackets. Of course I had to leave room for the neck.
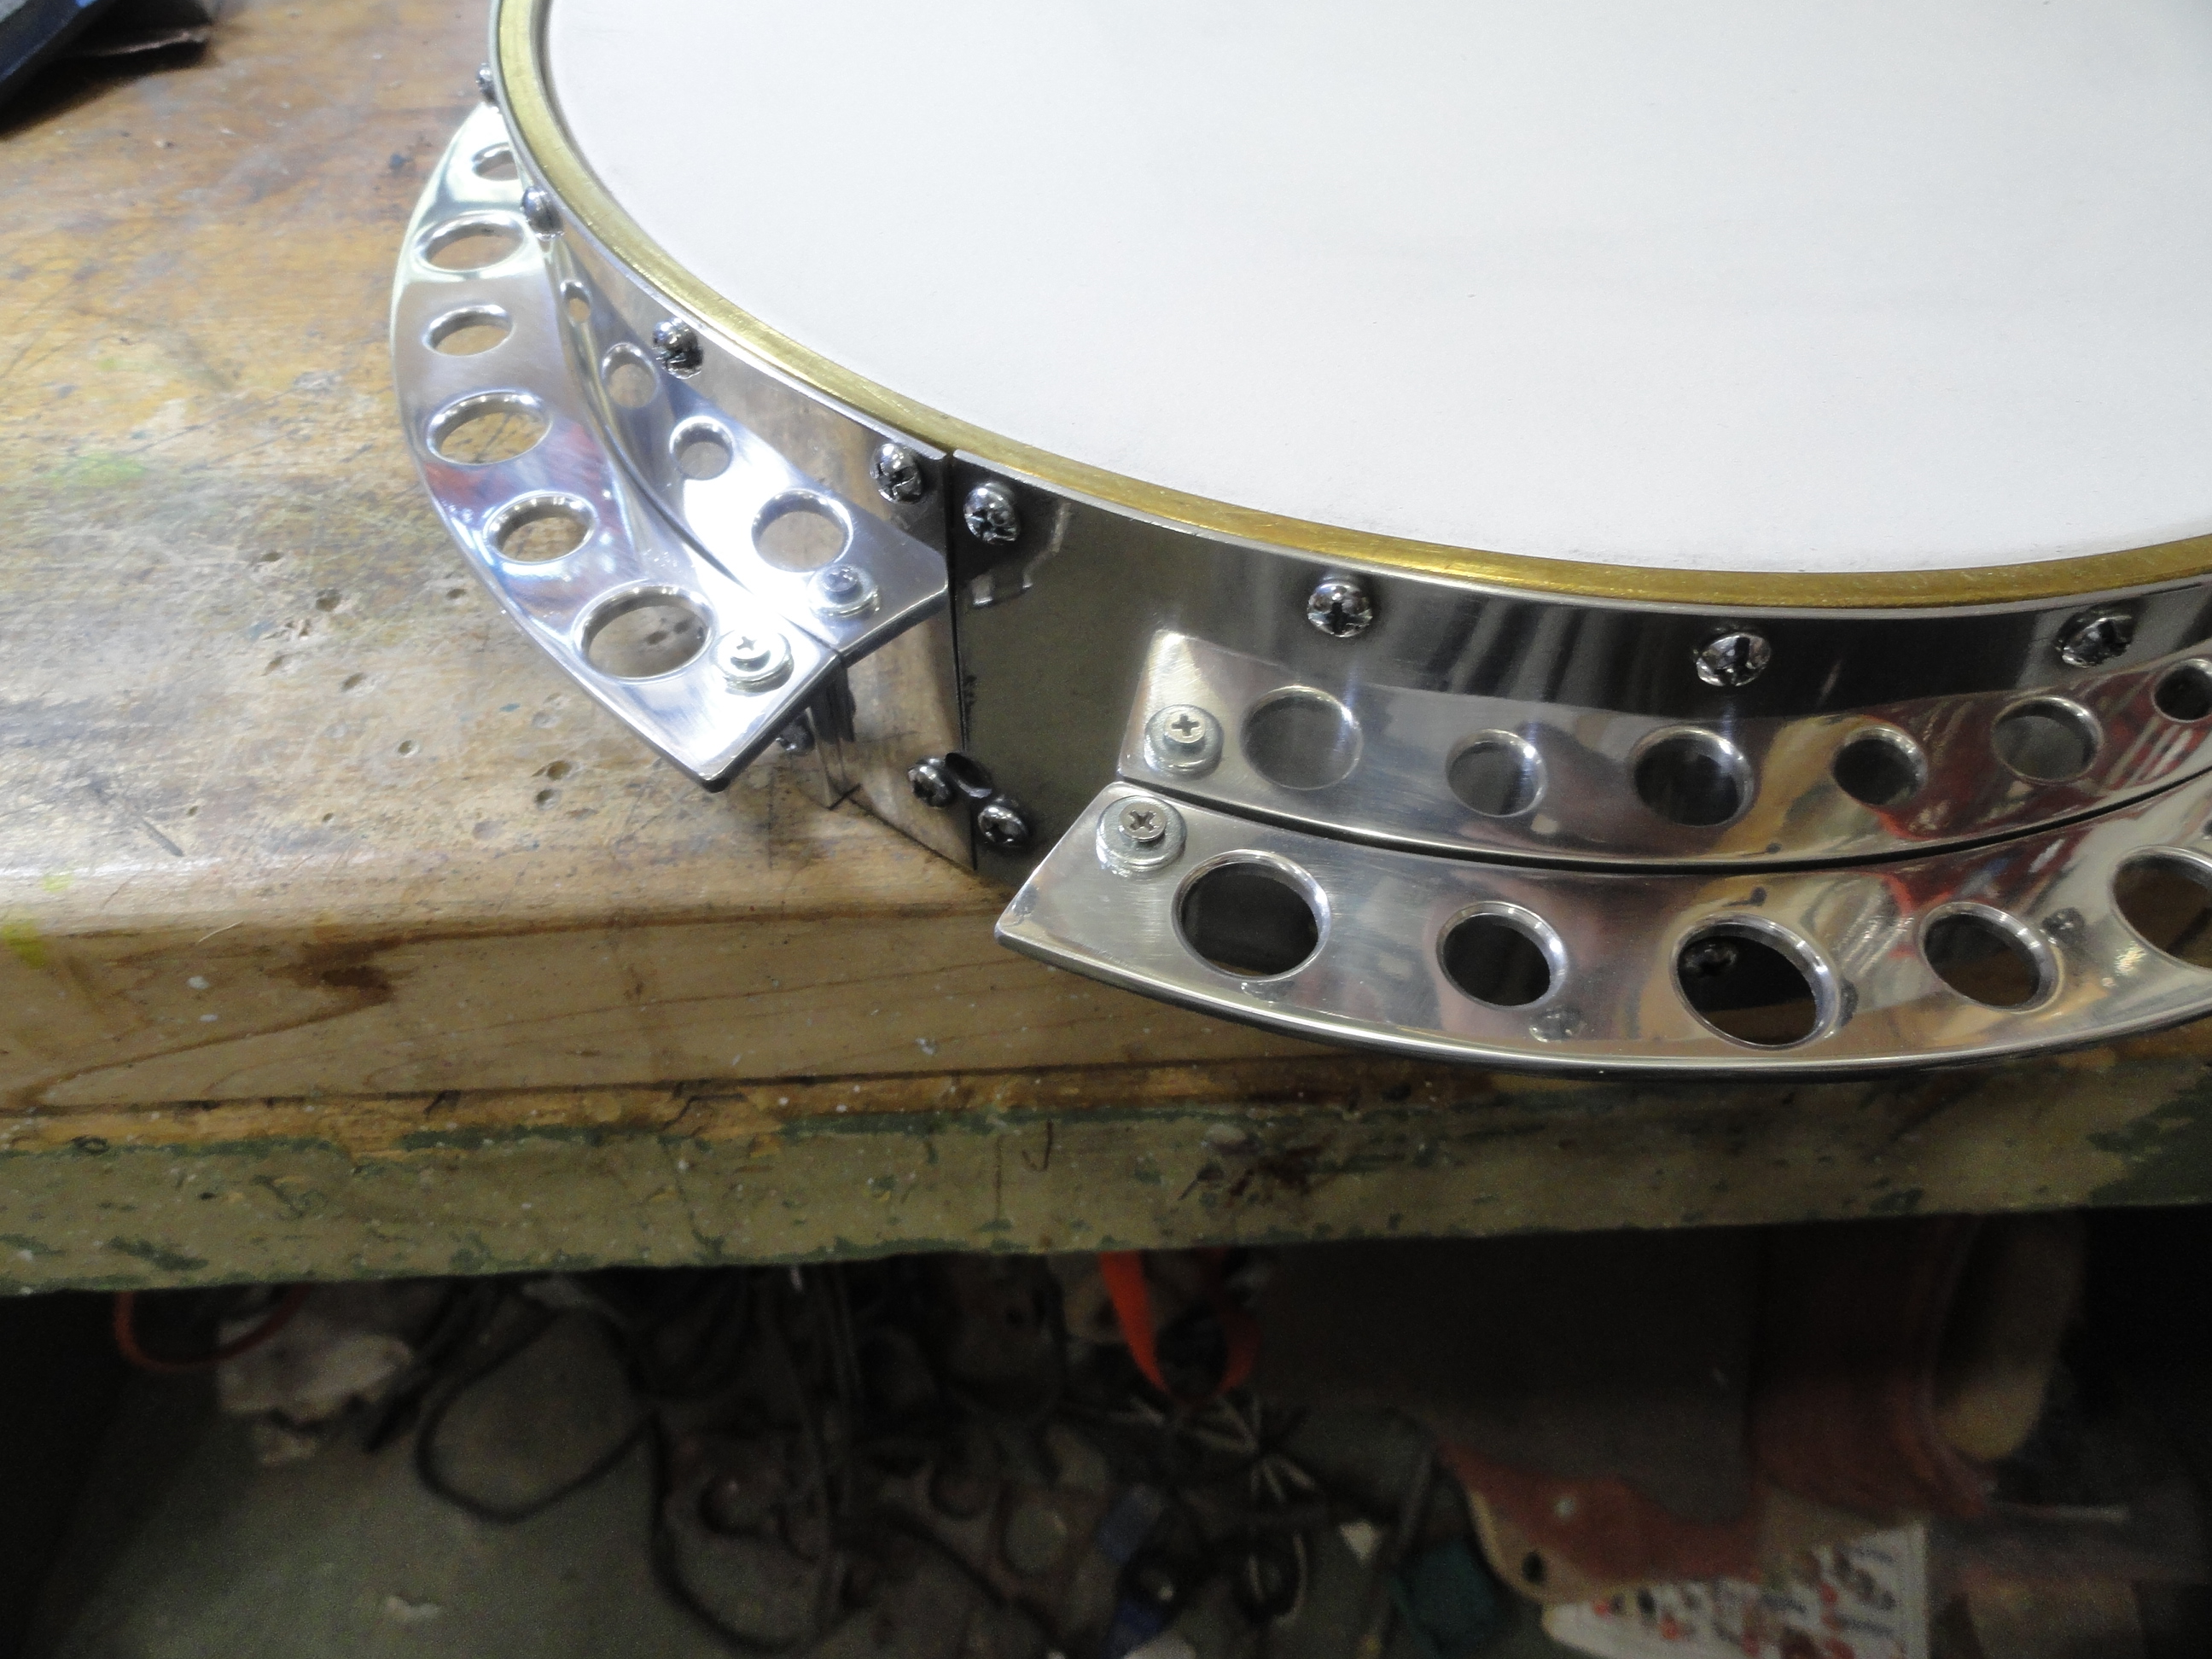
Here is a picture of the flange and outer shell after polishing.
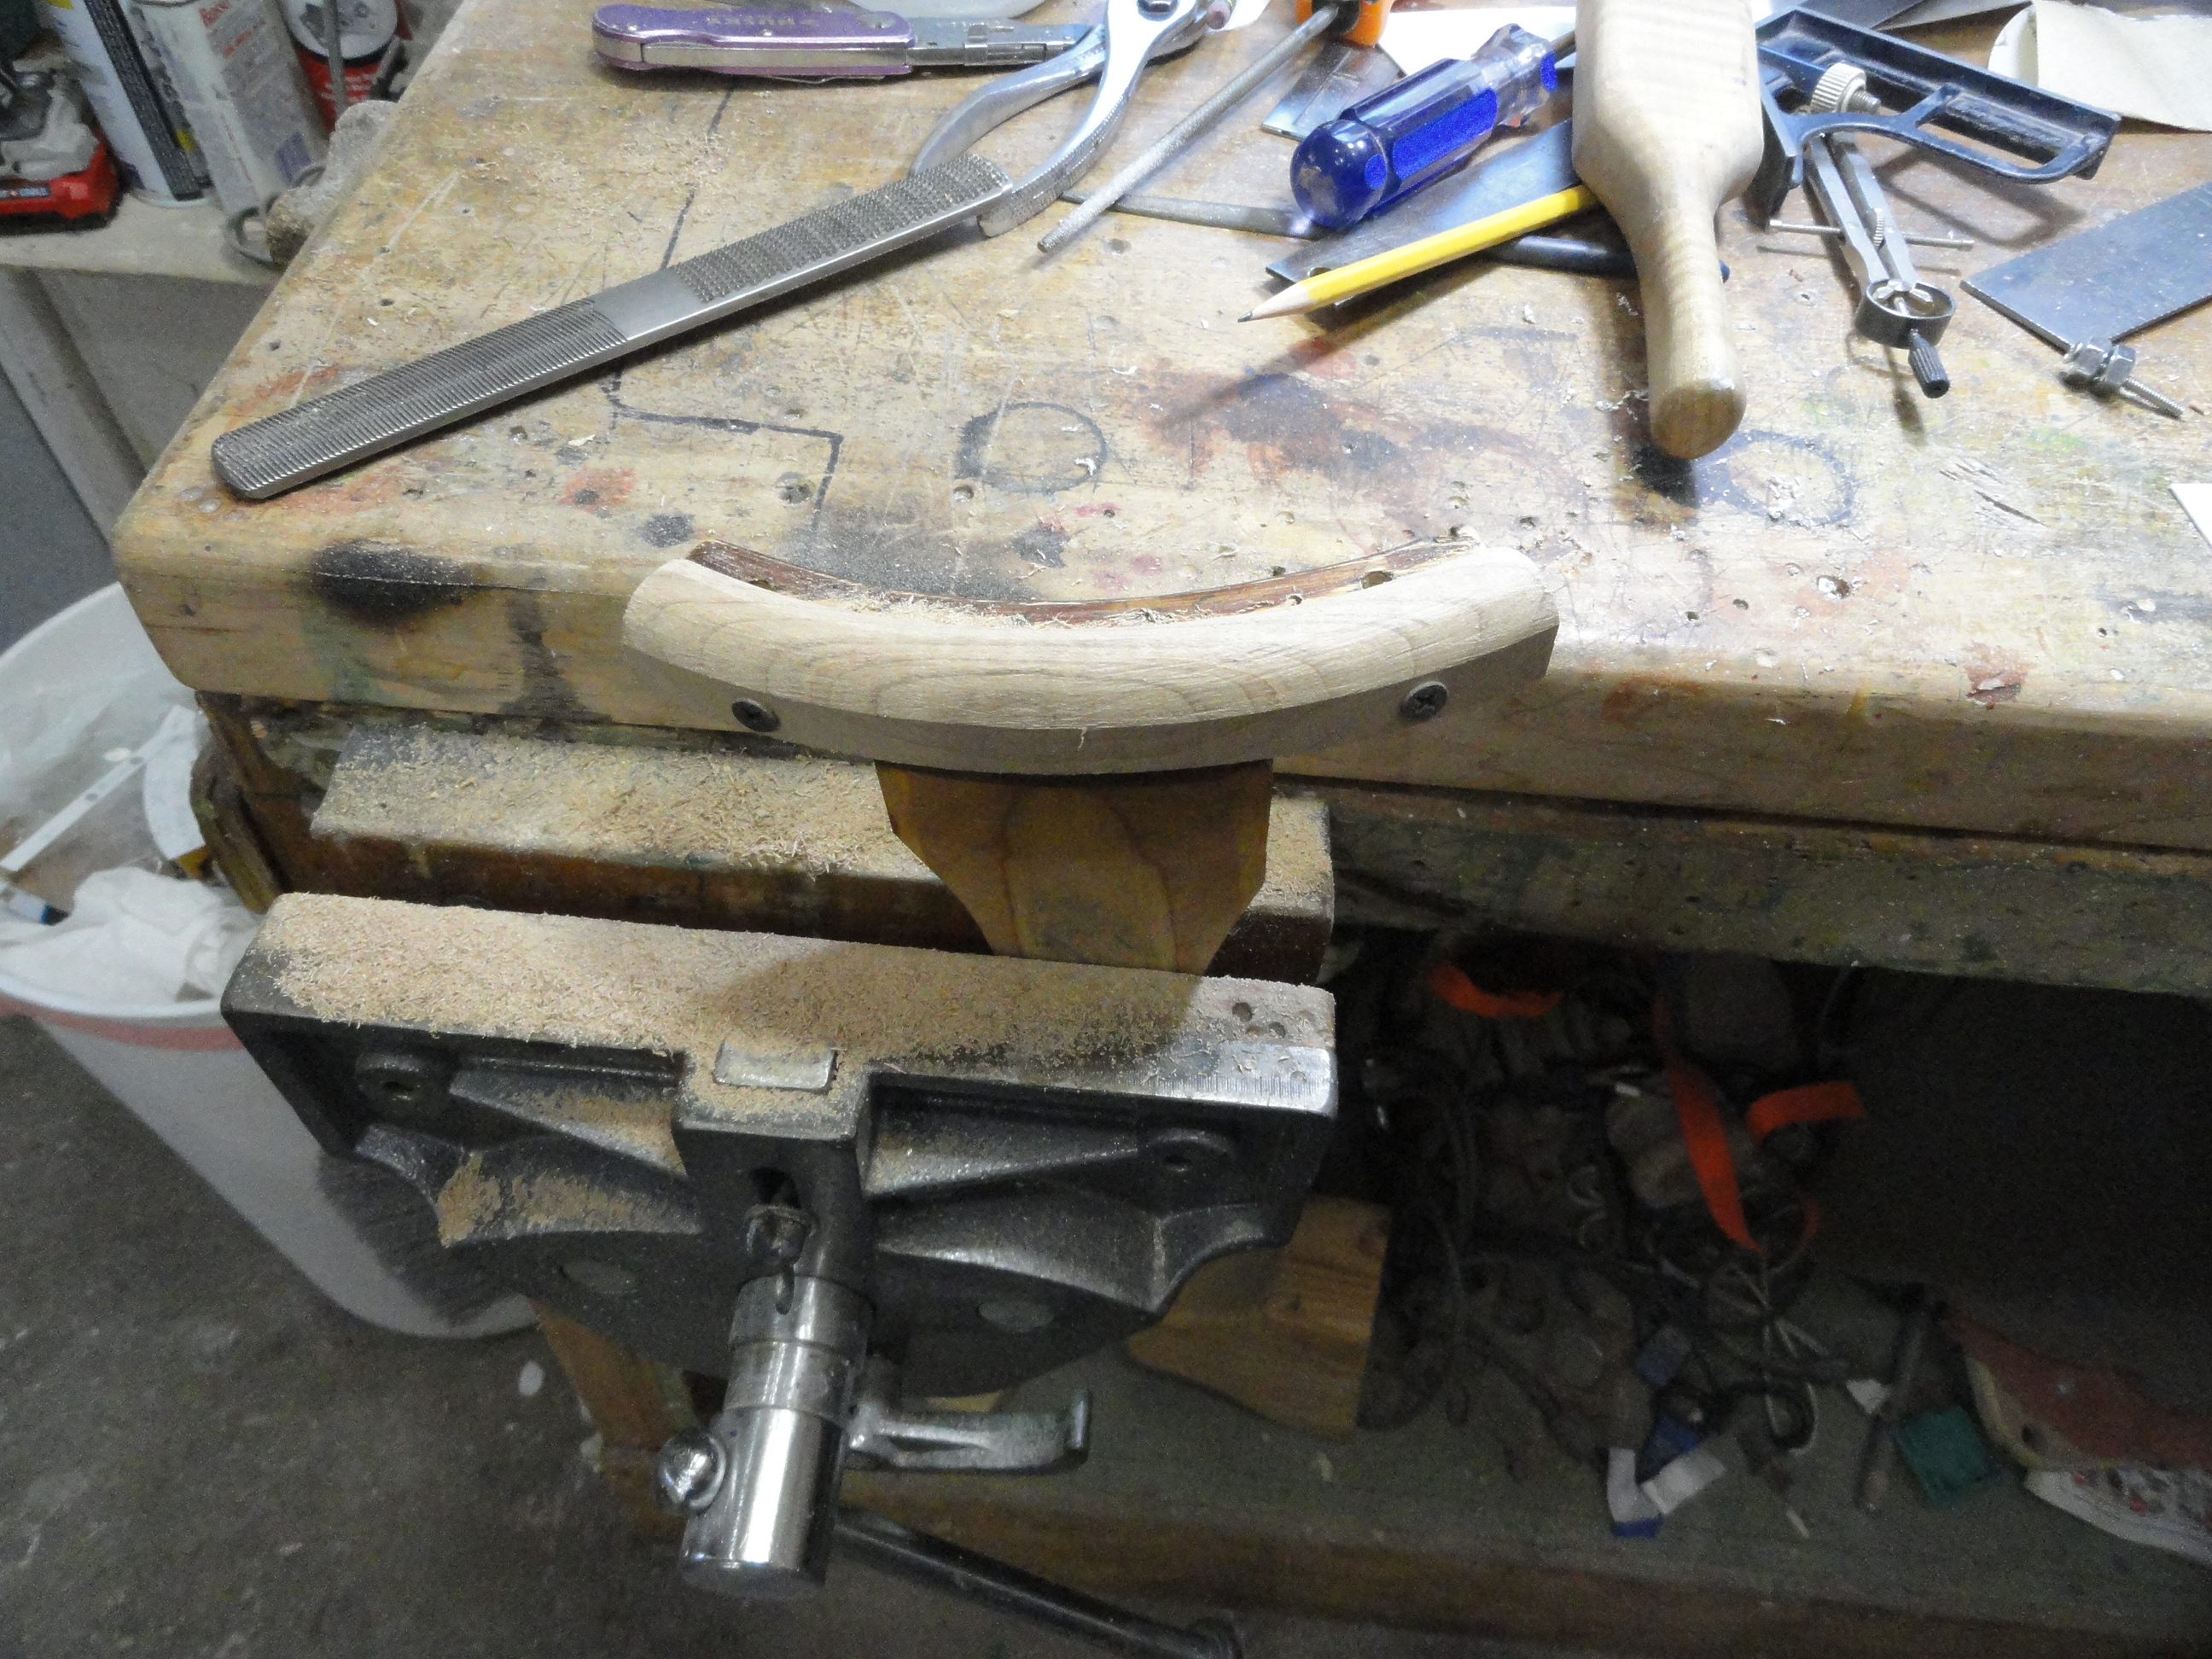
Now I fabricated one of my arm rests. I’ve made these wooden arm rests for several years. They were inspired by my good friend Rual Yarbrough. I think they are the most comfortable thing you can get to lay your arm on.
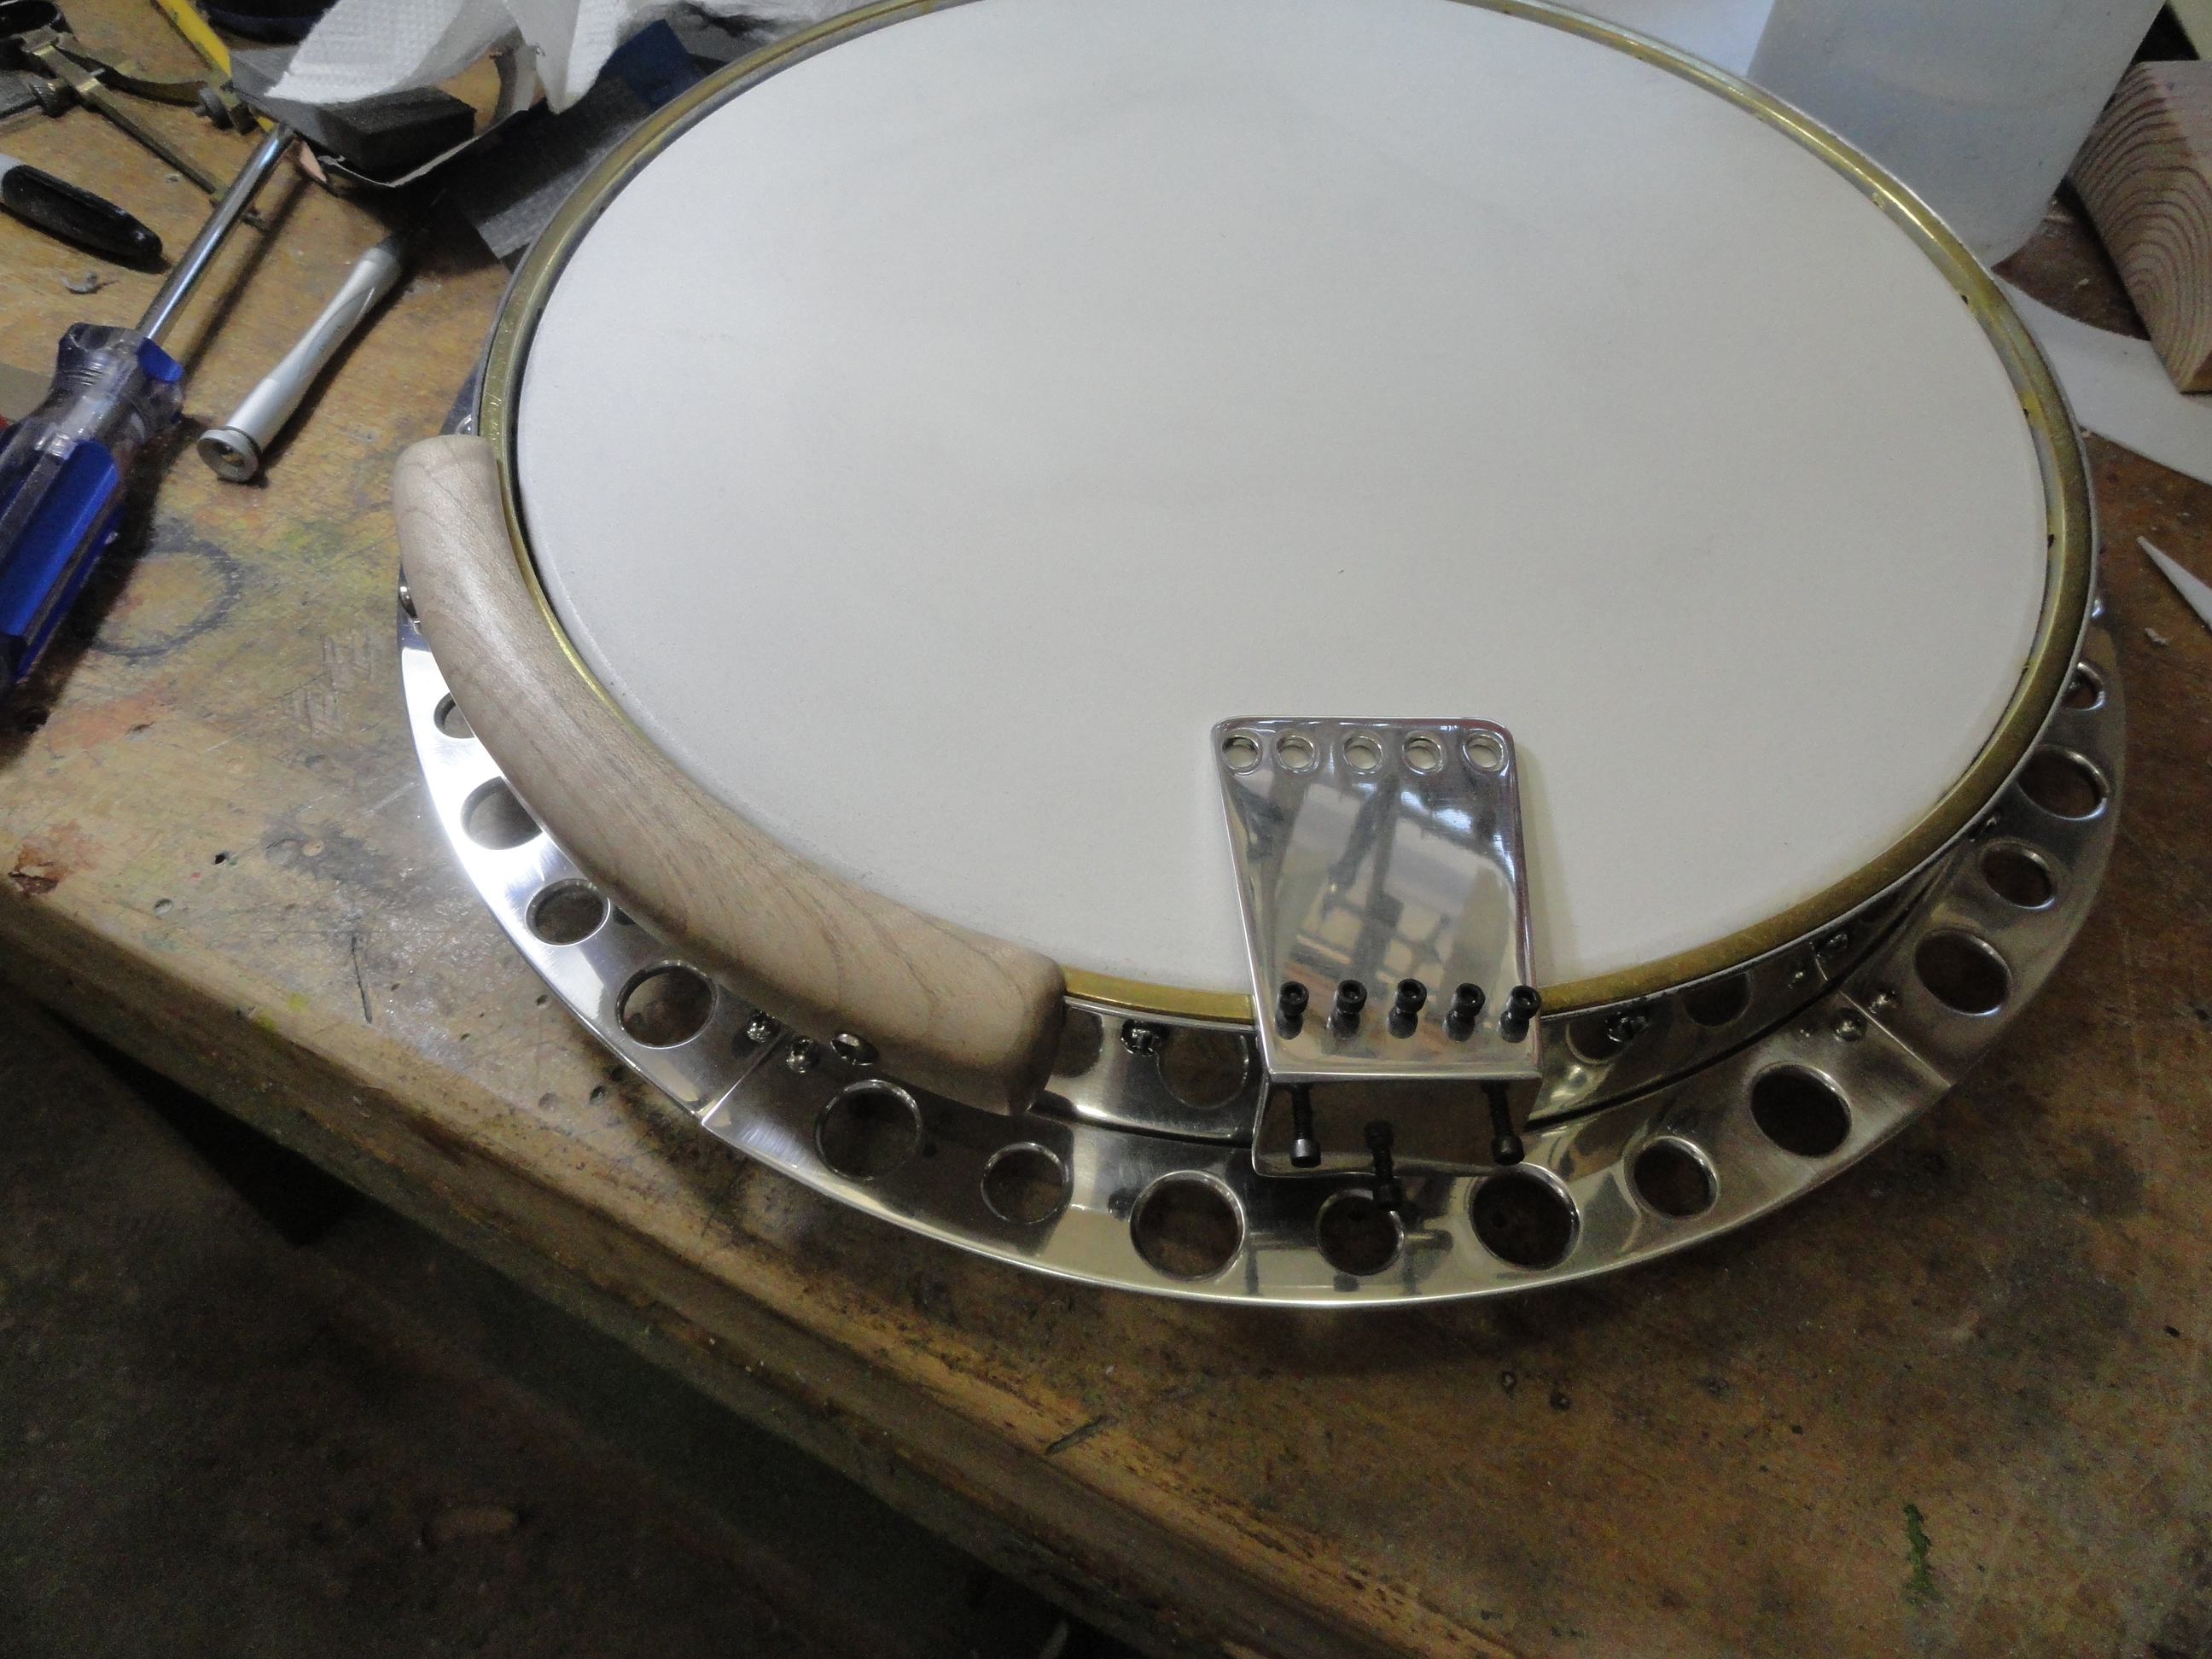
Here is a shot of the tailpiece and armrest on the pot.
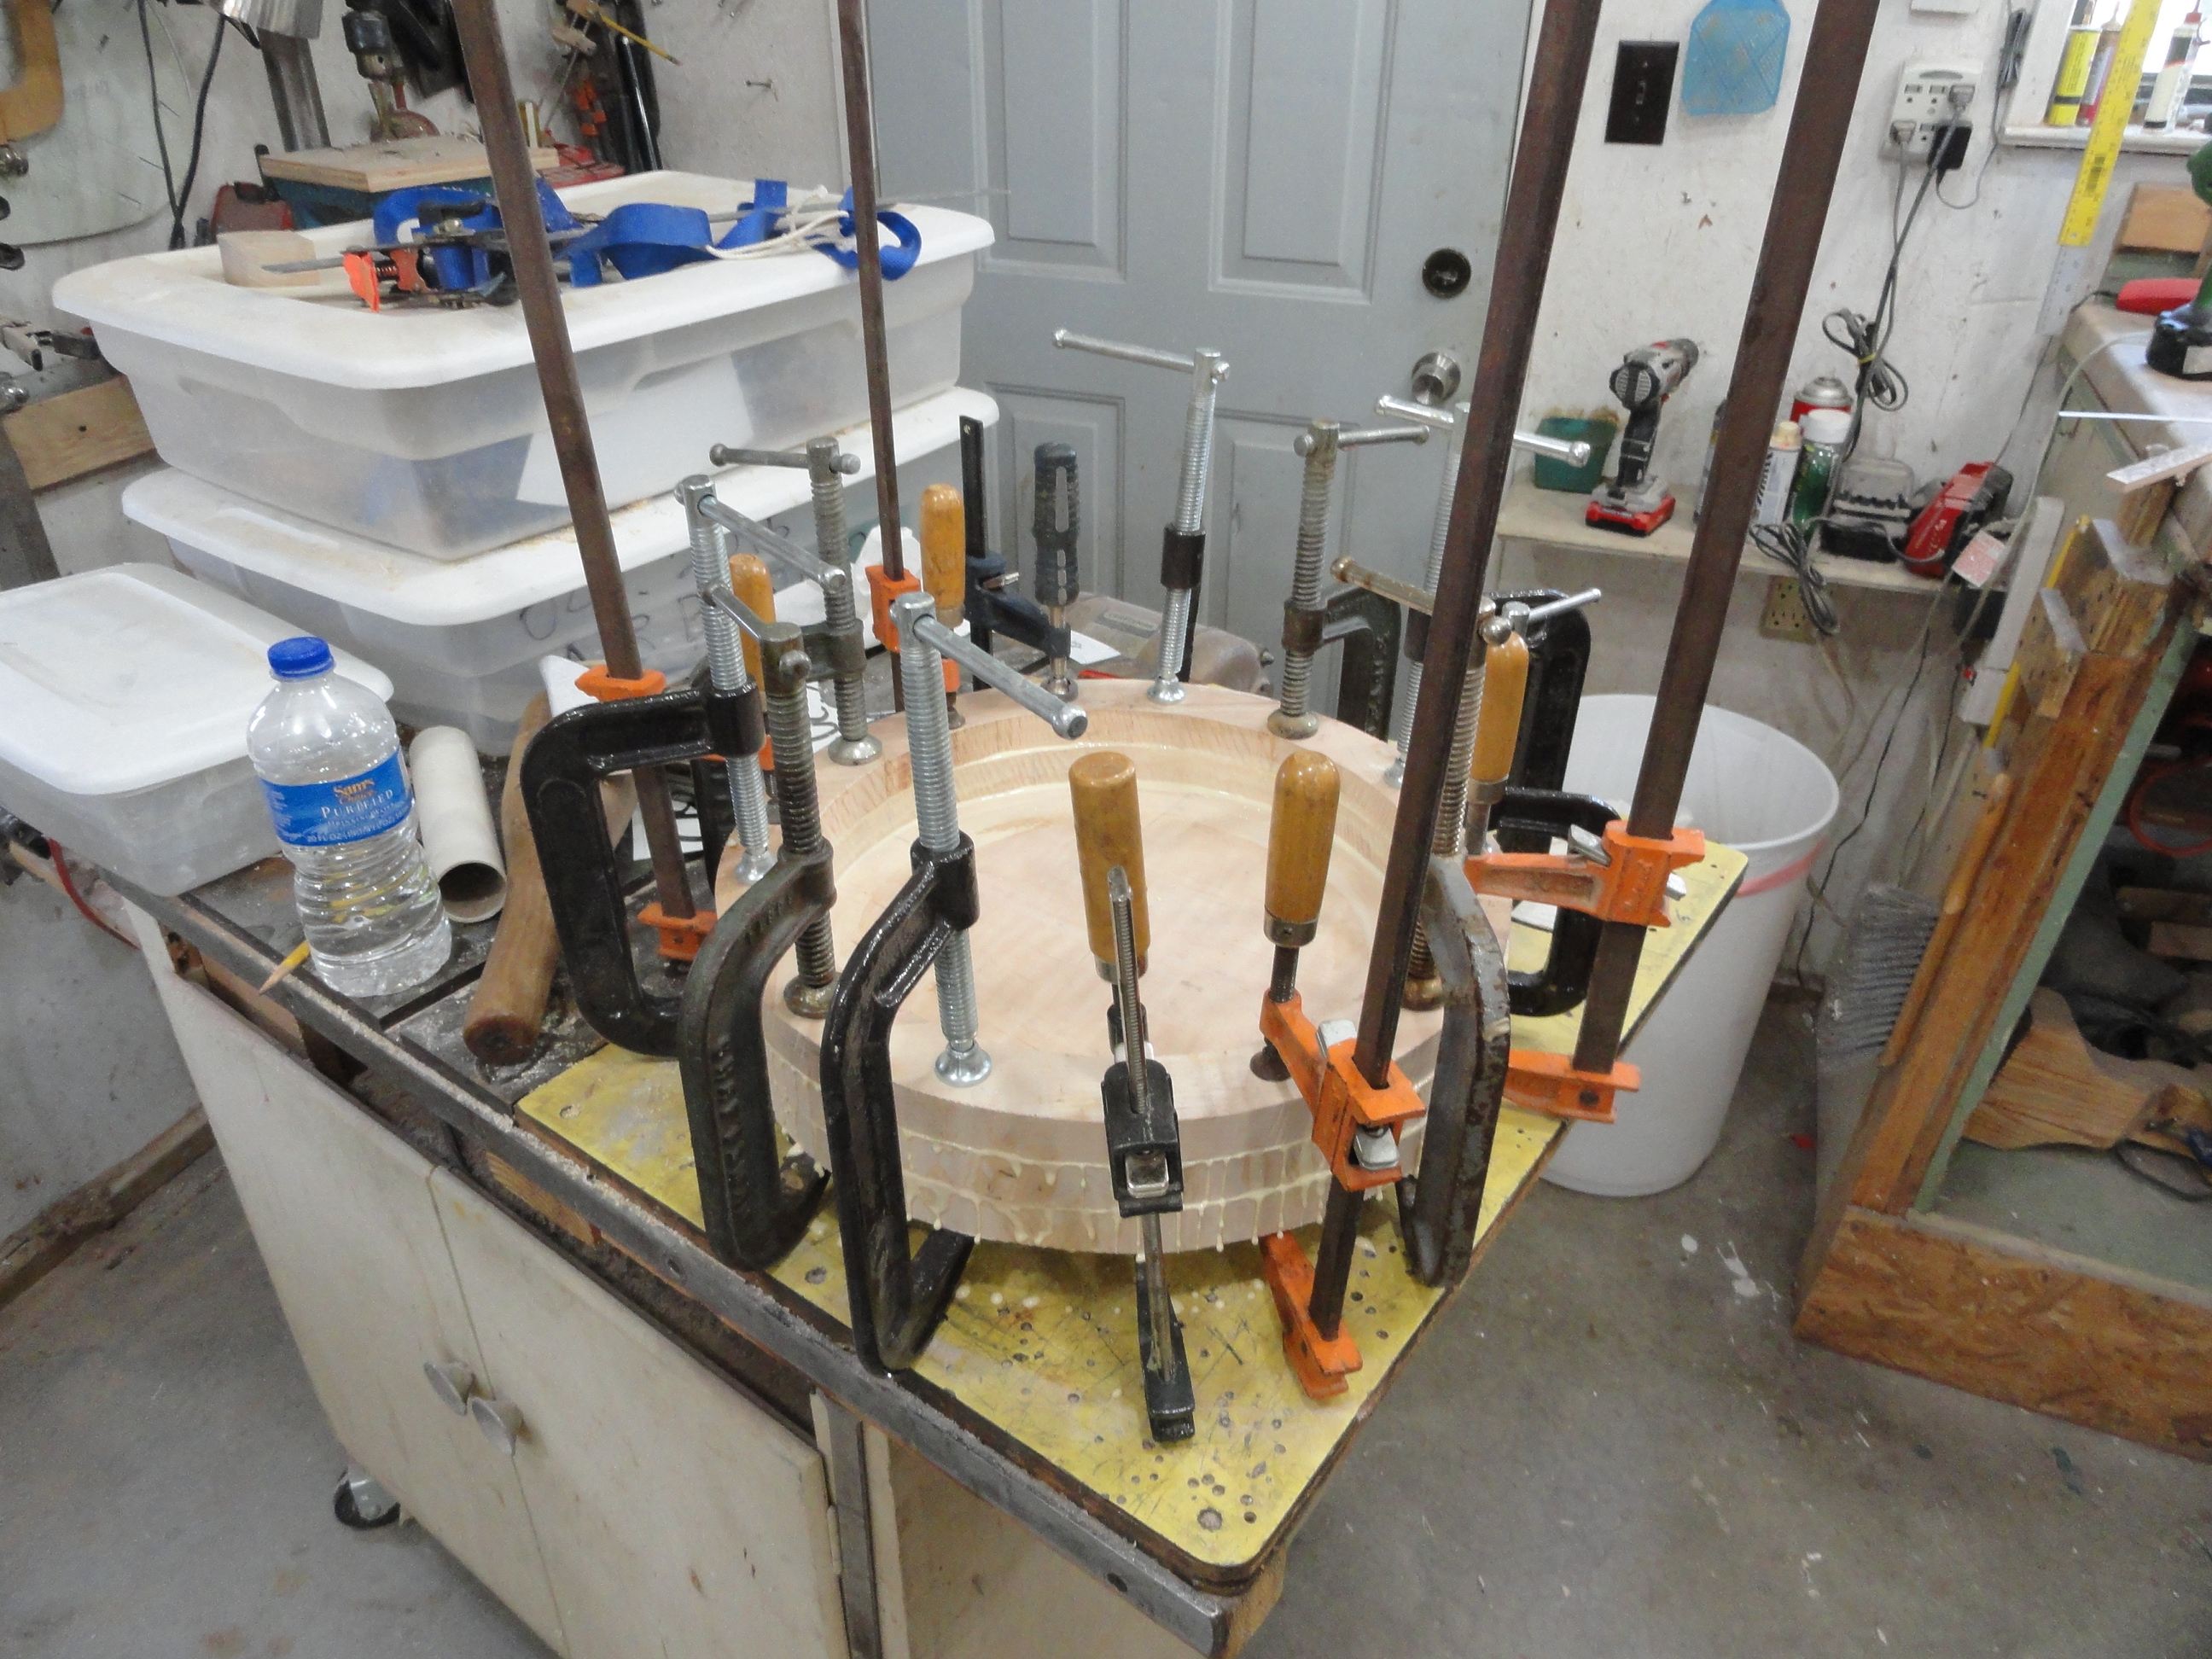
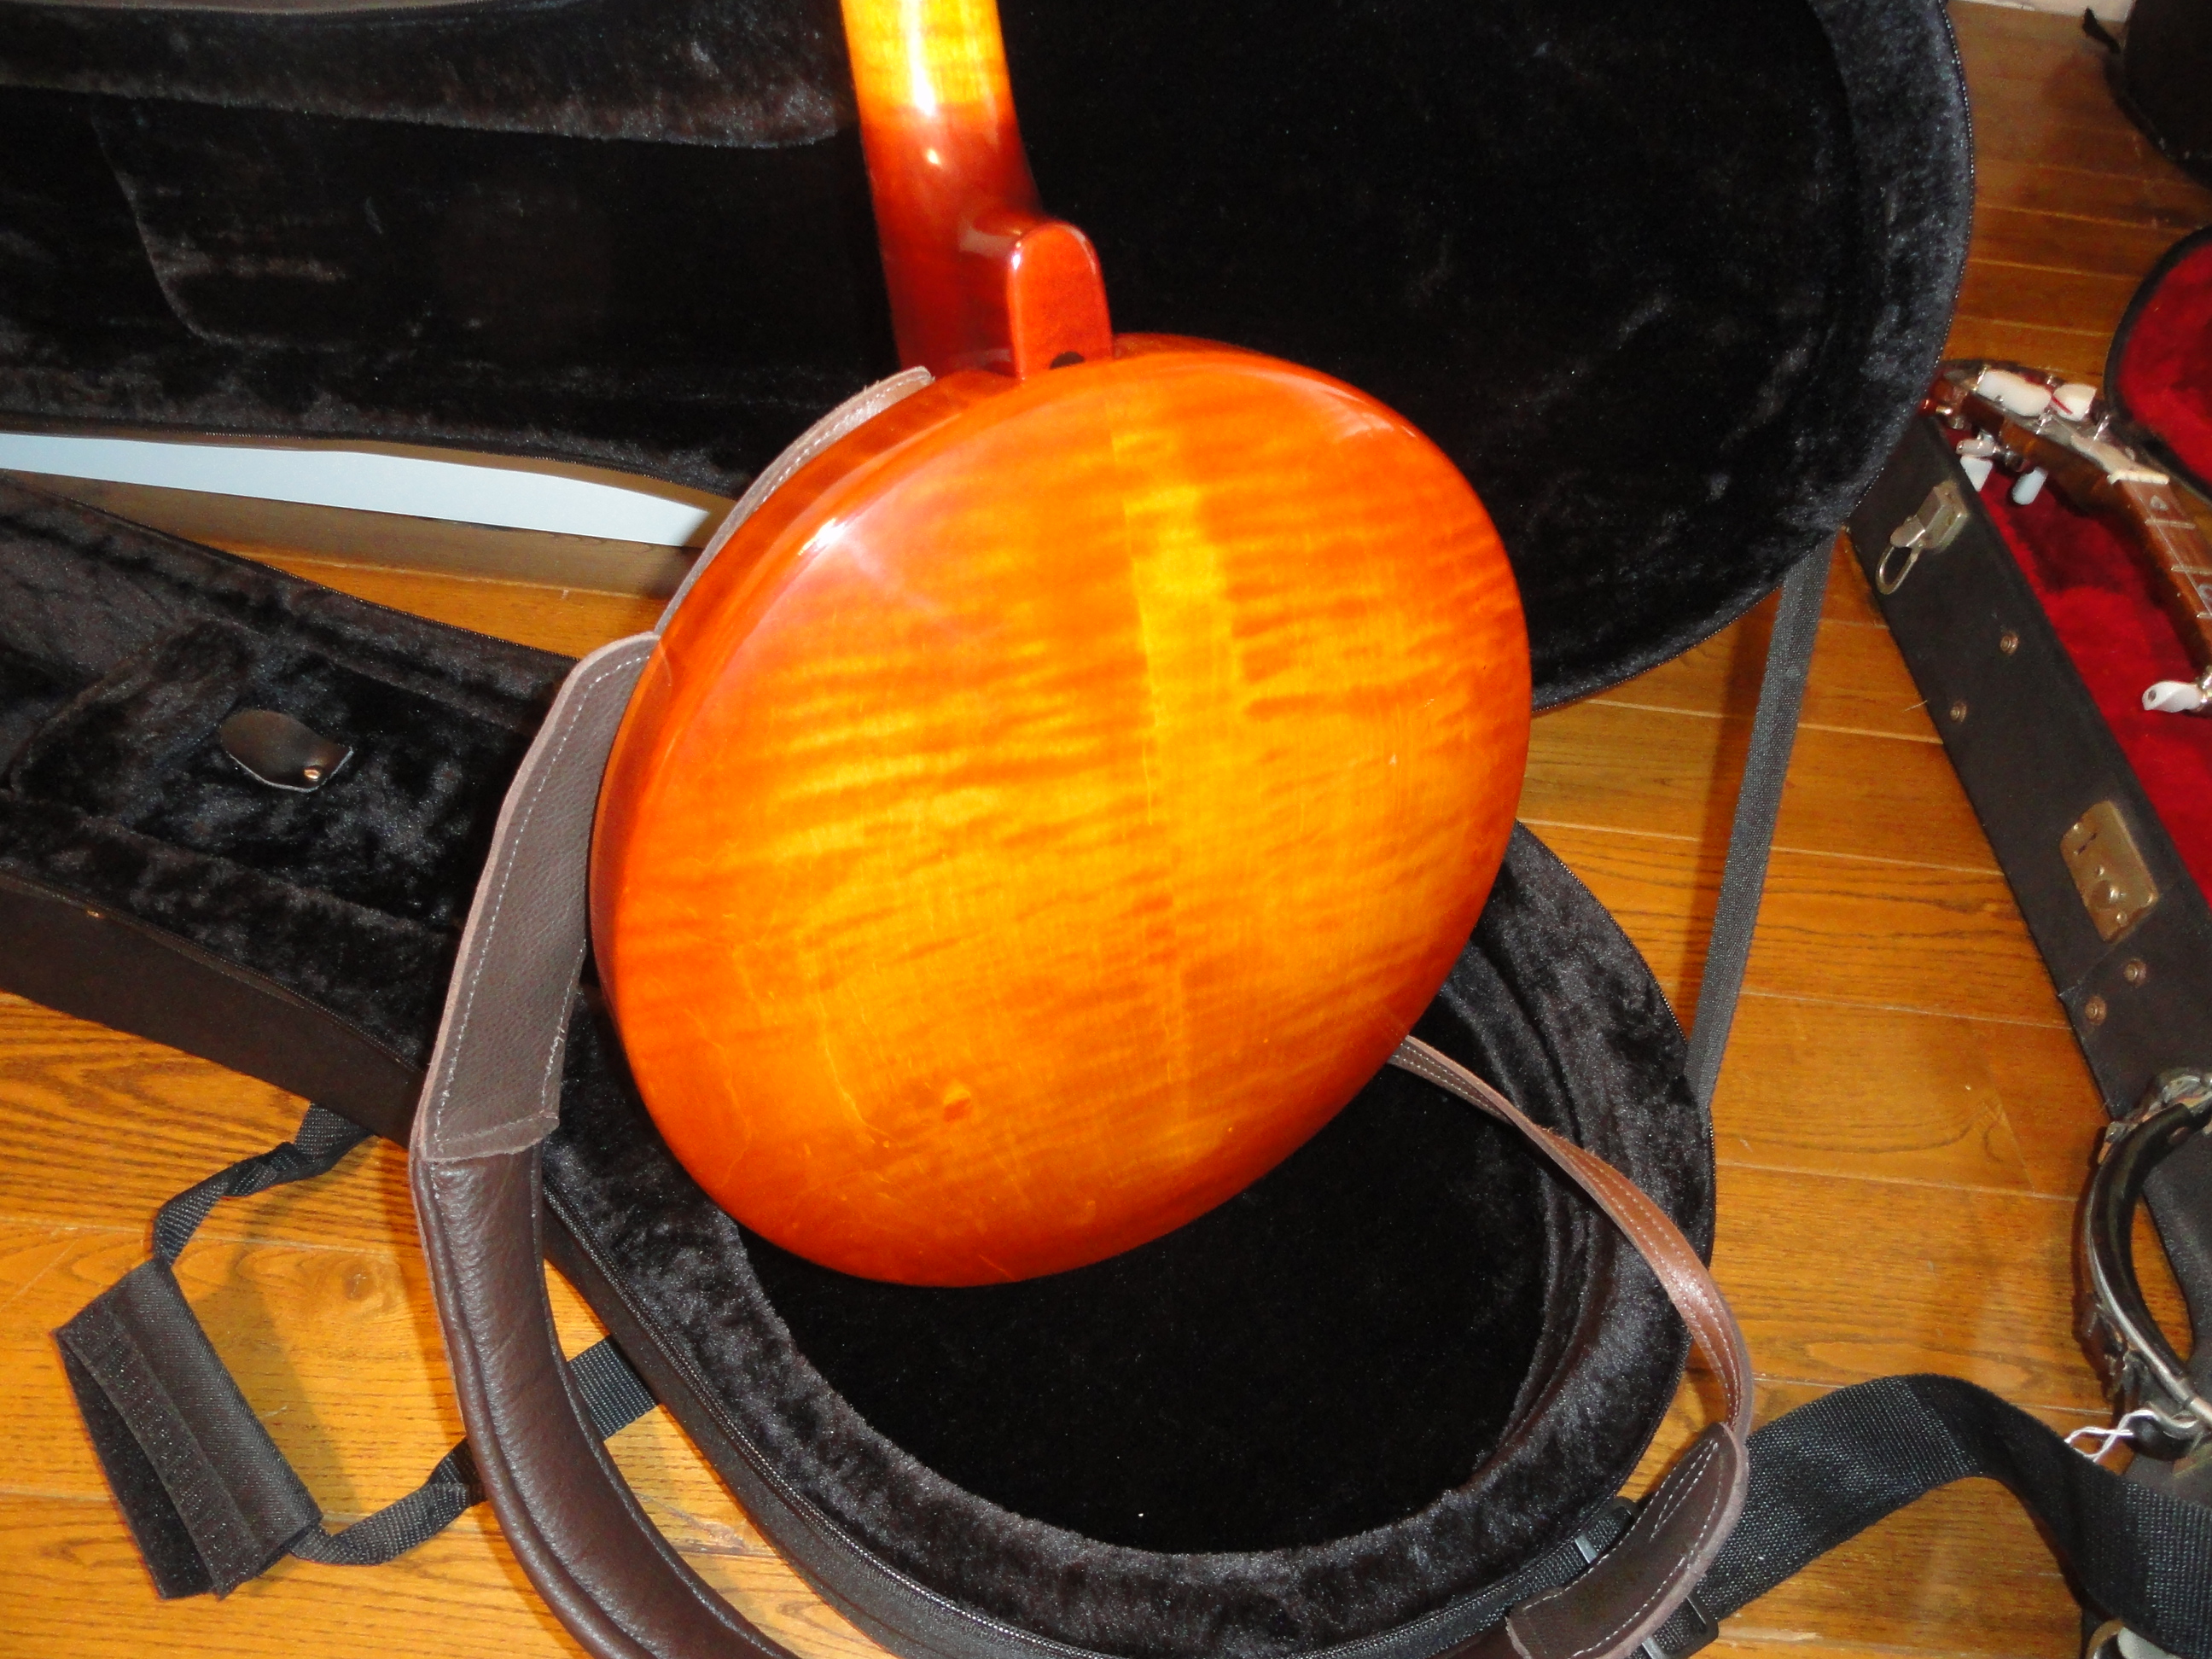
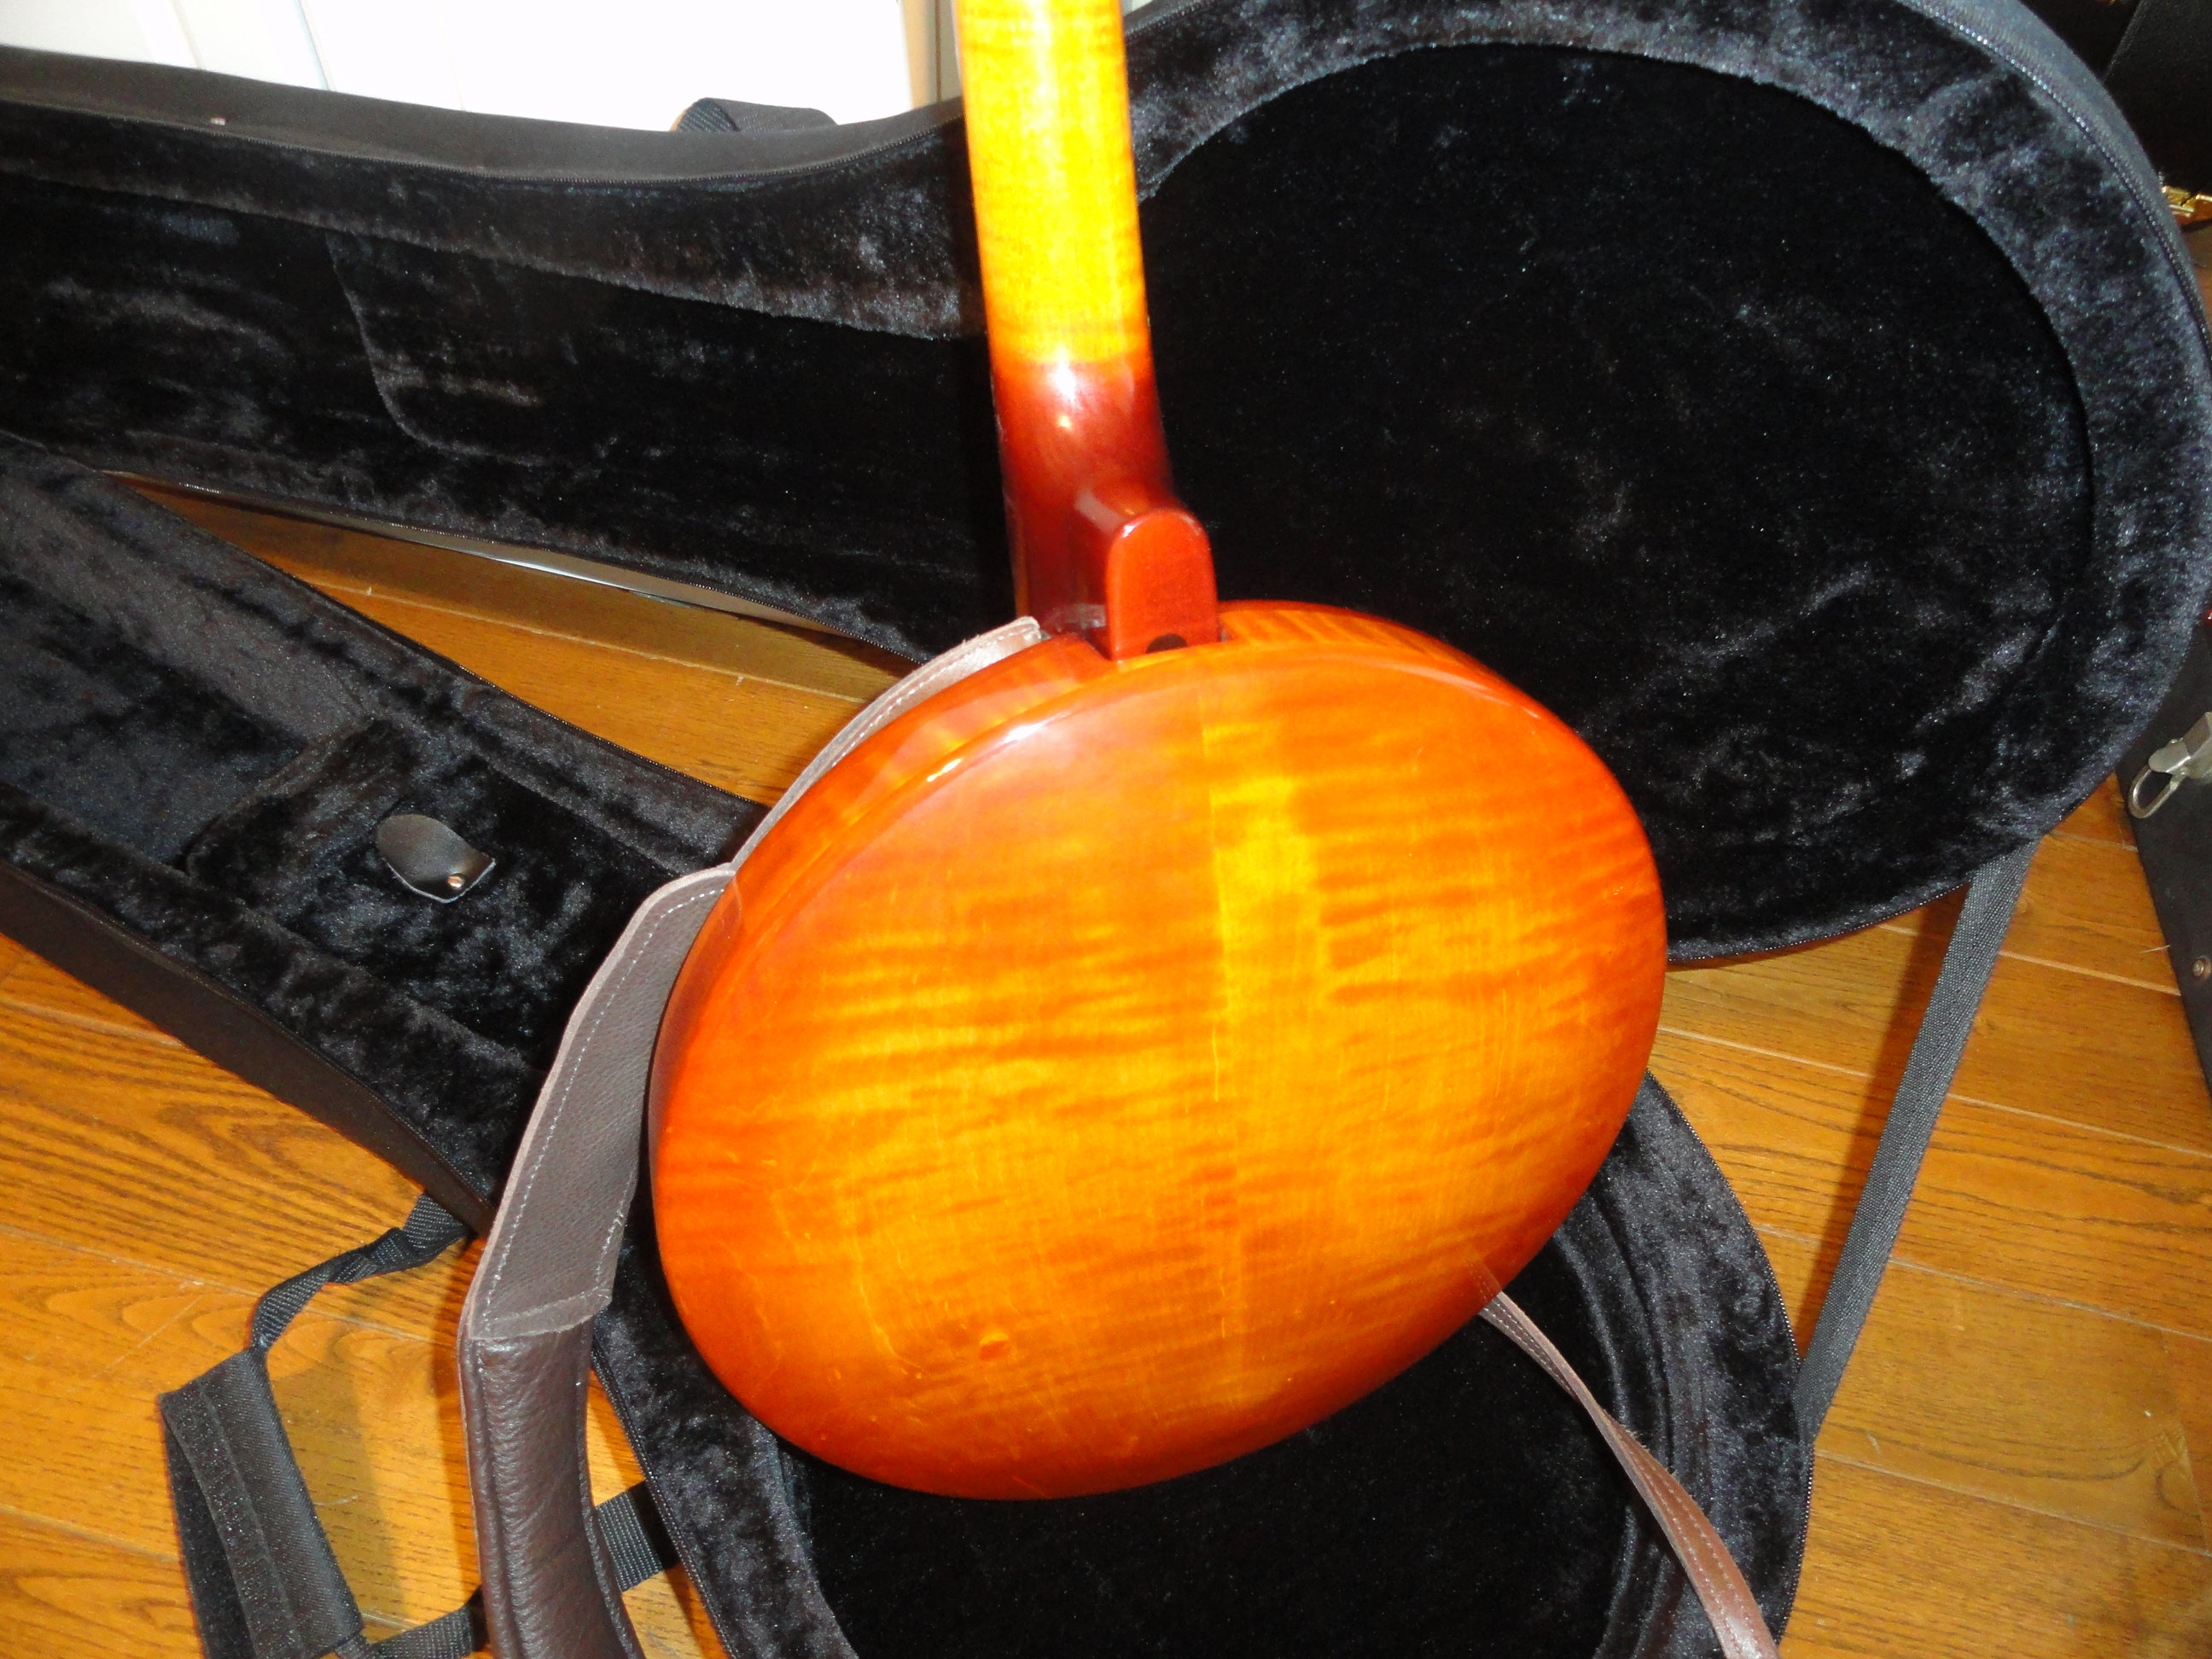
Now we need a resonator. I laminated some curly maple pieces together in a manner that I developed while making bowls. The sides are fashioned from 4 pieces that are basically bandsawn arcs that are fitted together and the joints staggered.
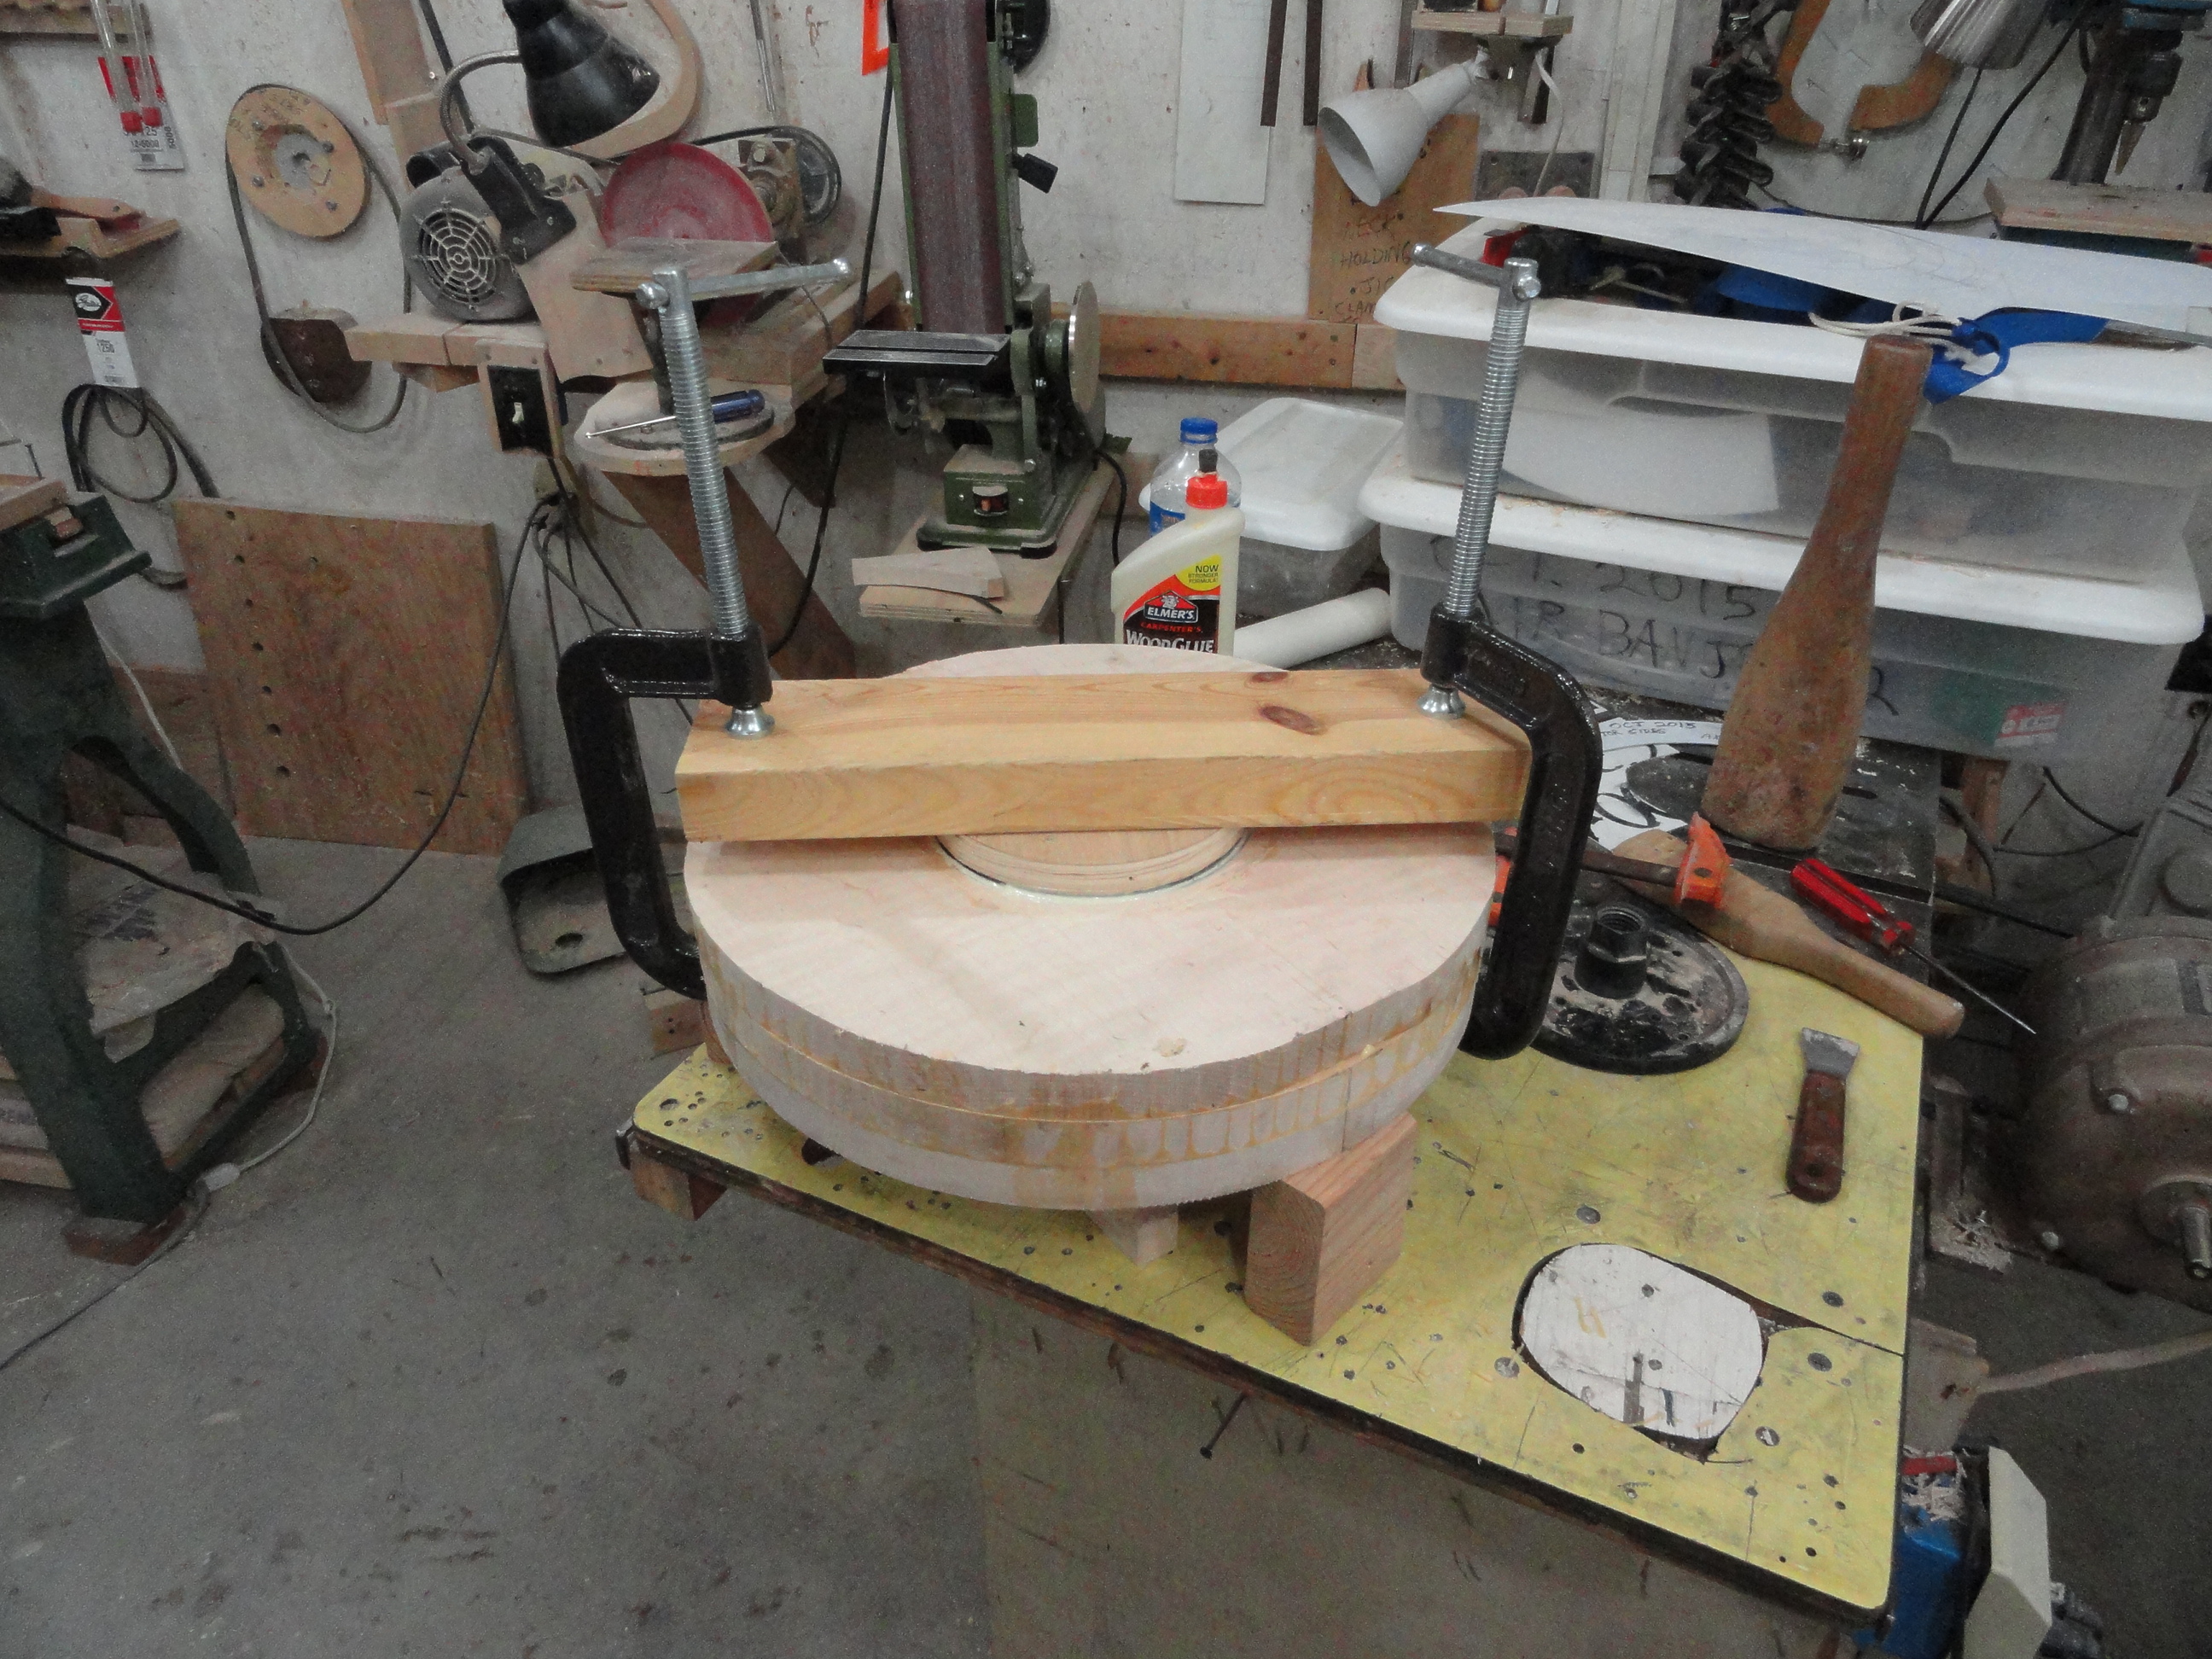
I glue a wooden piece on the back that can be removed after the turning is mostly completed. Most resonators are plywood with a veneer on the outer surfaces. This is a solid maple resonator.

Here is the resonator chucked in my Grizzly lathe. This lathe has a rotating feature that allows me to turn large items. Shown above is the inside of the resonator fitted to my home-made flange.

Here is a shot of the resonator with most of the shaping done. Notice that I put the Nichols edges on this resonator. I’ve held some new Gibson banjos that the resonator felt like a knife edge setting on your leg. This one will not have binding and will be more comfortable to me. I’m keeping this banjo pretty plain. It won’t have fancy peghead shapes or elaborate binding. The resonator will be taken off this wooden block and reattached to the lathe from the other side to finish turning the back.
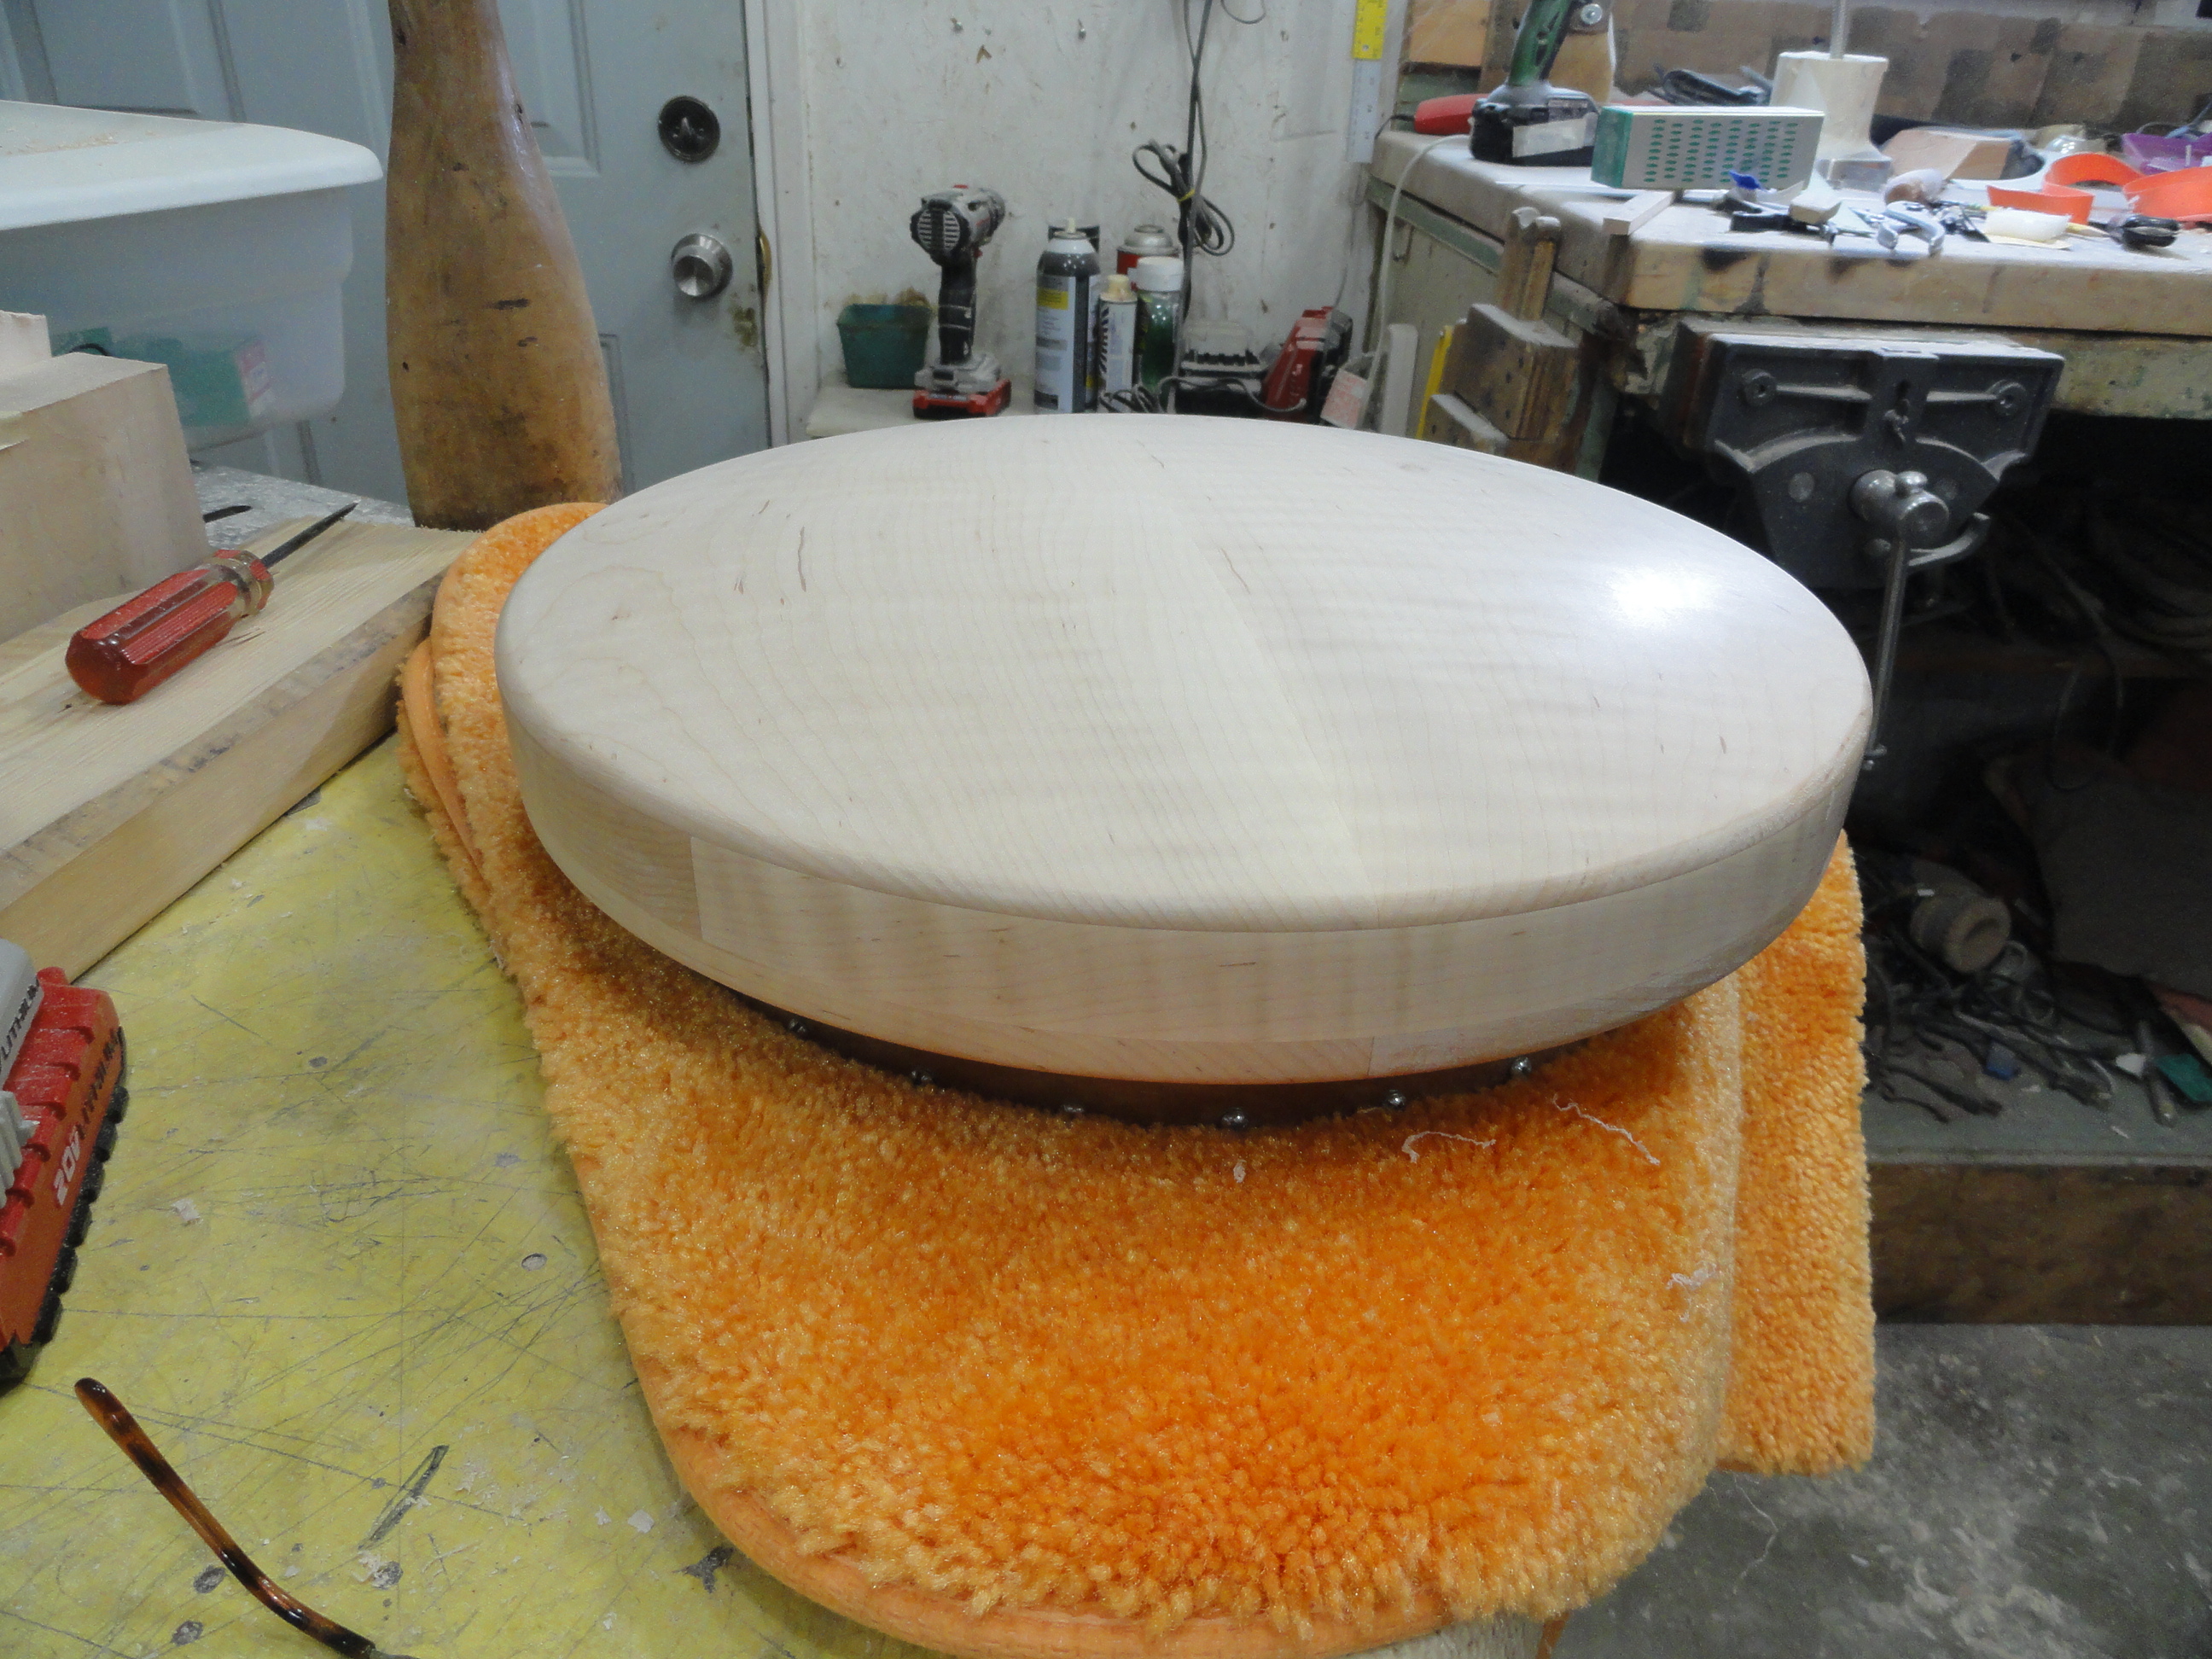
Here is the resonator after it came off the lathe.
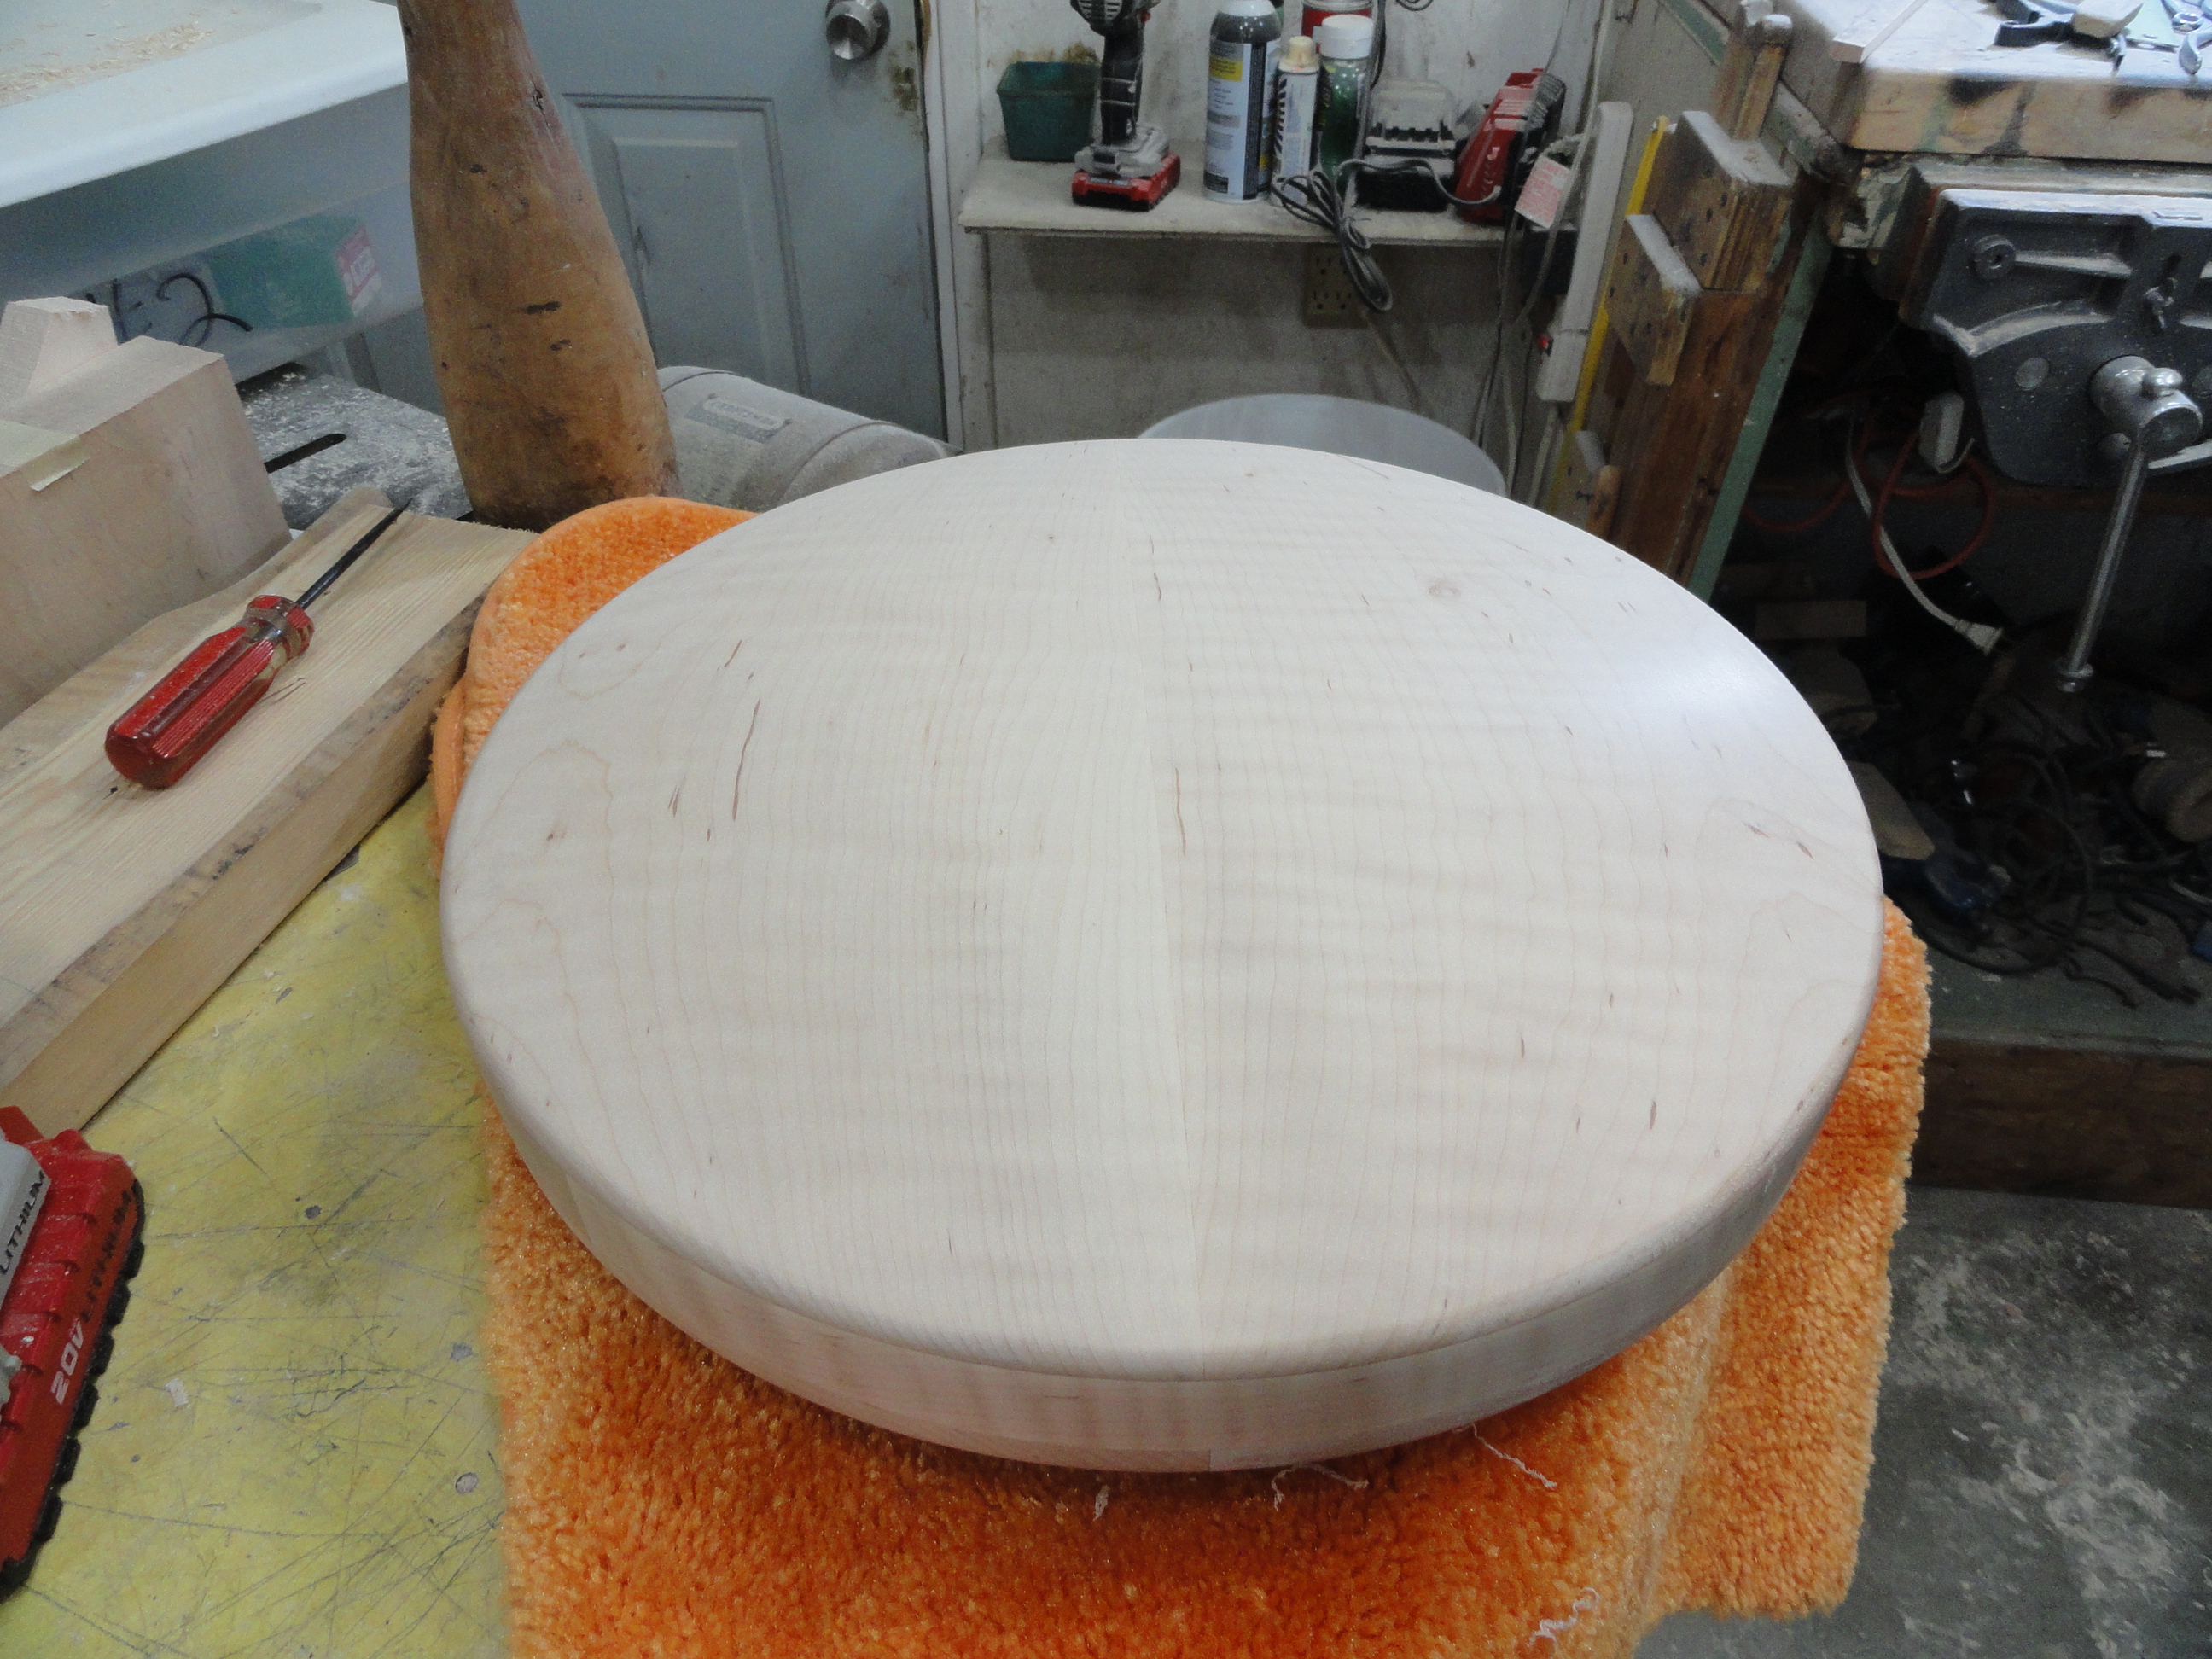
Another shot of the resonator.

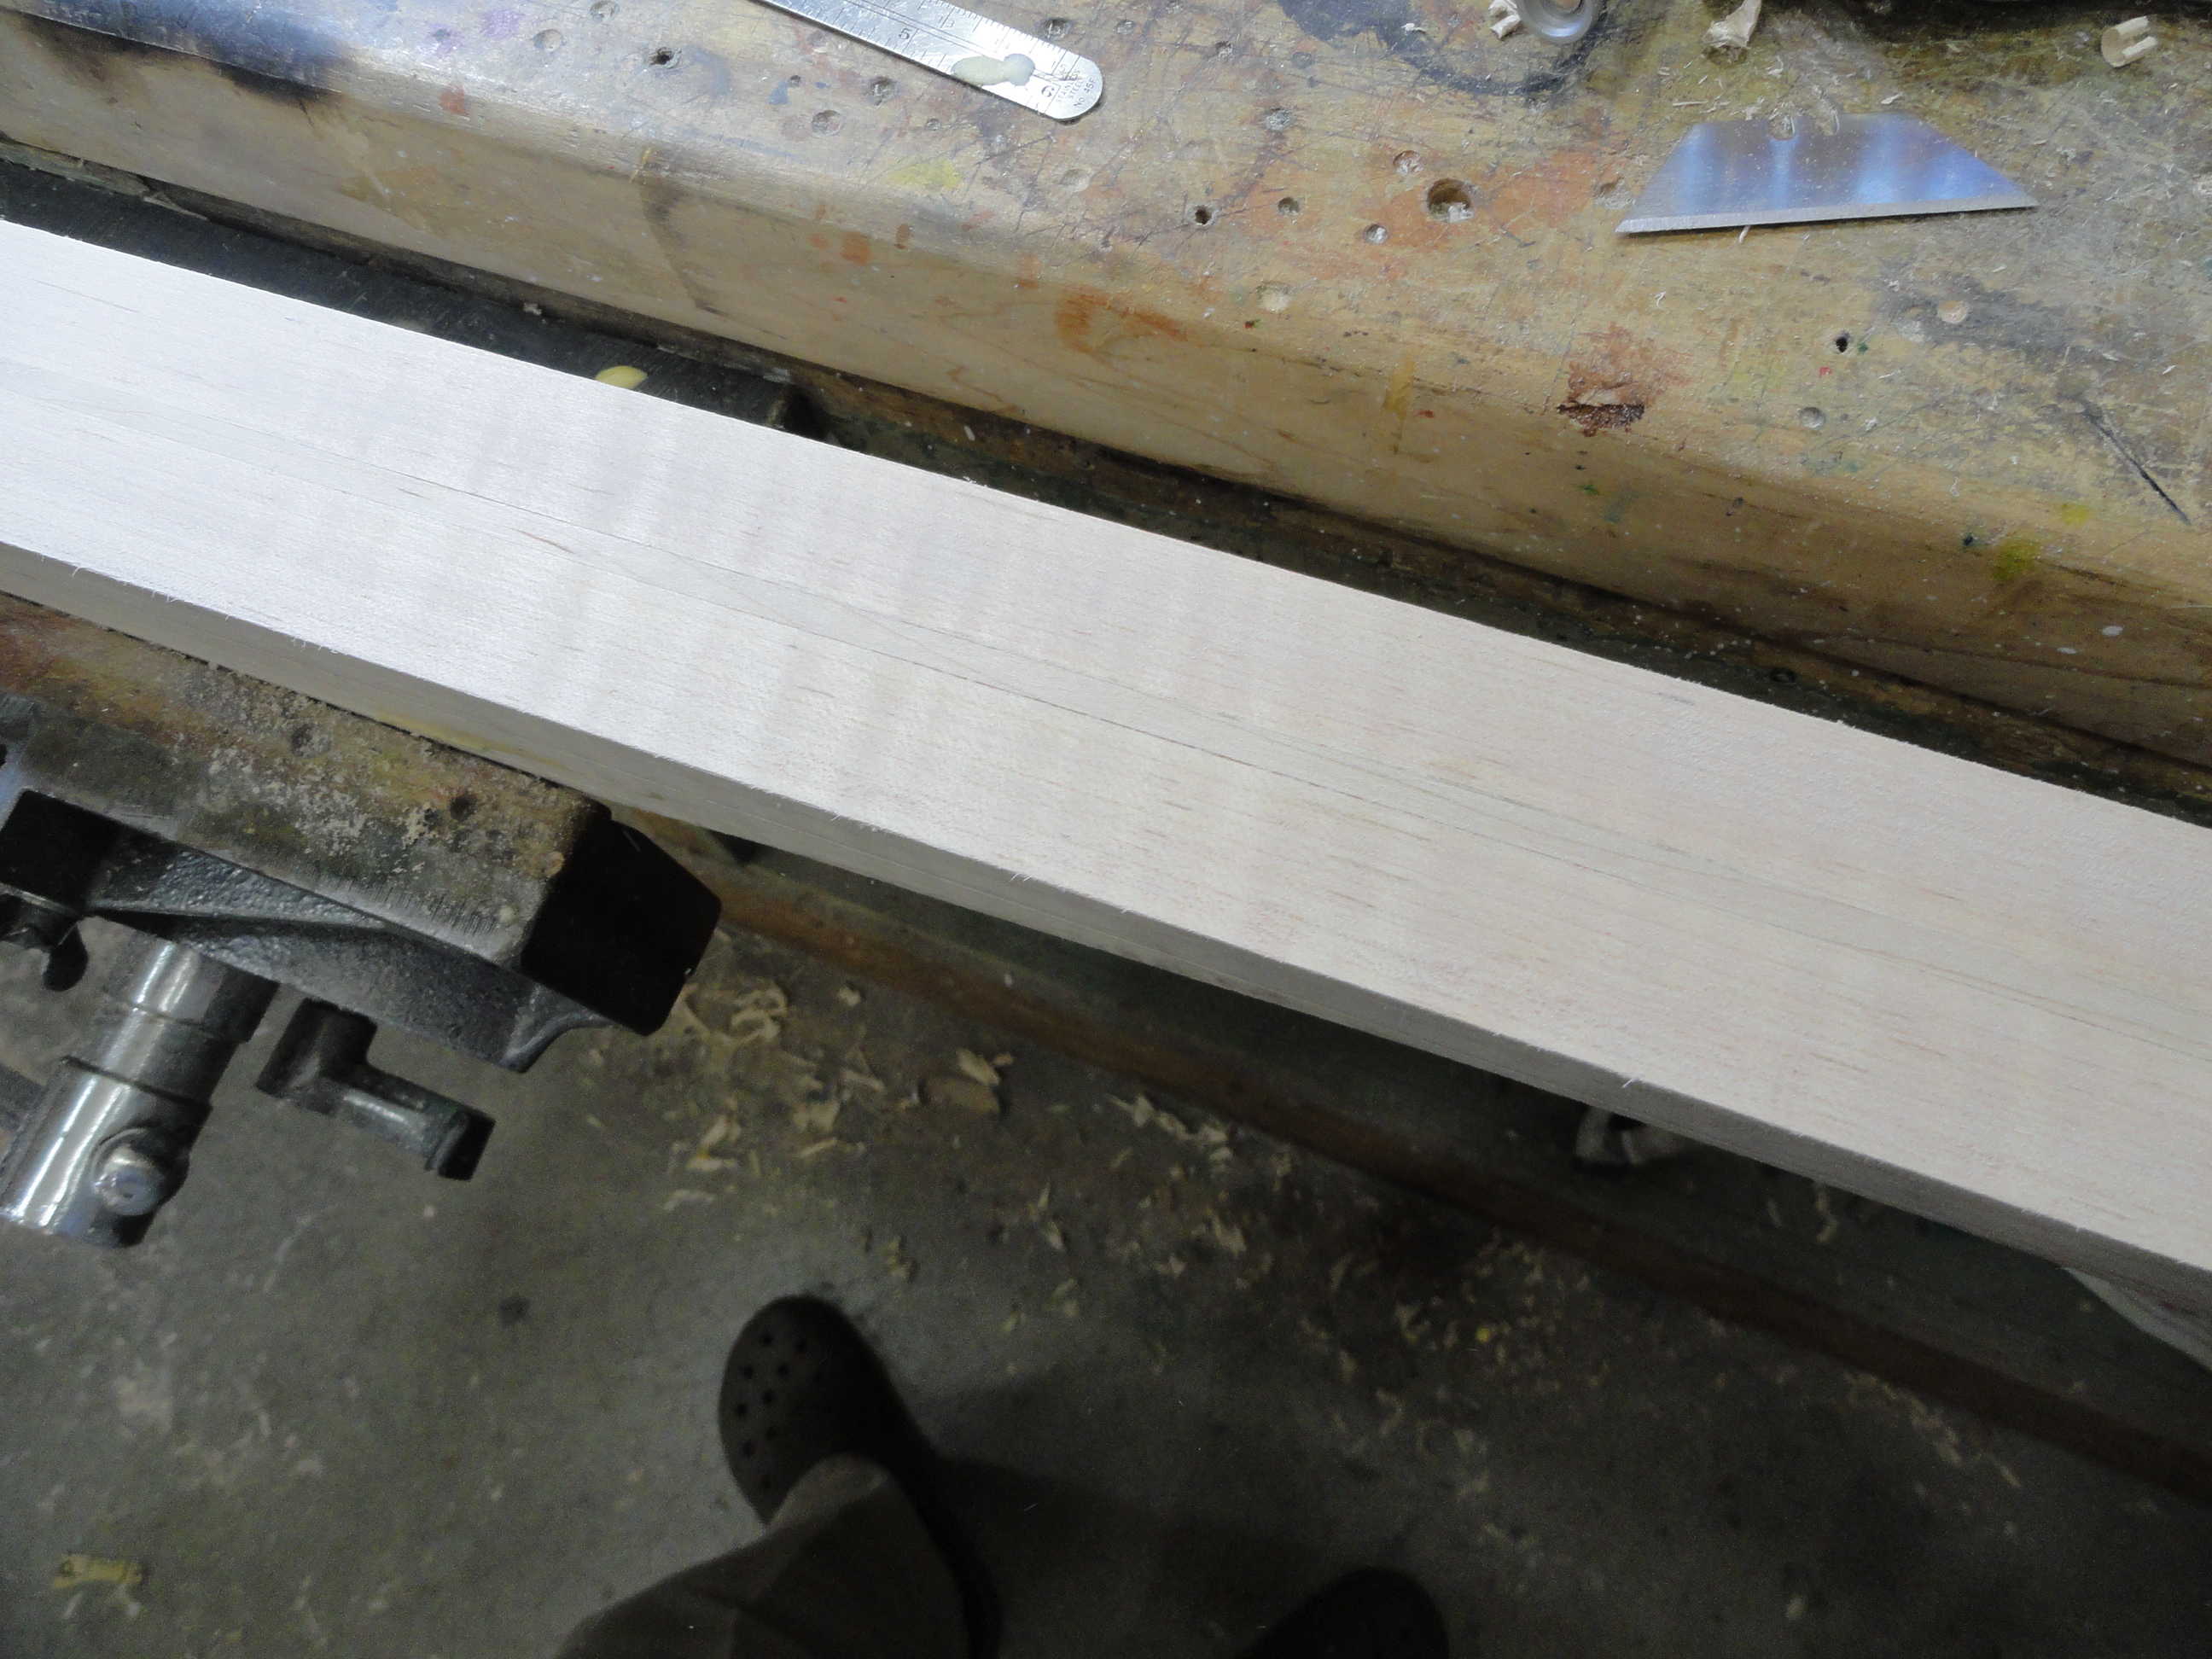
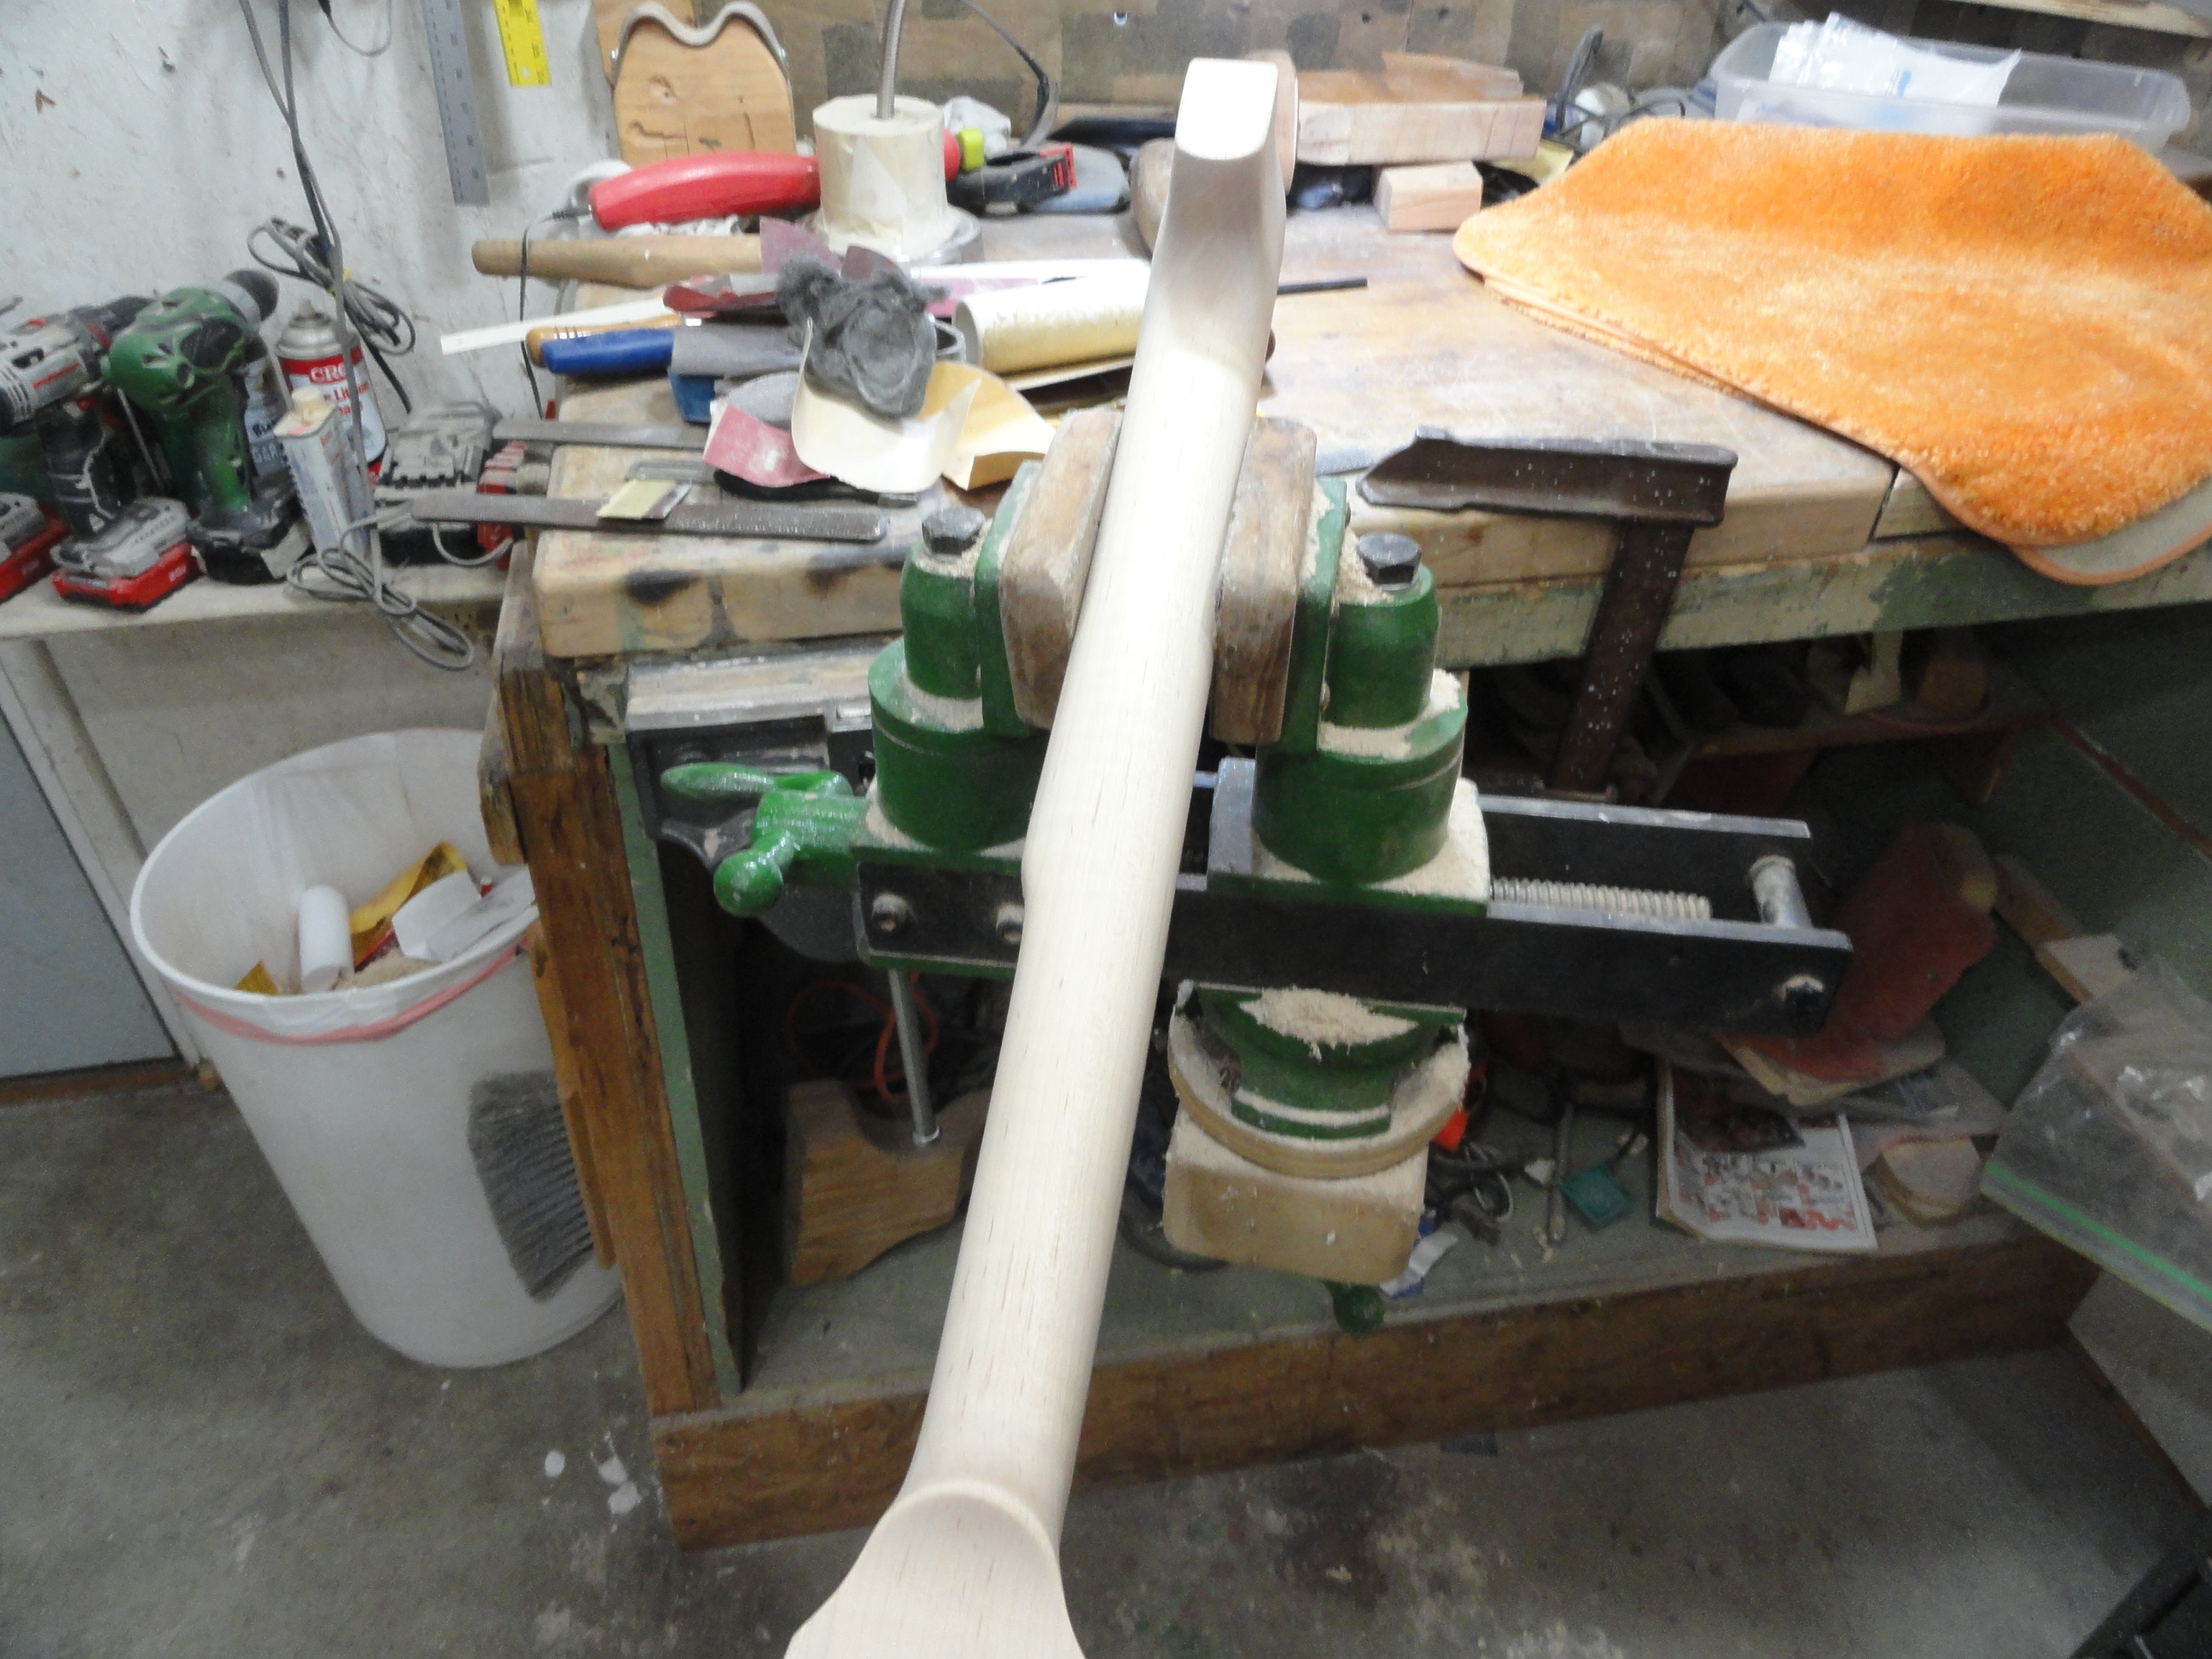
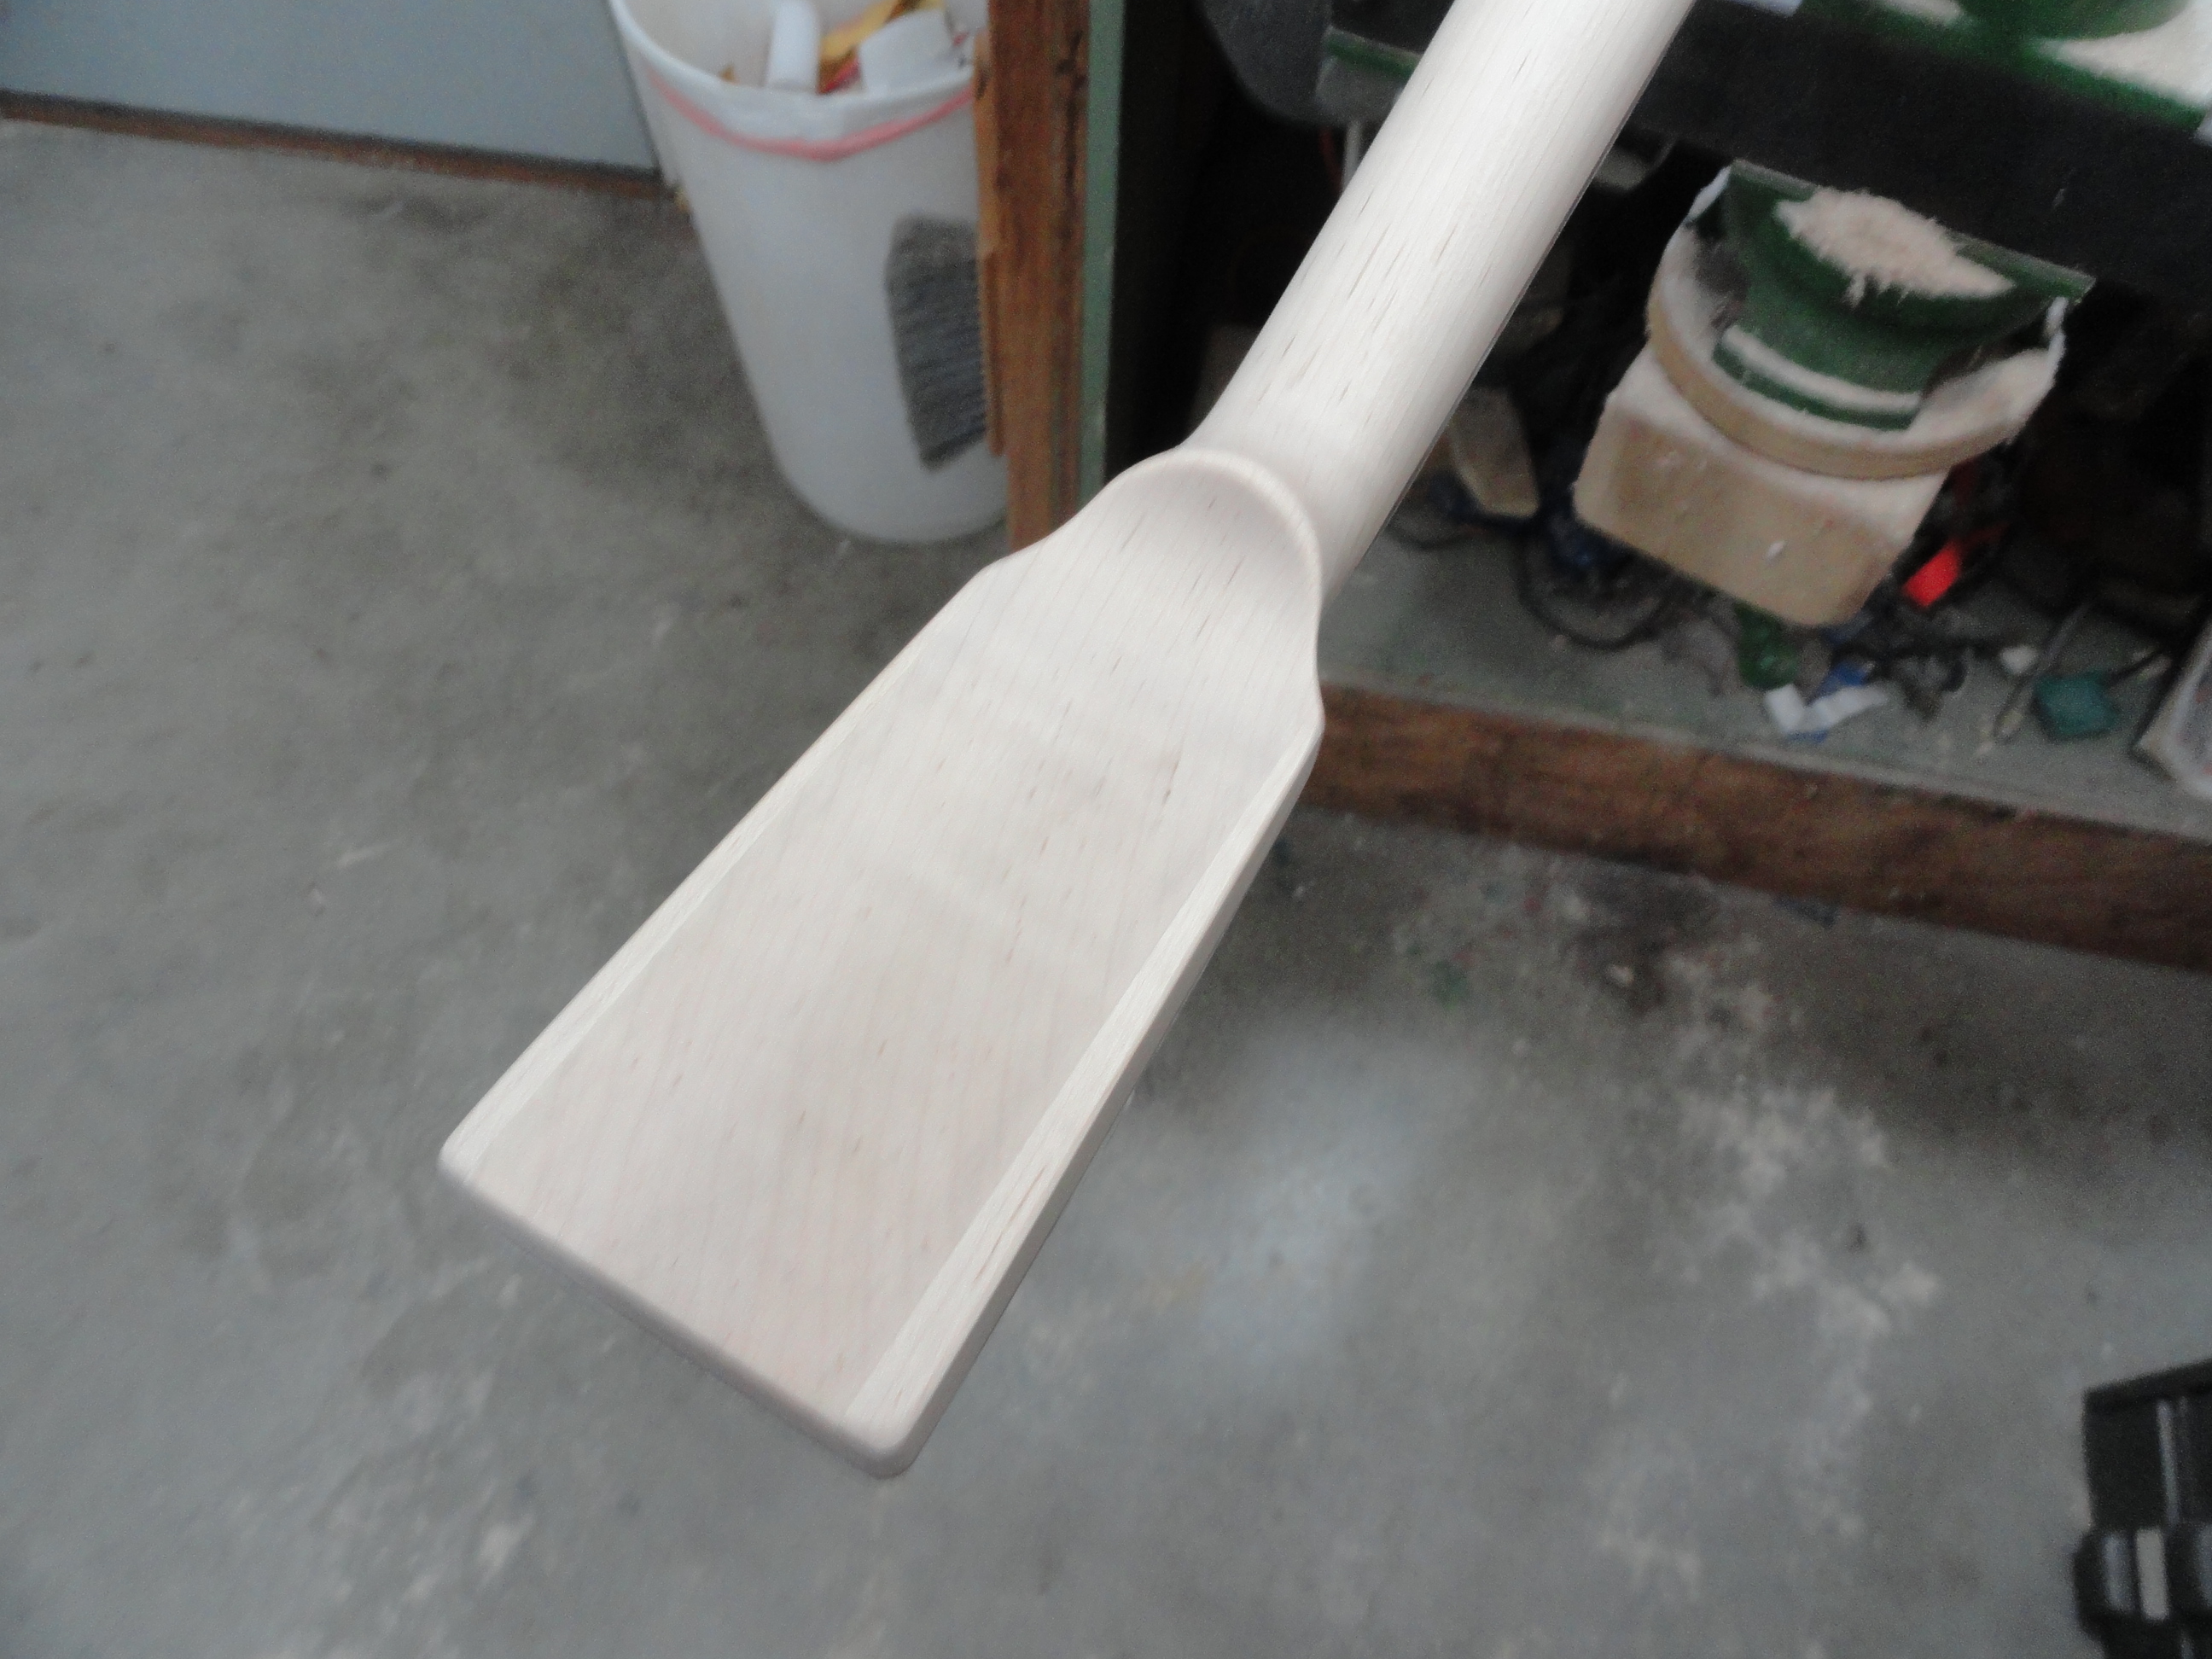
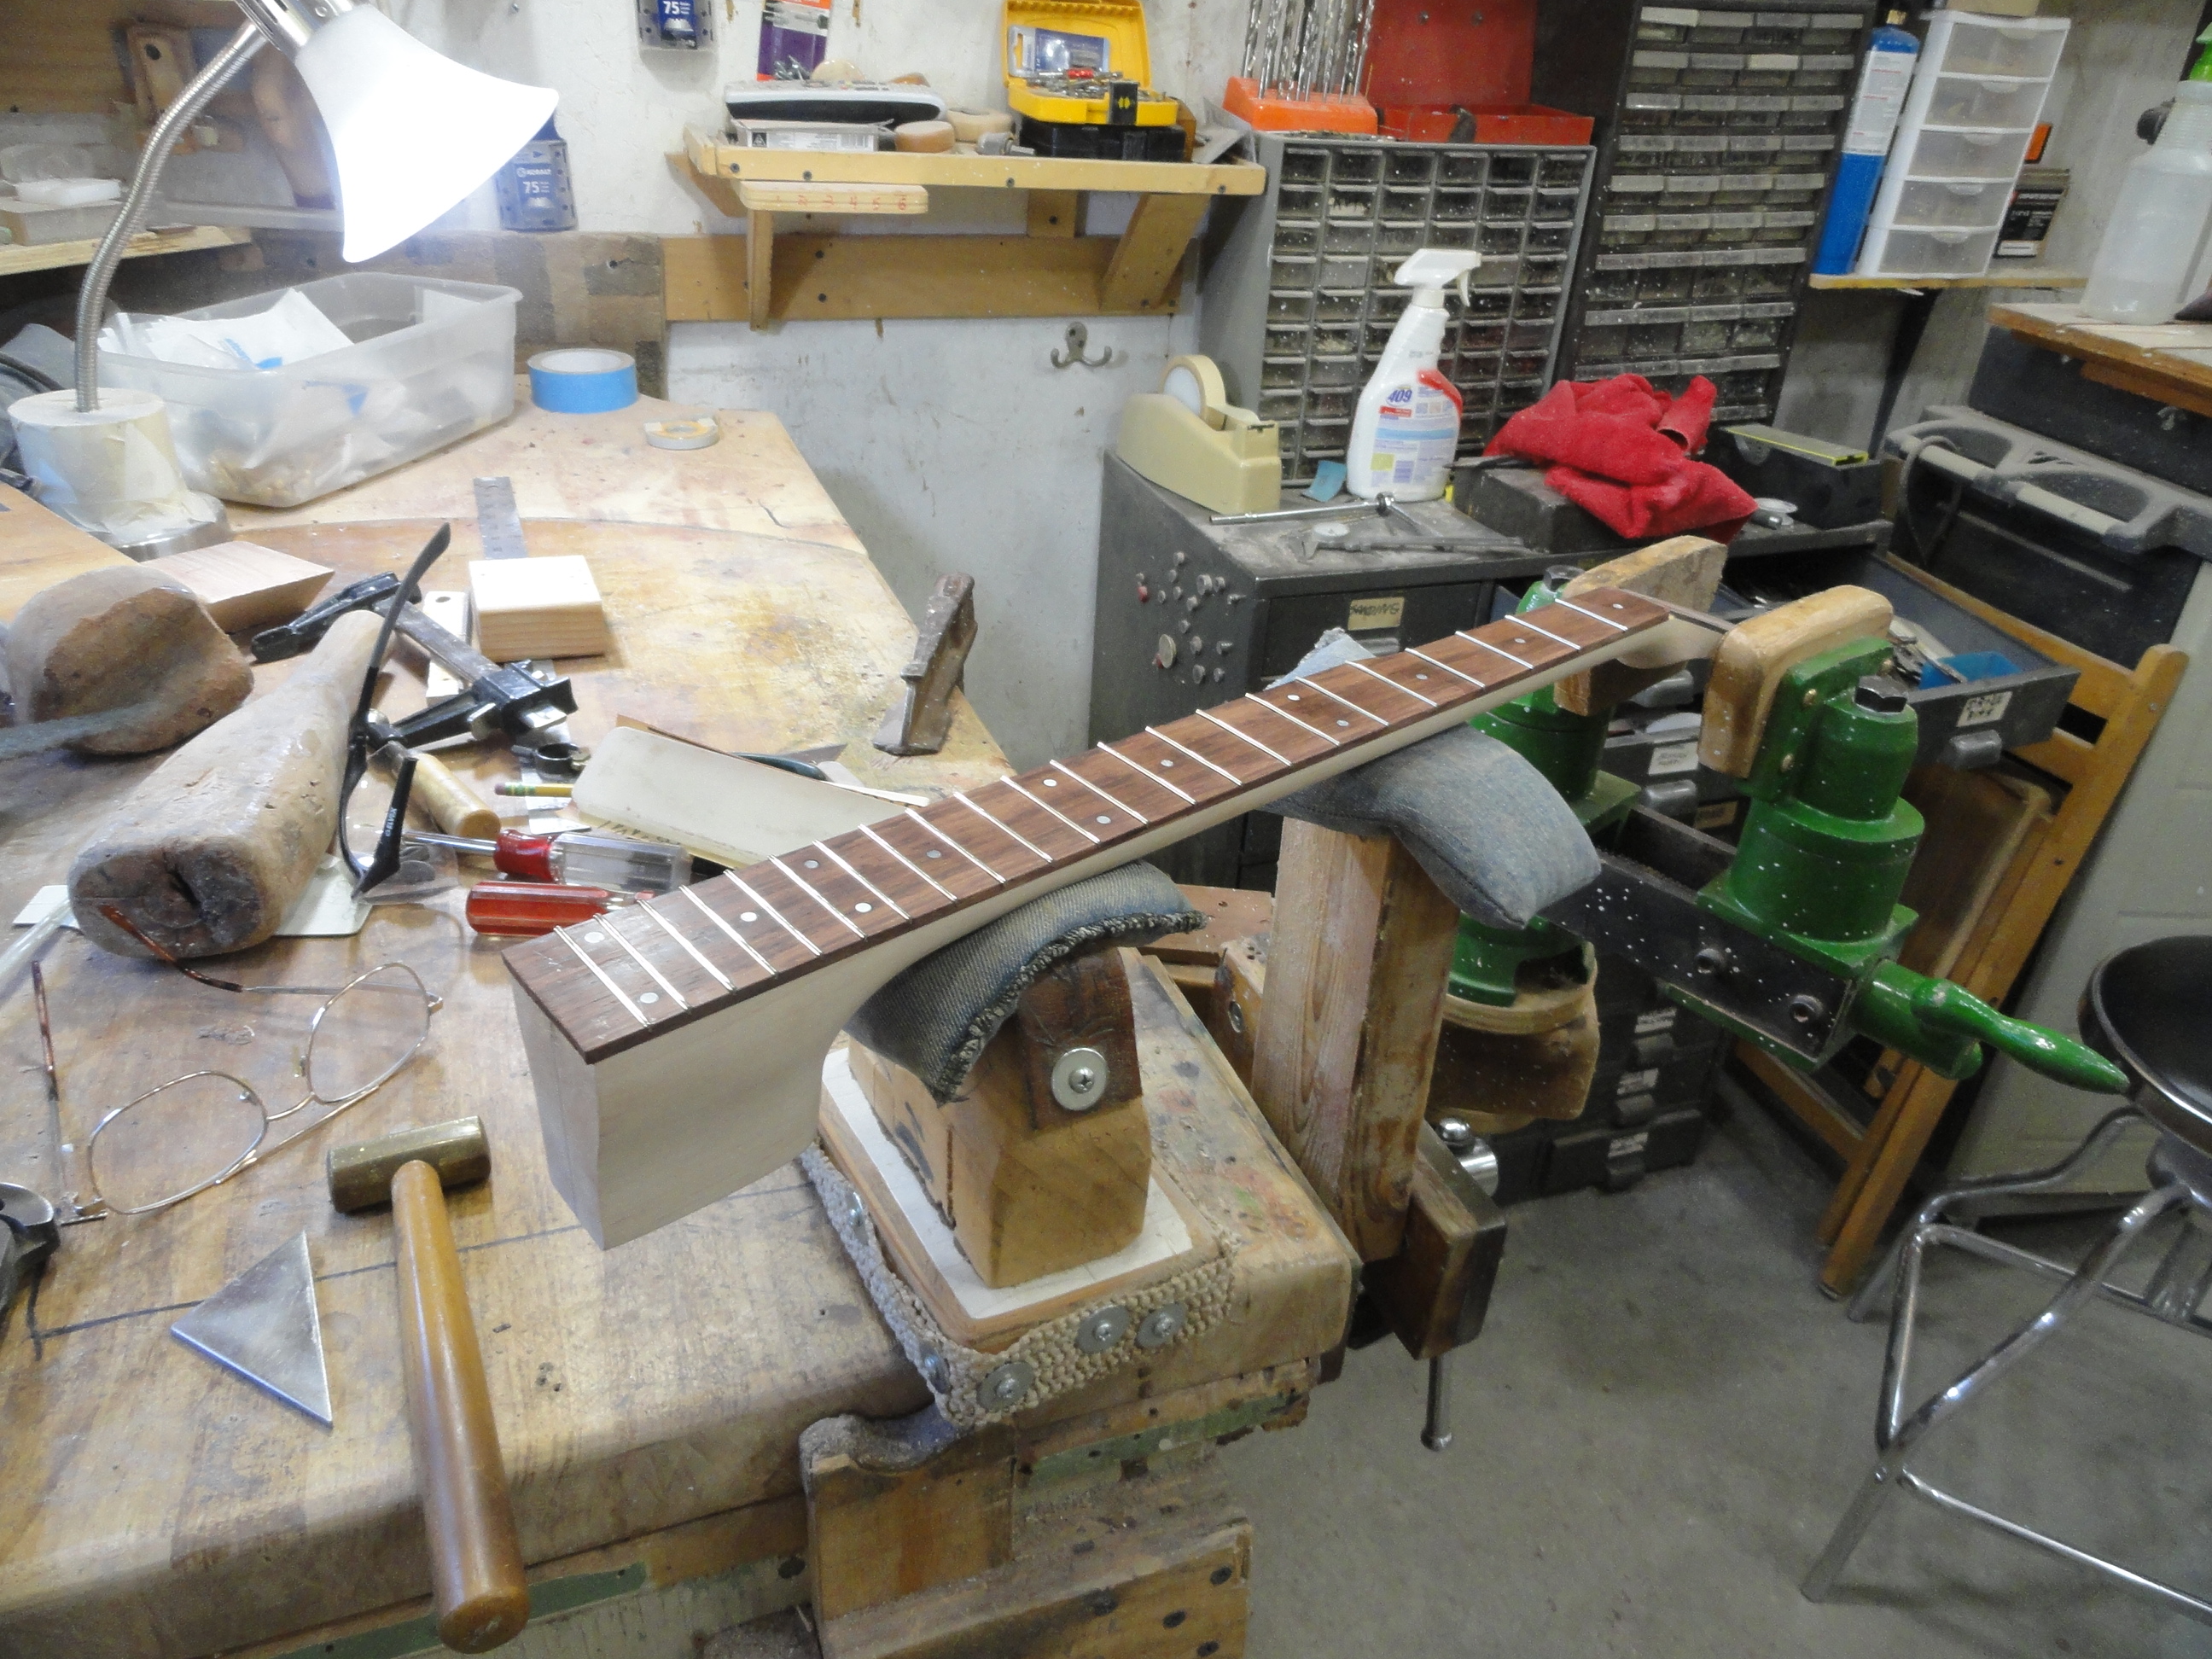
Now we need a neck. I bought some curly maple off Ebay and sawed the profile for a one piece neck. Of course I had to laminate ears on the peghead. I used an older style truss rod in this neck. It was what I had in stock. It wouldn’t have been my first choice but it was what I had.
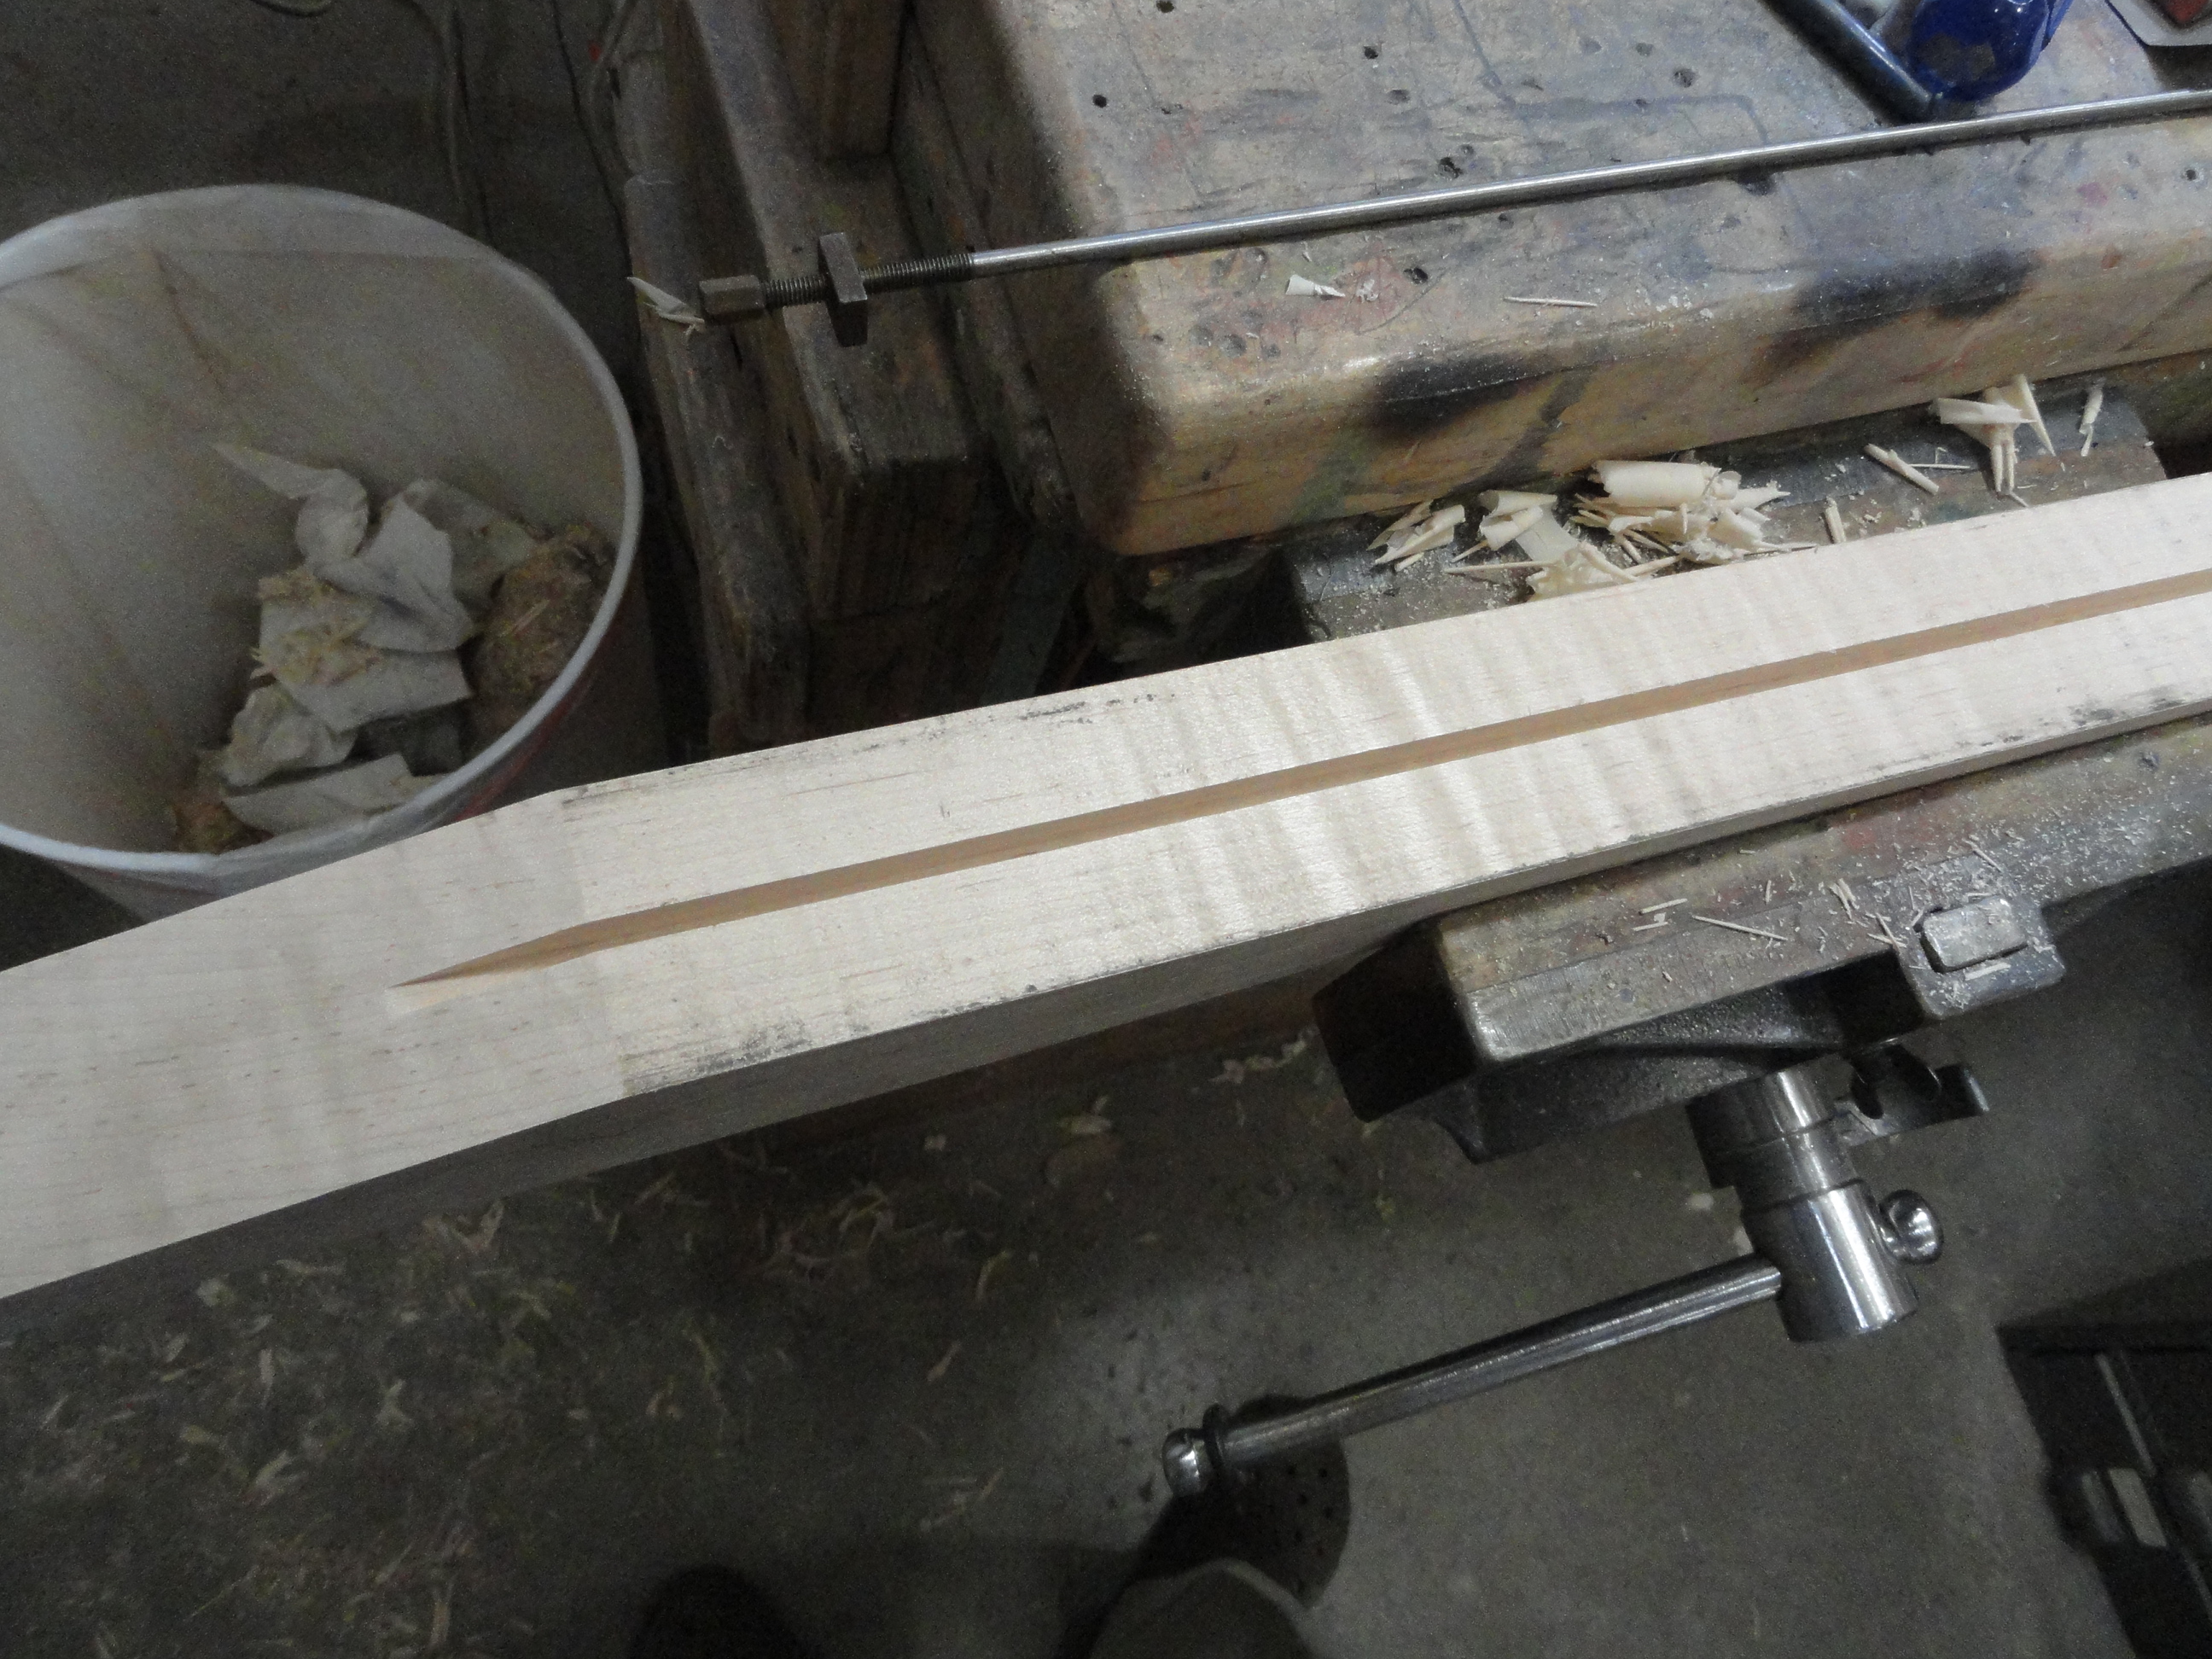
Groove for truss rod.
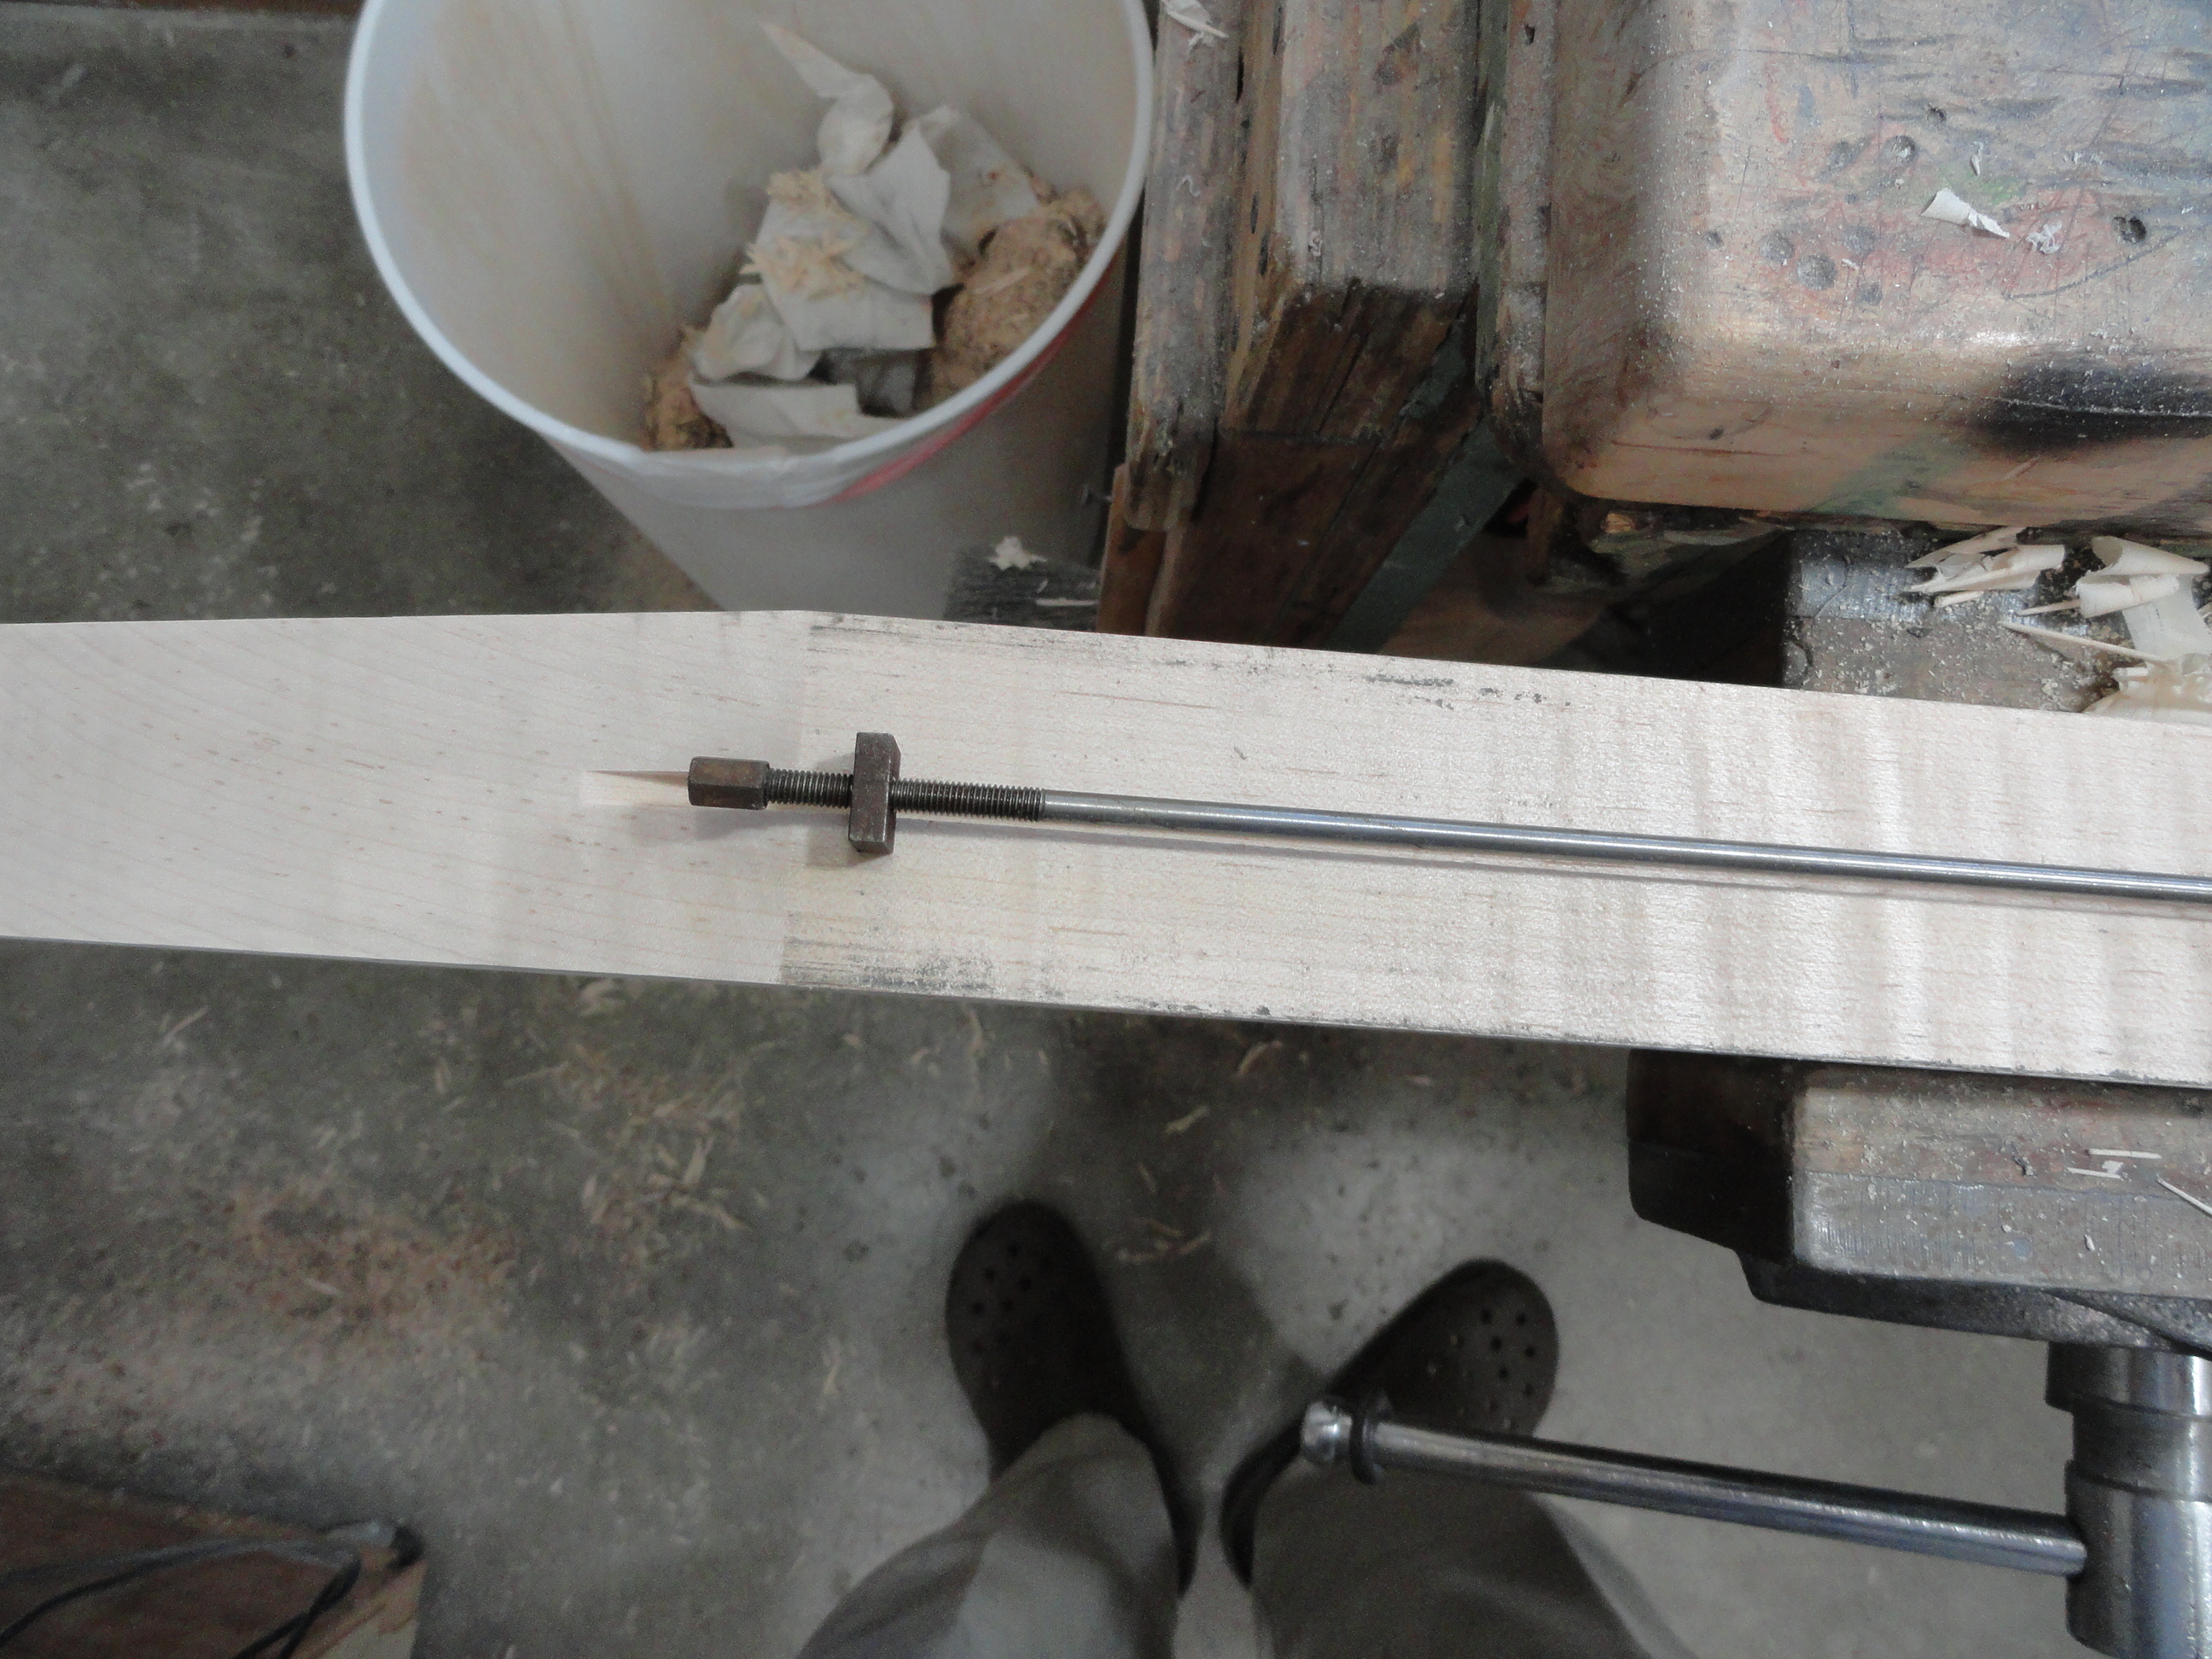
Truss rod.
Neck after filler stick is glued on top of the truss rod.
Here is a shot of the peghead ears. You can see the space cut out for the truss rod adjusting socket.
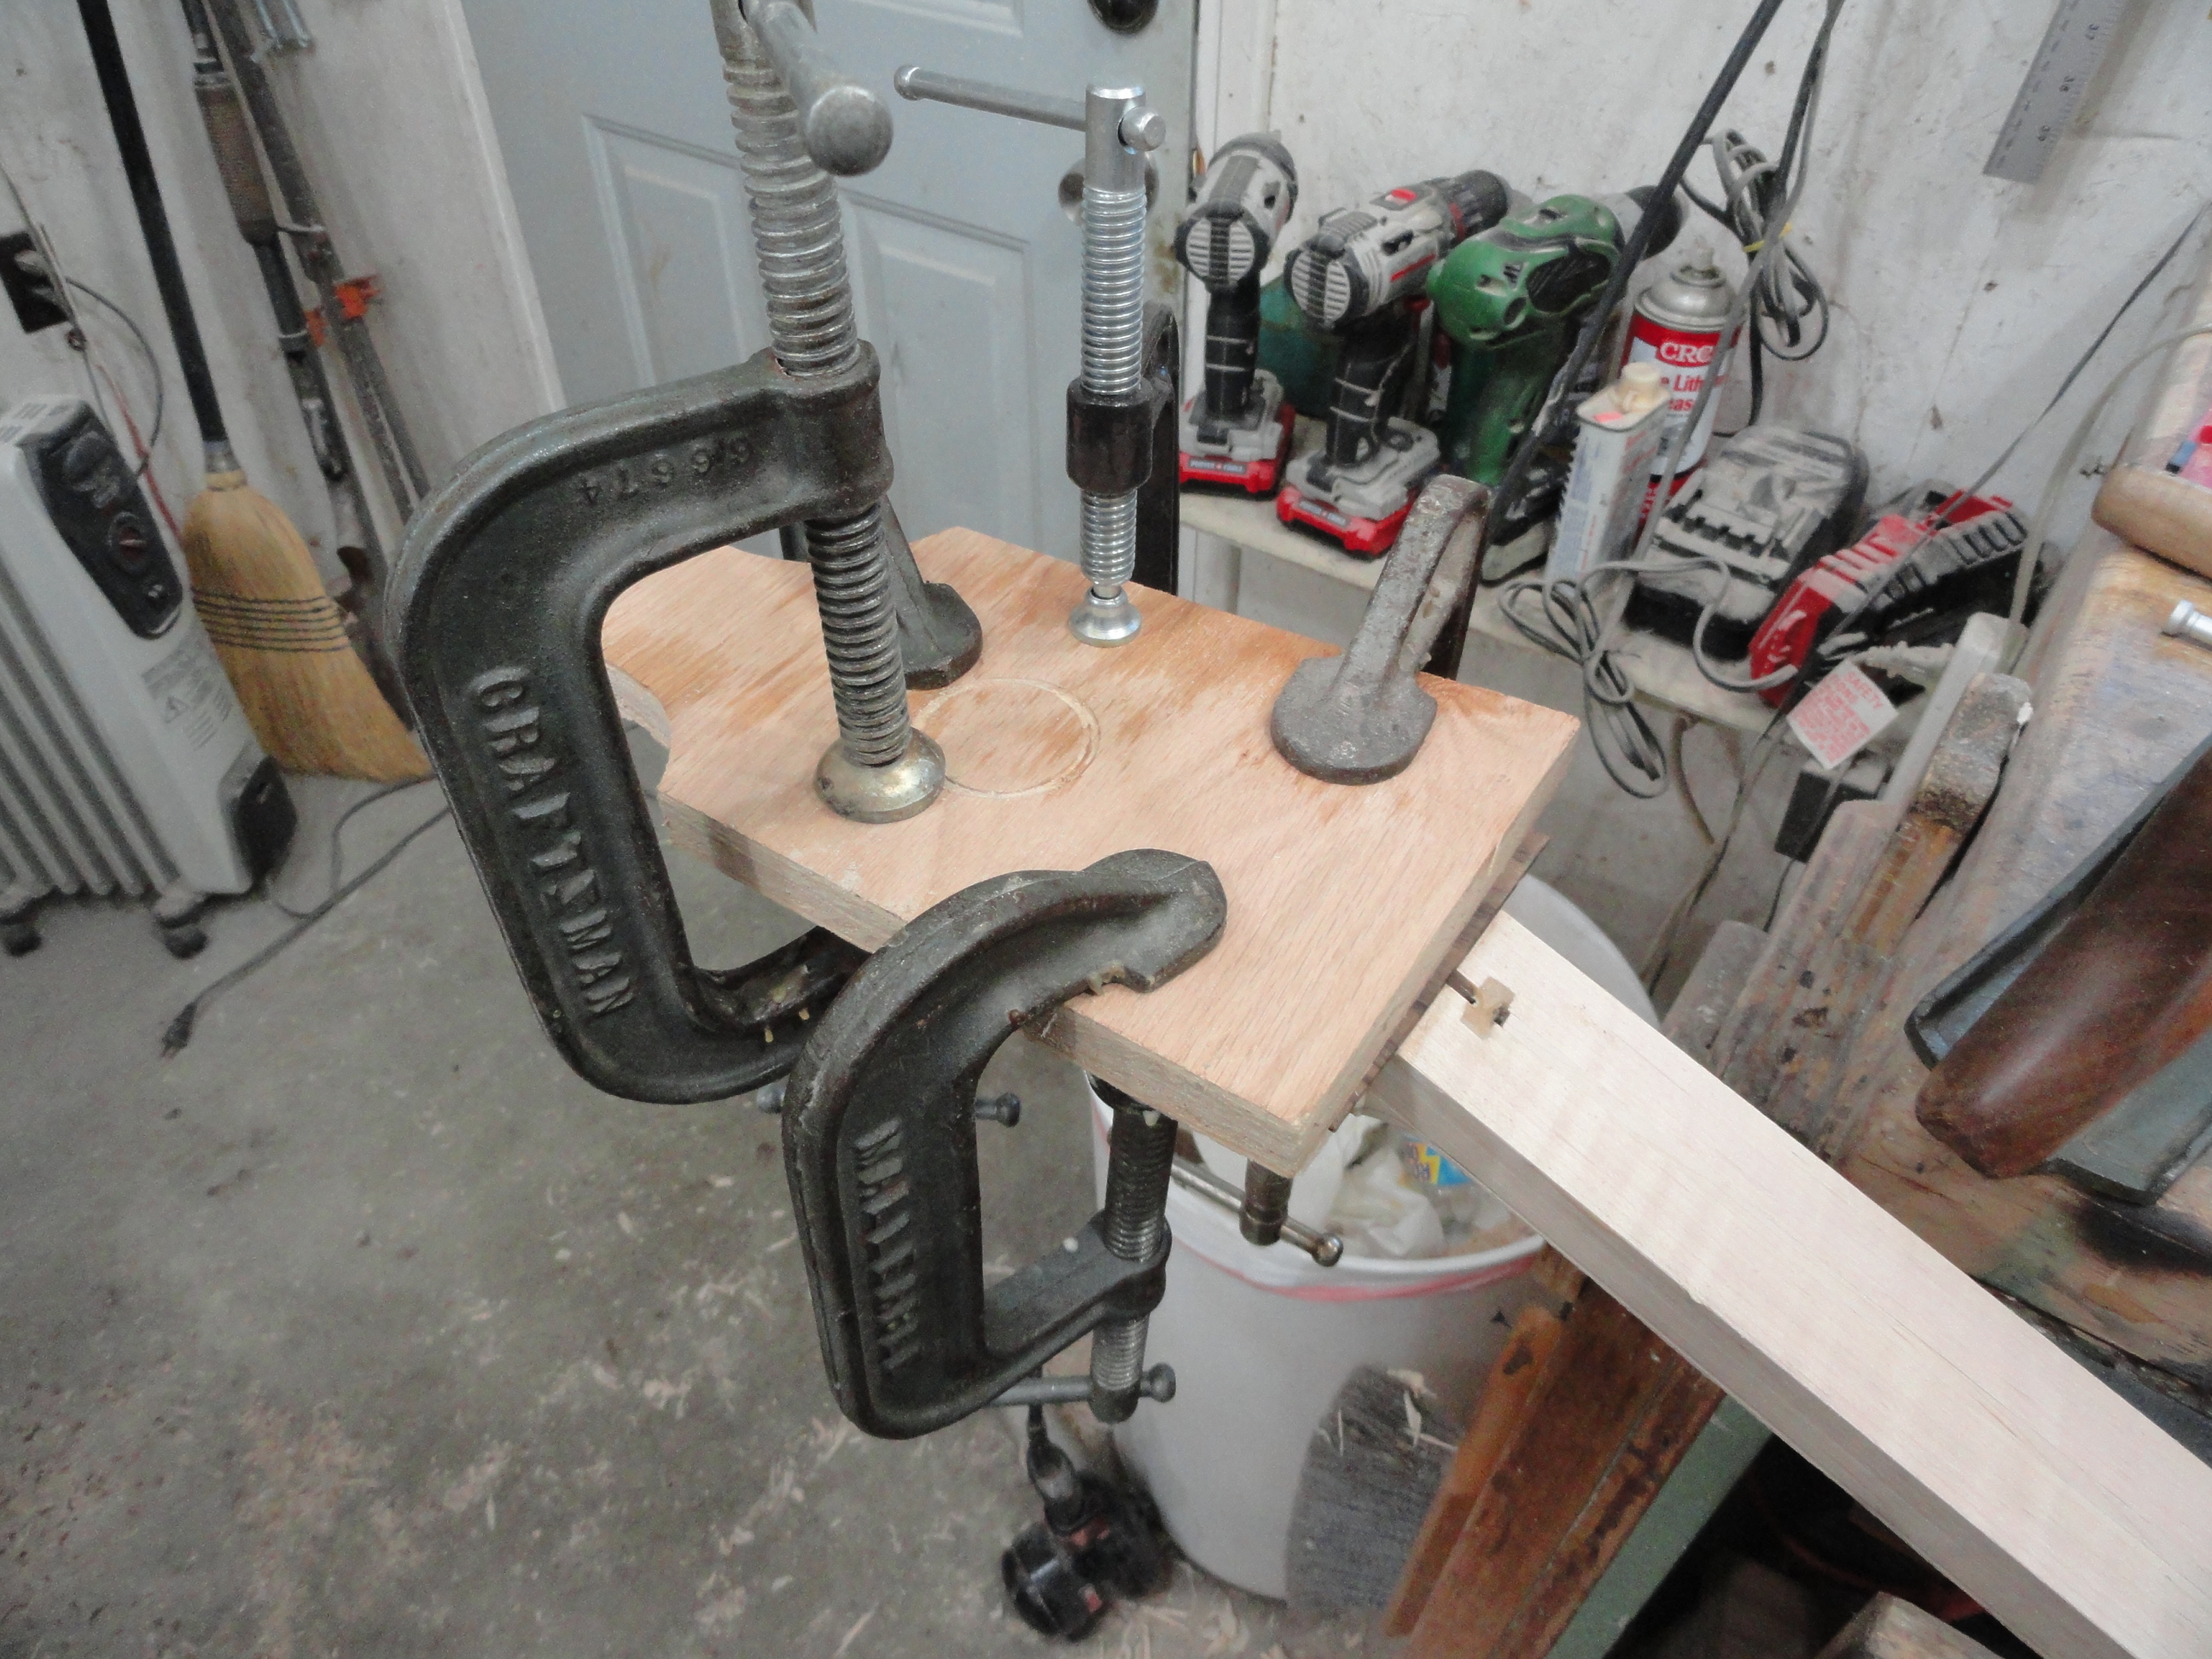
Here is the peghead overlay being glued on.
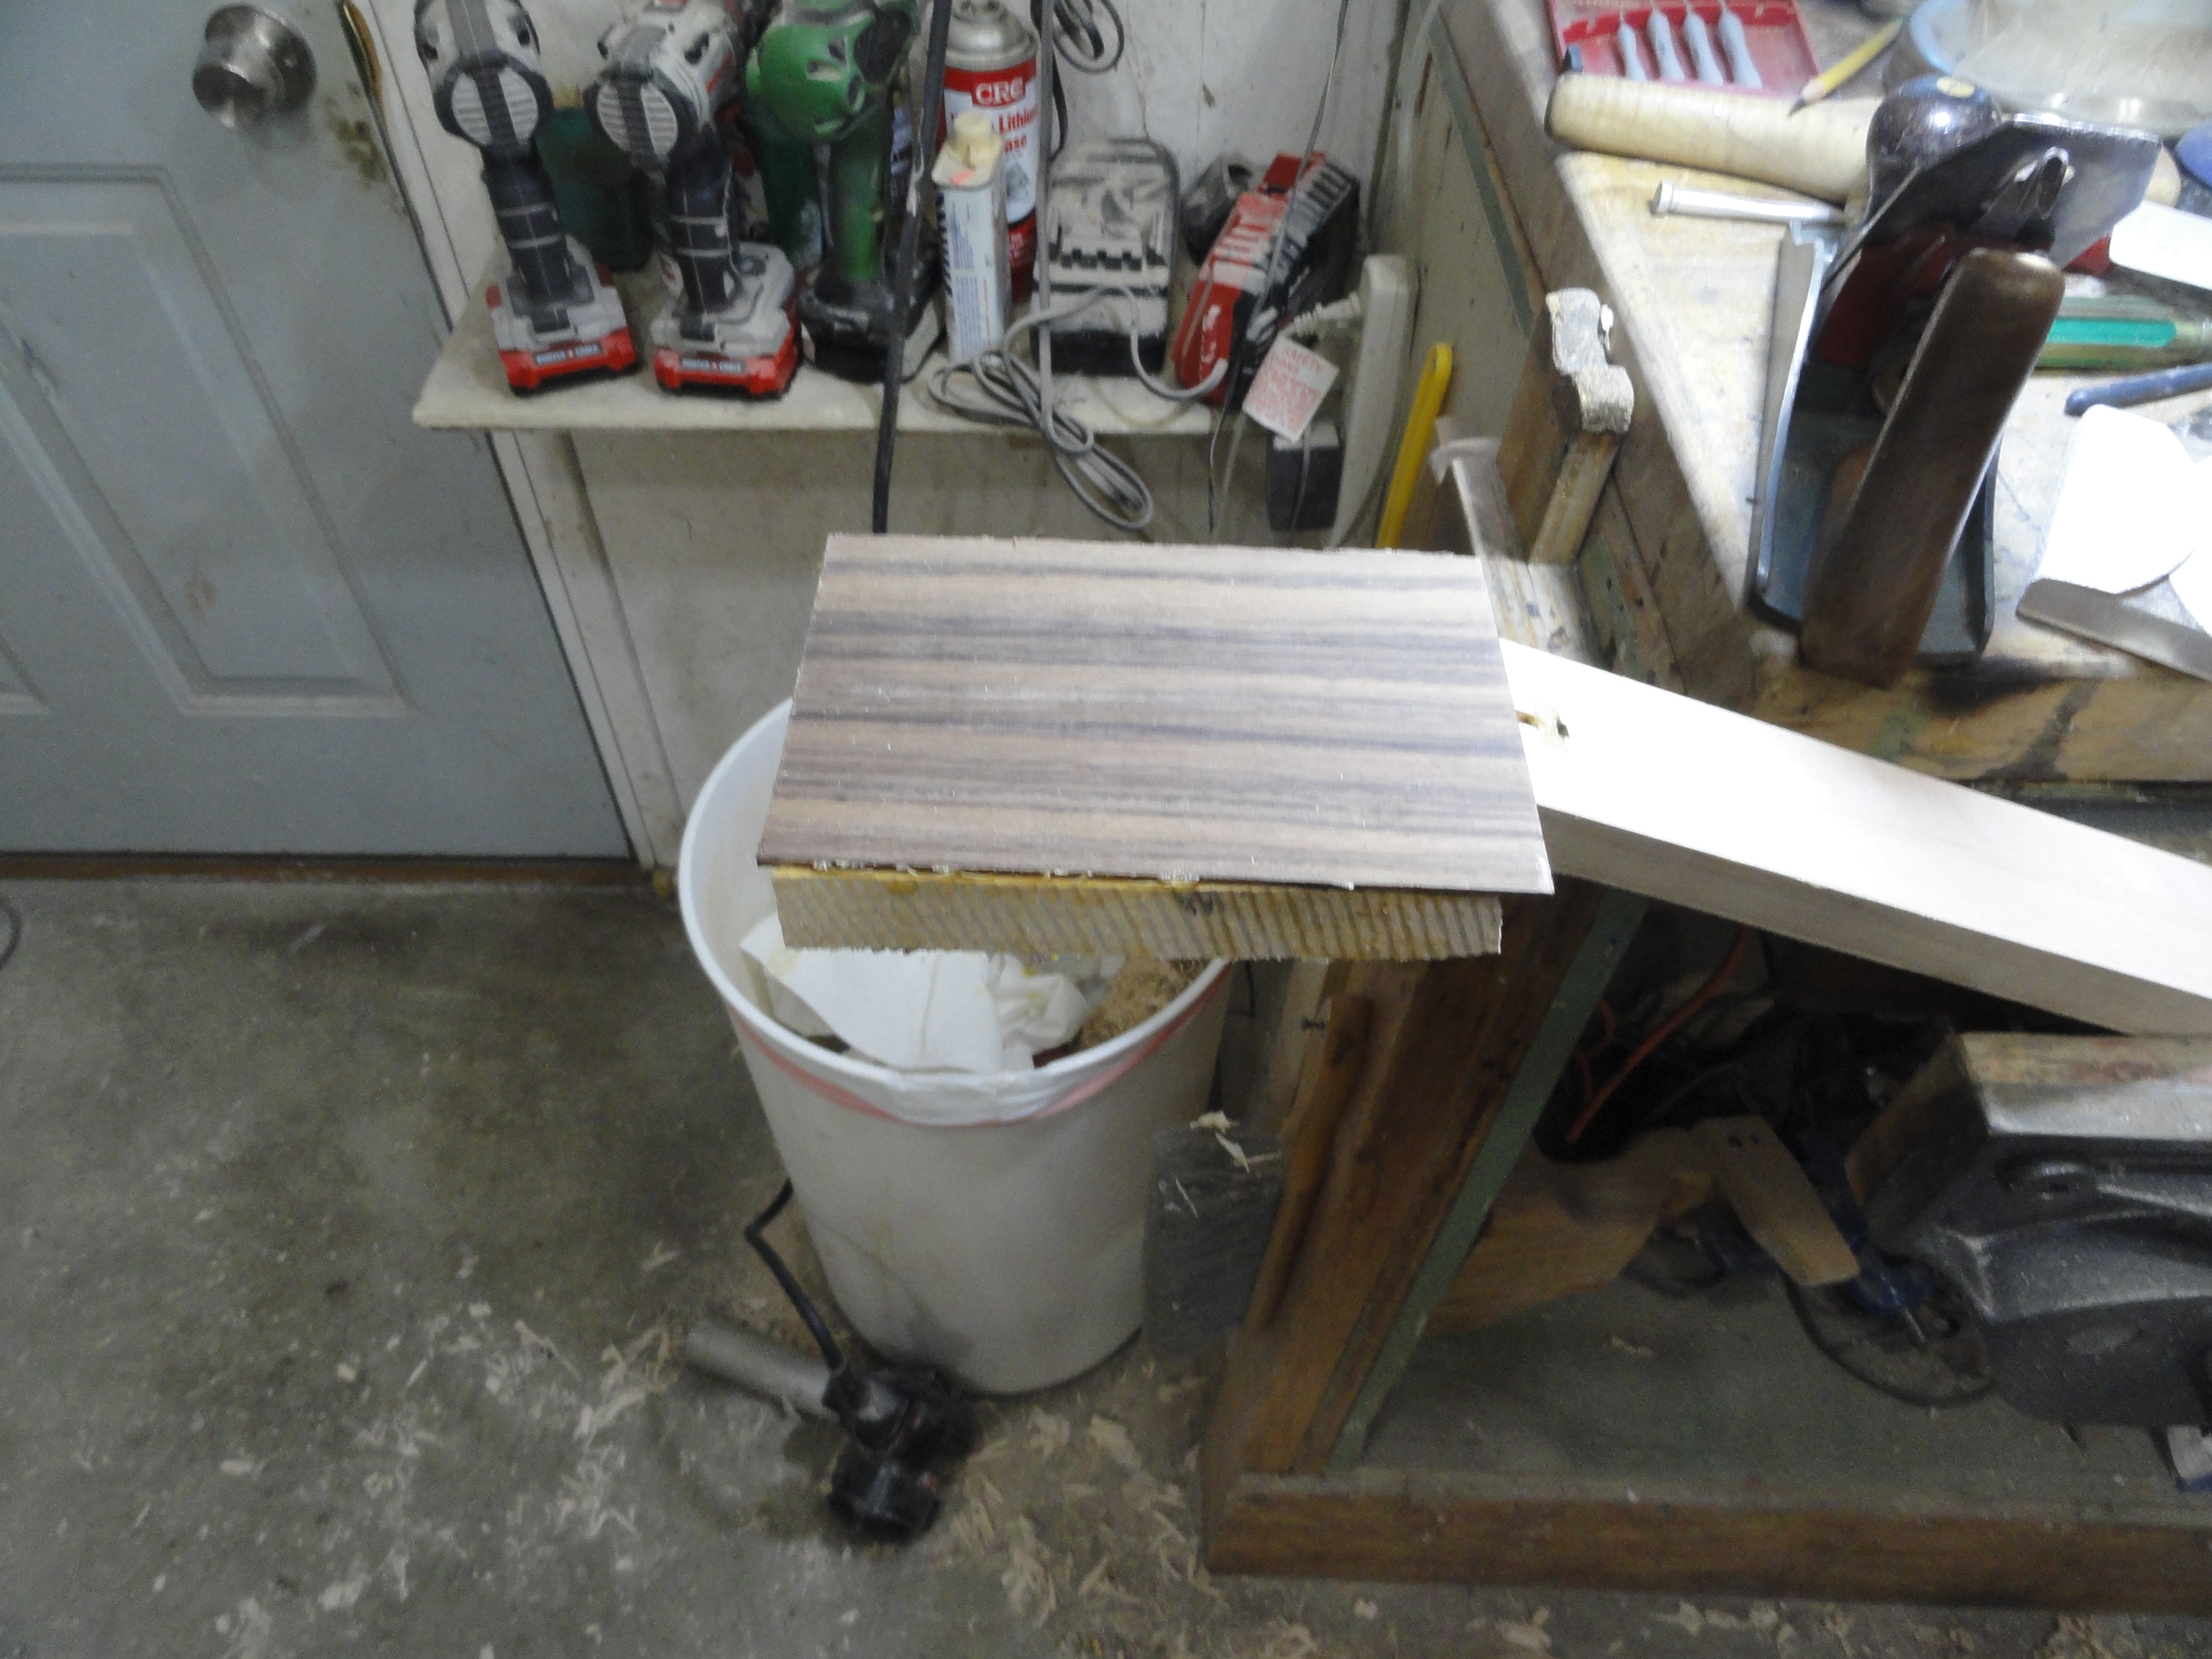
The overlay is rosewood.
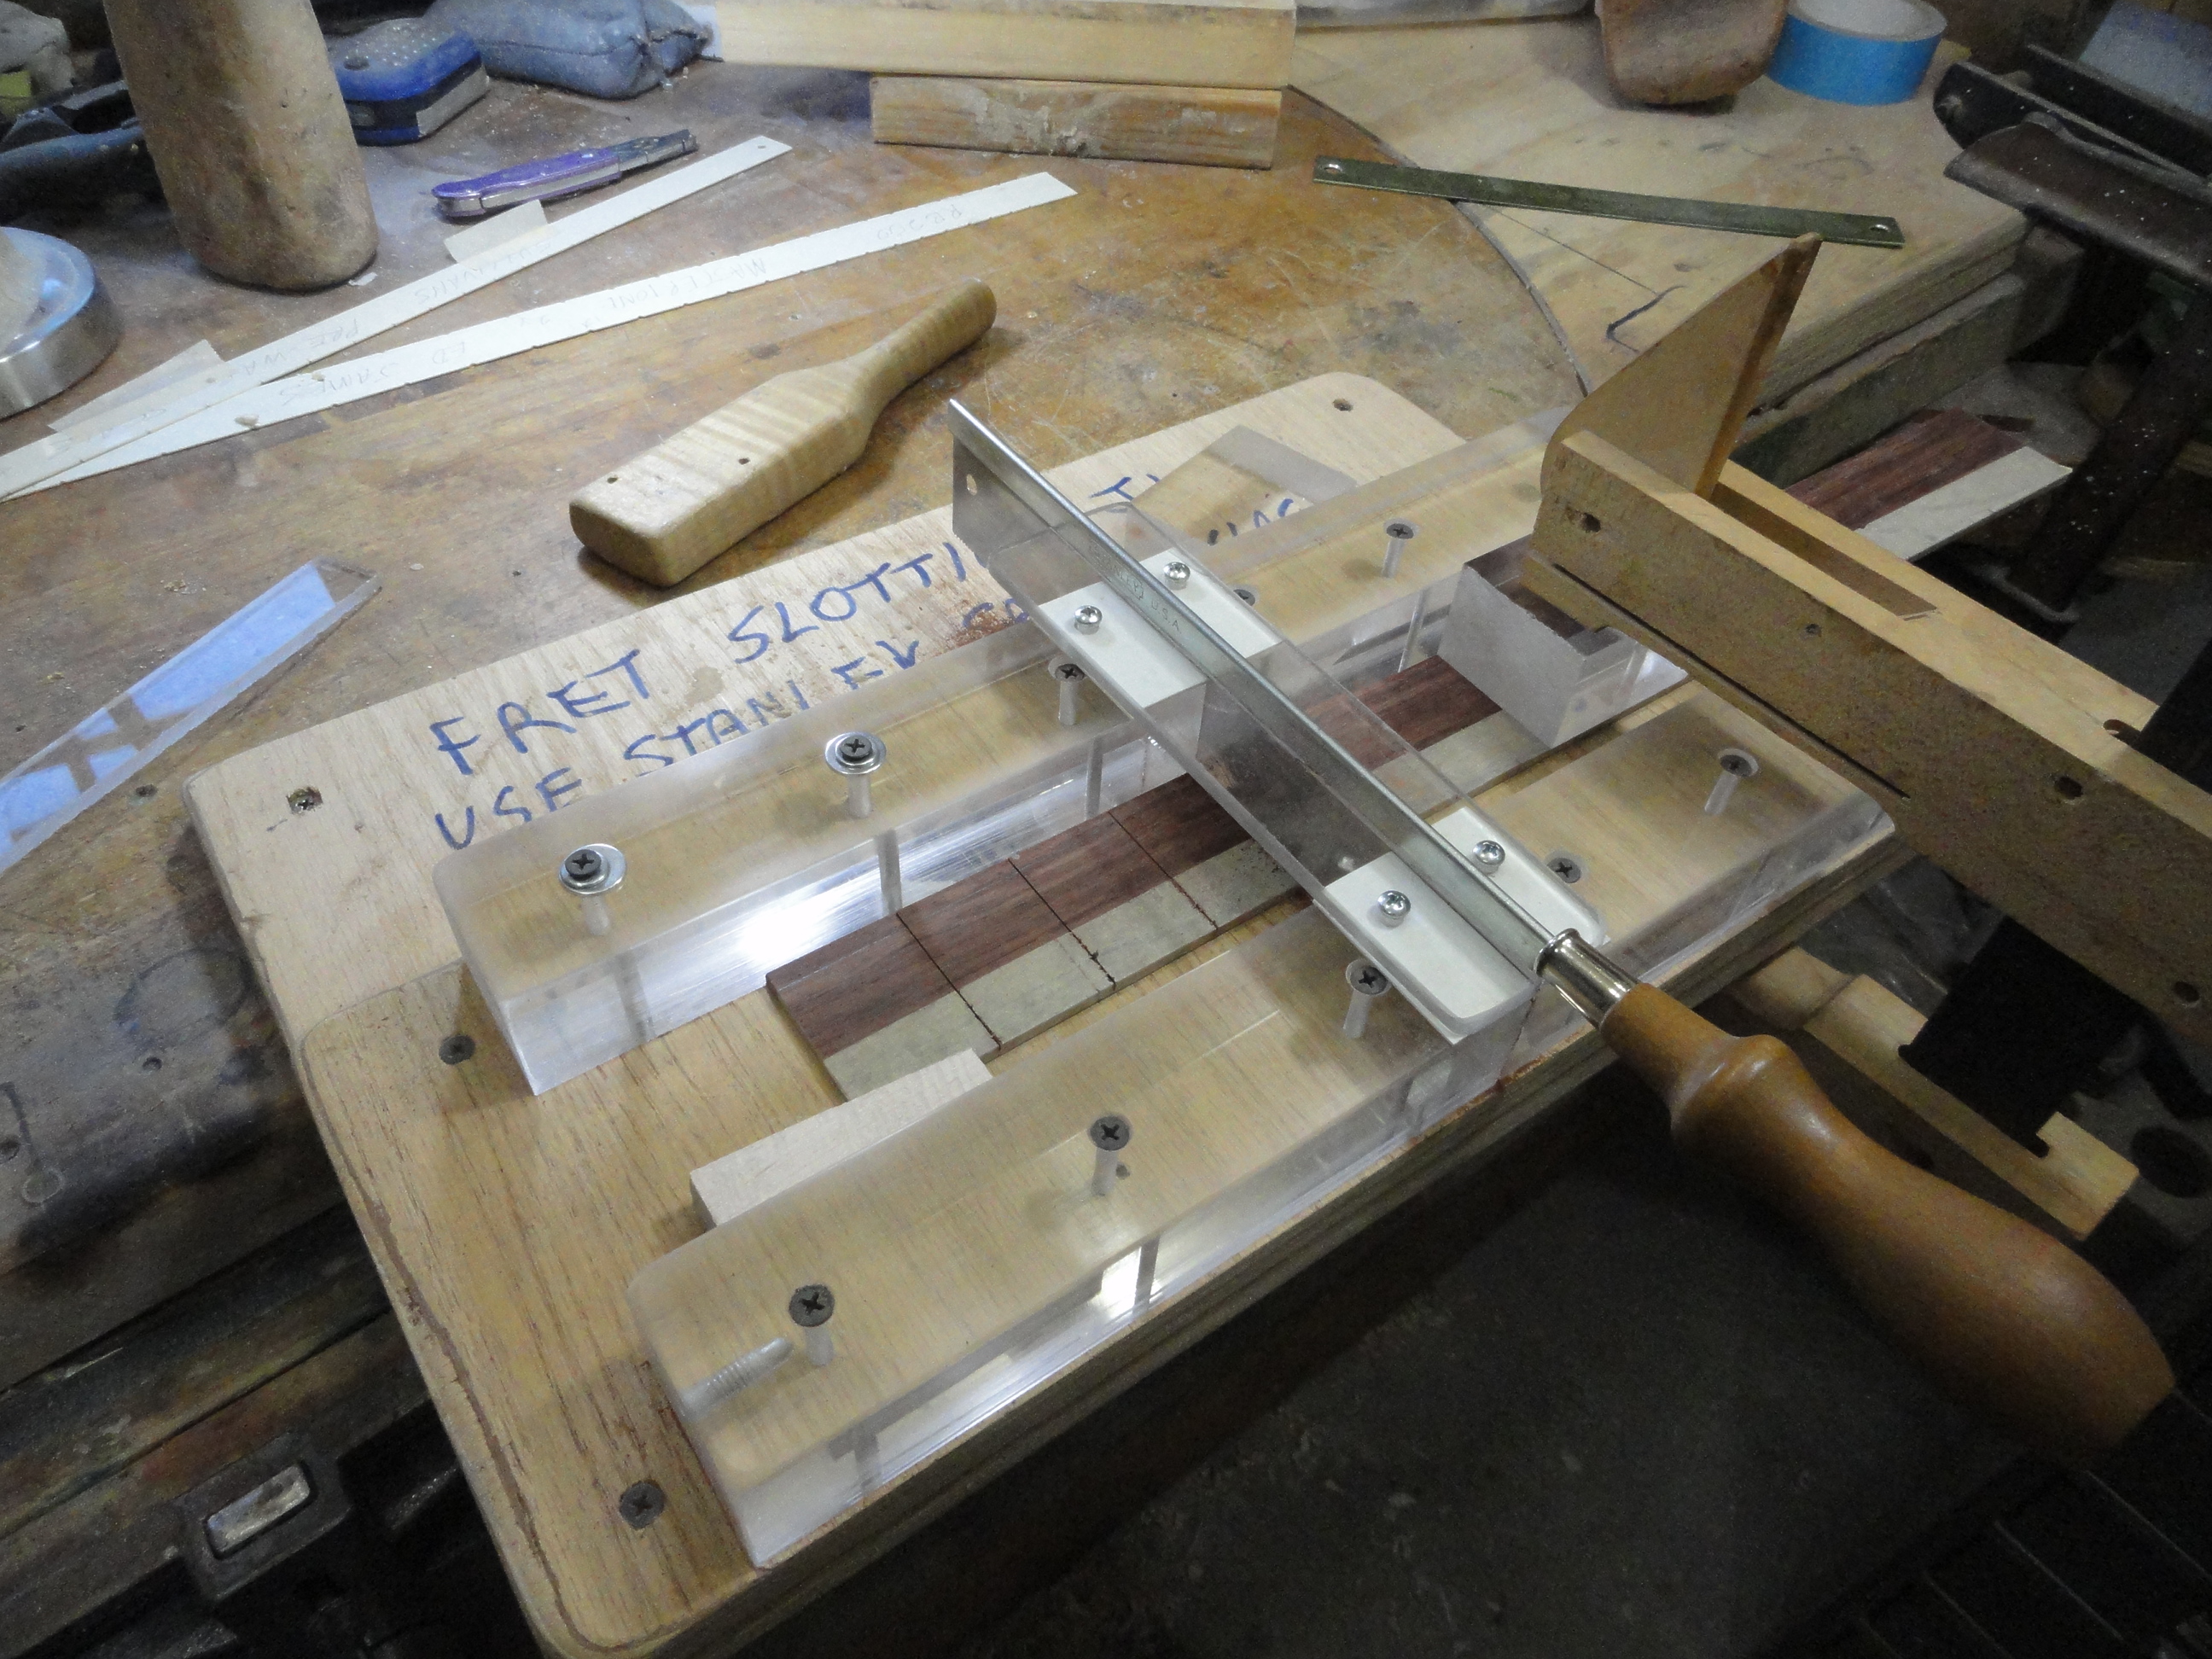
I had to fabricate a fingerboard. This is some Madagascar rosewood that I got from Allied Luthiery several years ago. This is my home made fret slotting jig. A lot of my tools are home made. I used a scale from an old Gibson banjo.
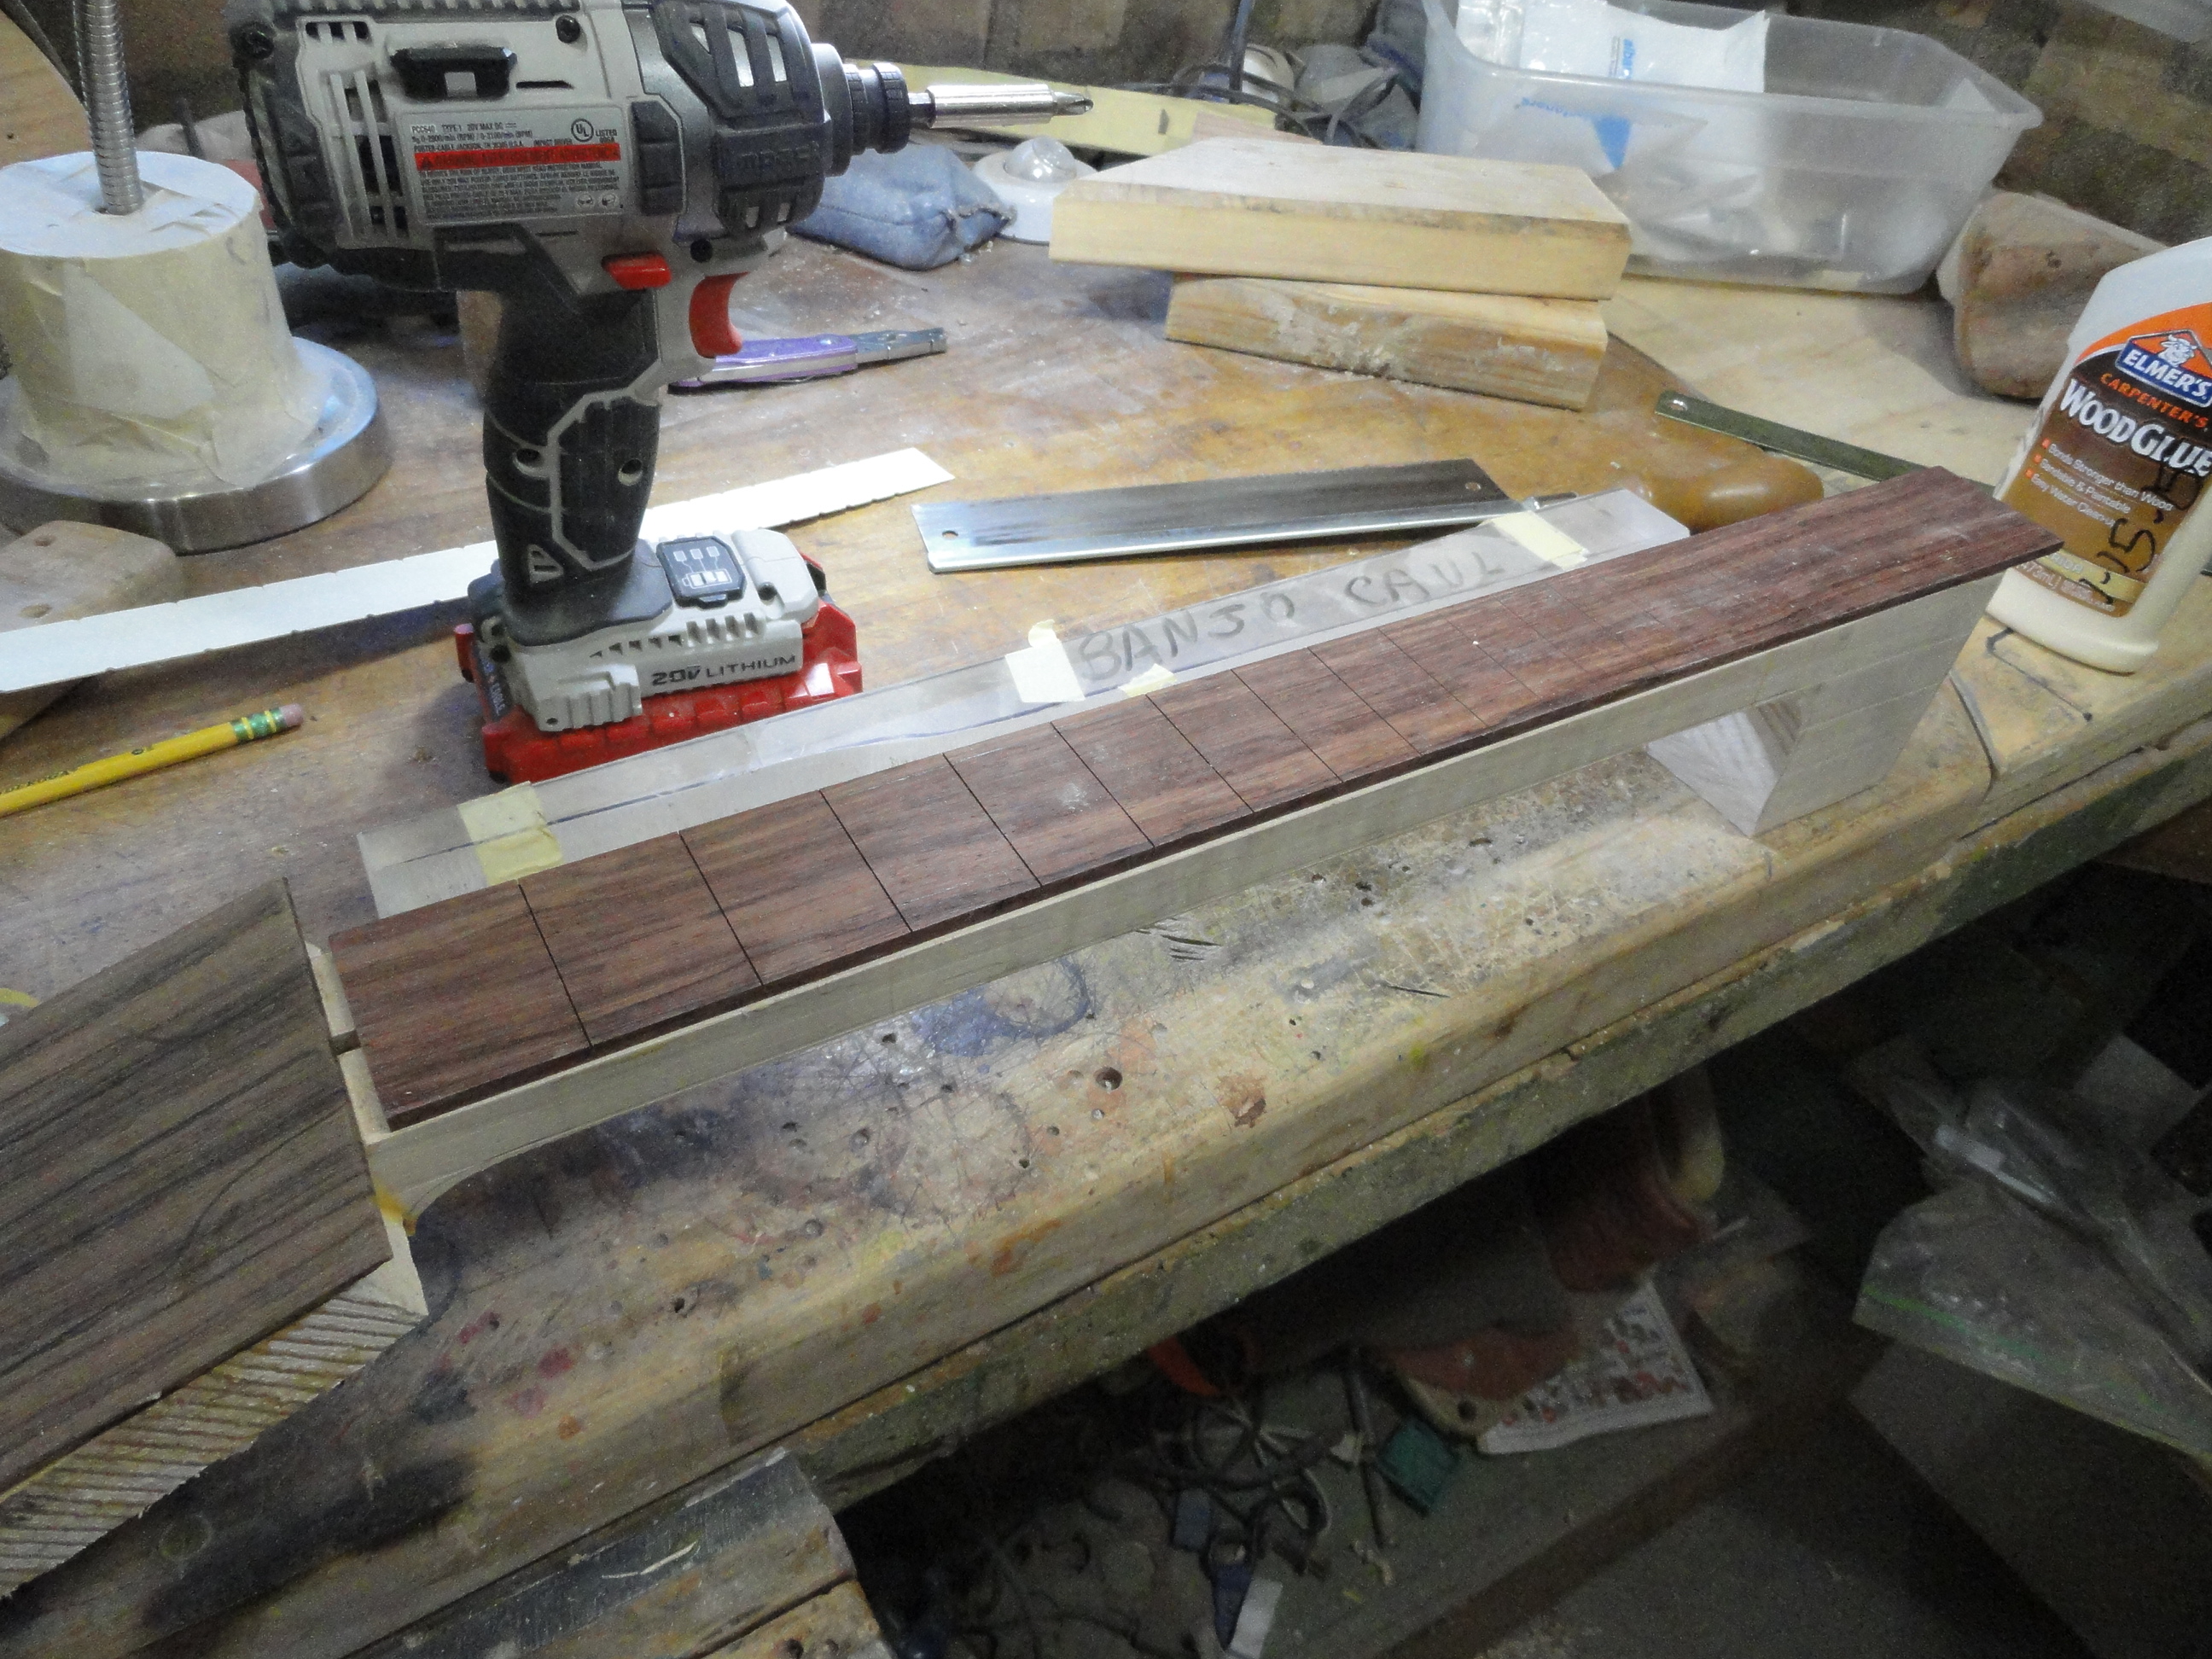
Here is the slotted fingerboard ready to get some inlays. I decided to just use some pearl dots for the inlays. I know that banjos are traditionally inlayed with elaborate pieces of pearl or abalone, but I like to keep things simple.

Here is a shot of the fingerboard being glued to the neck.
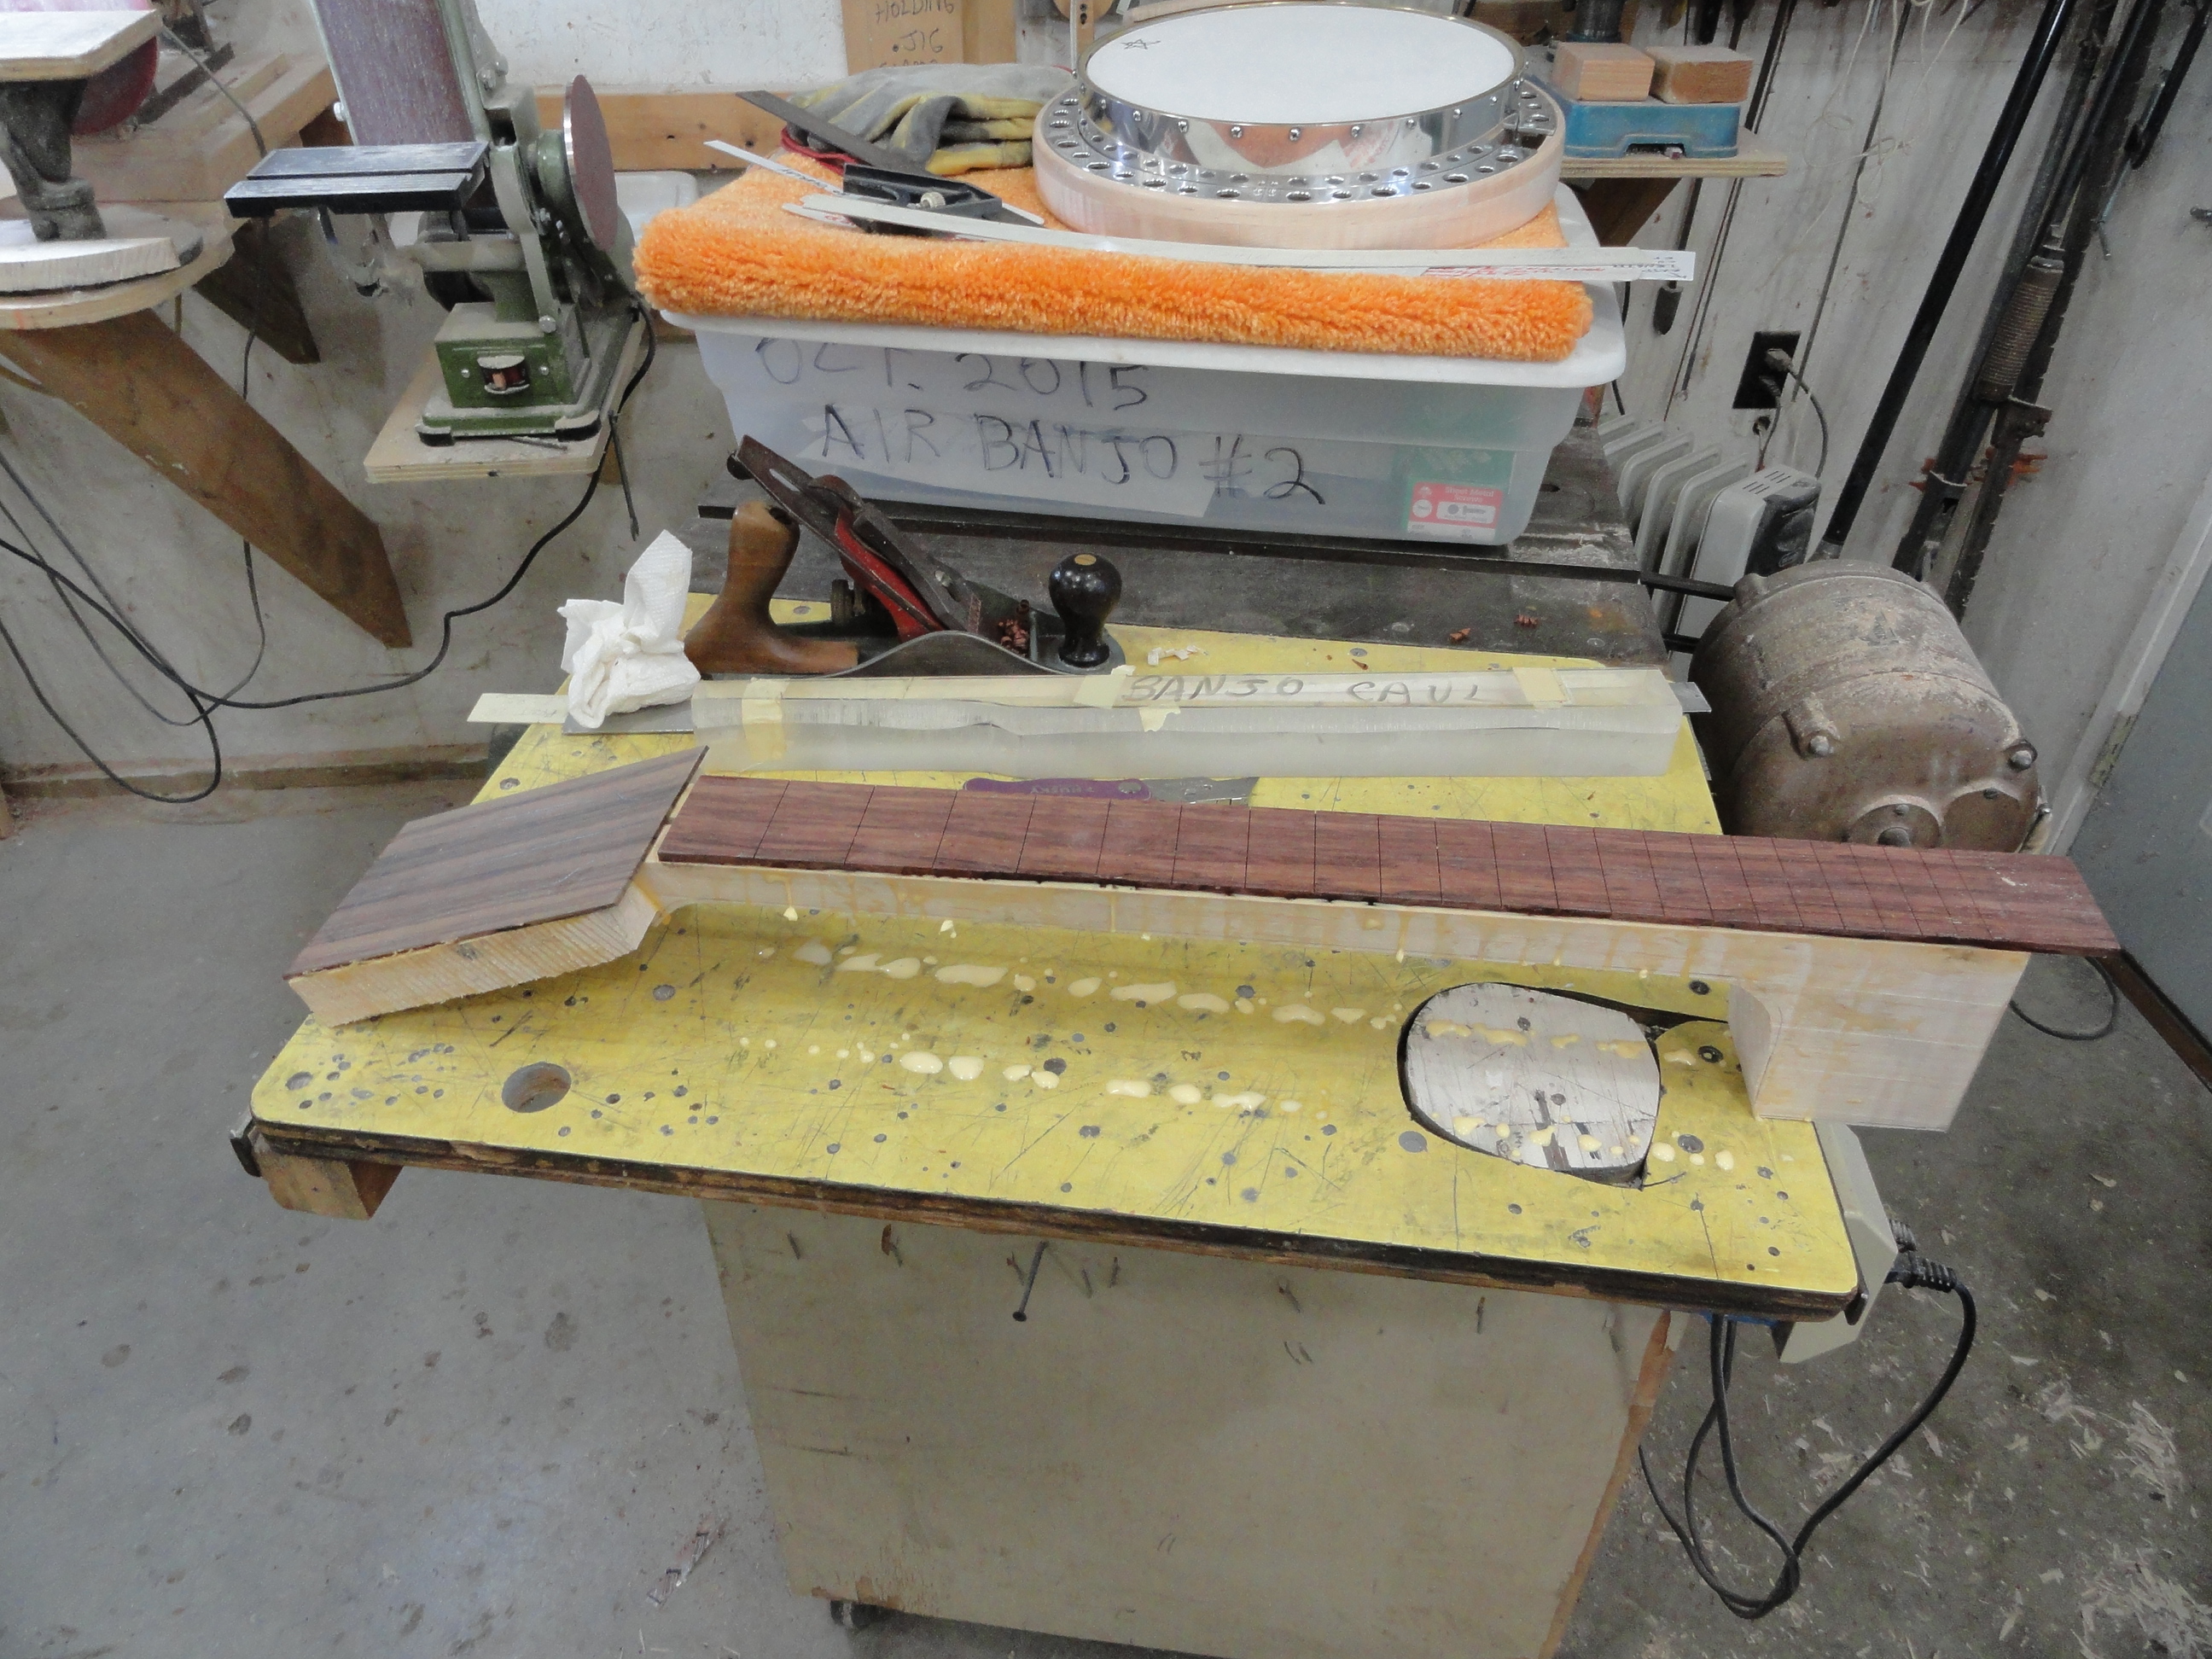
Here is the neck with the fingerboard glued on.
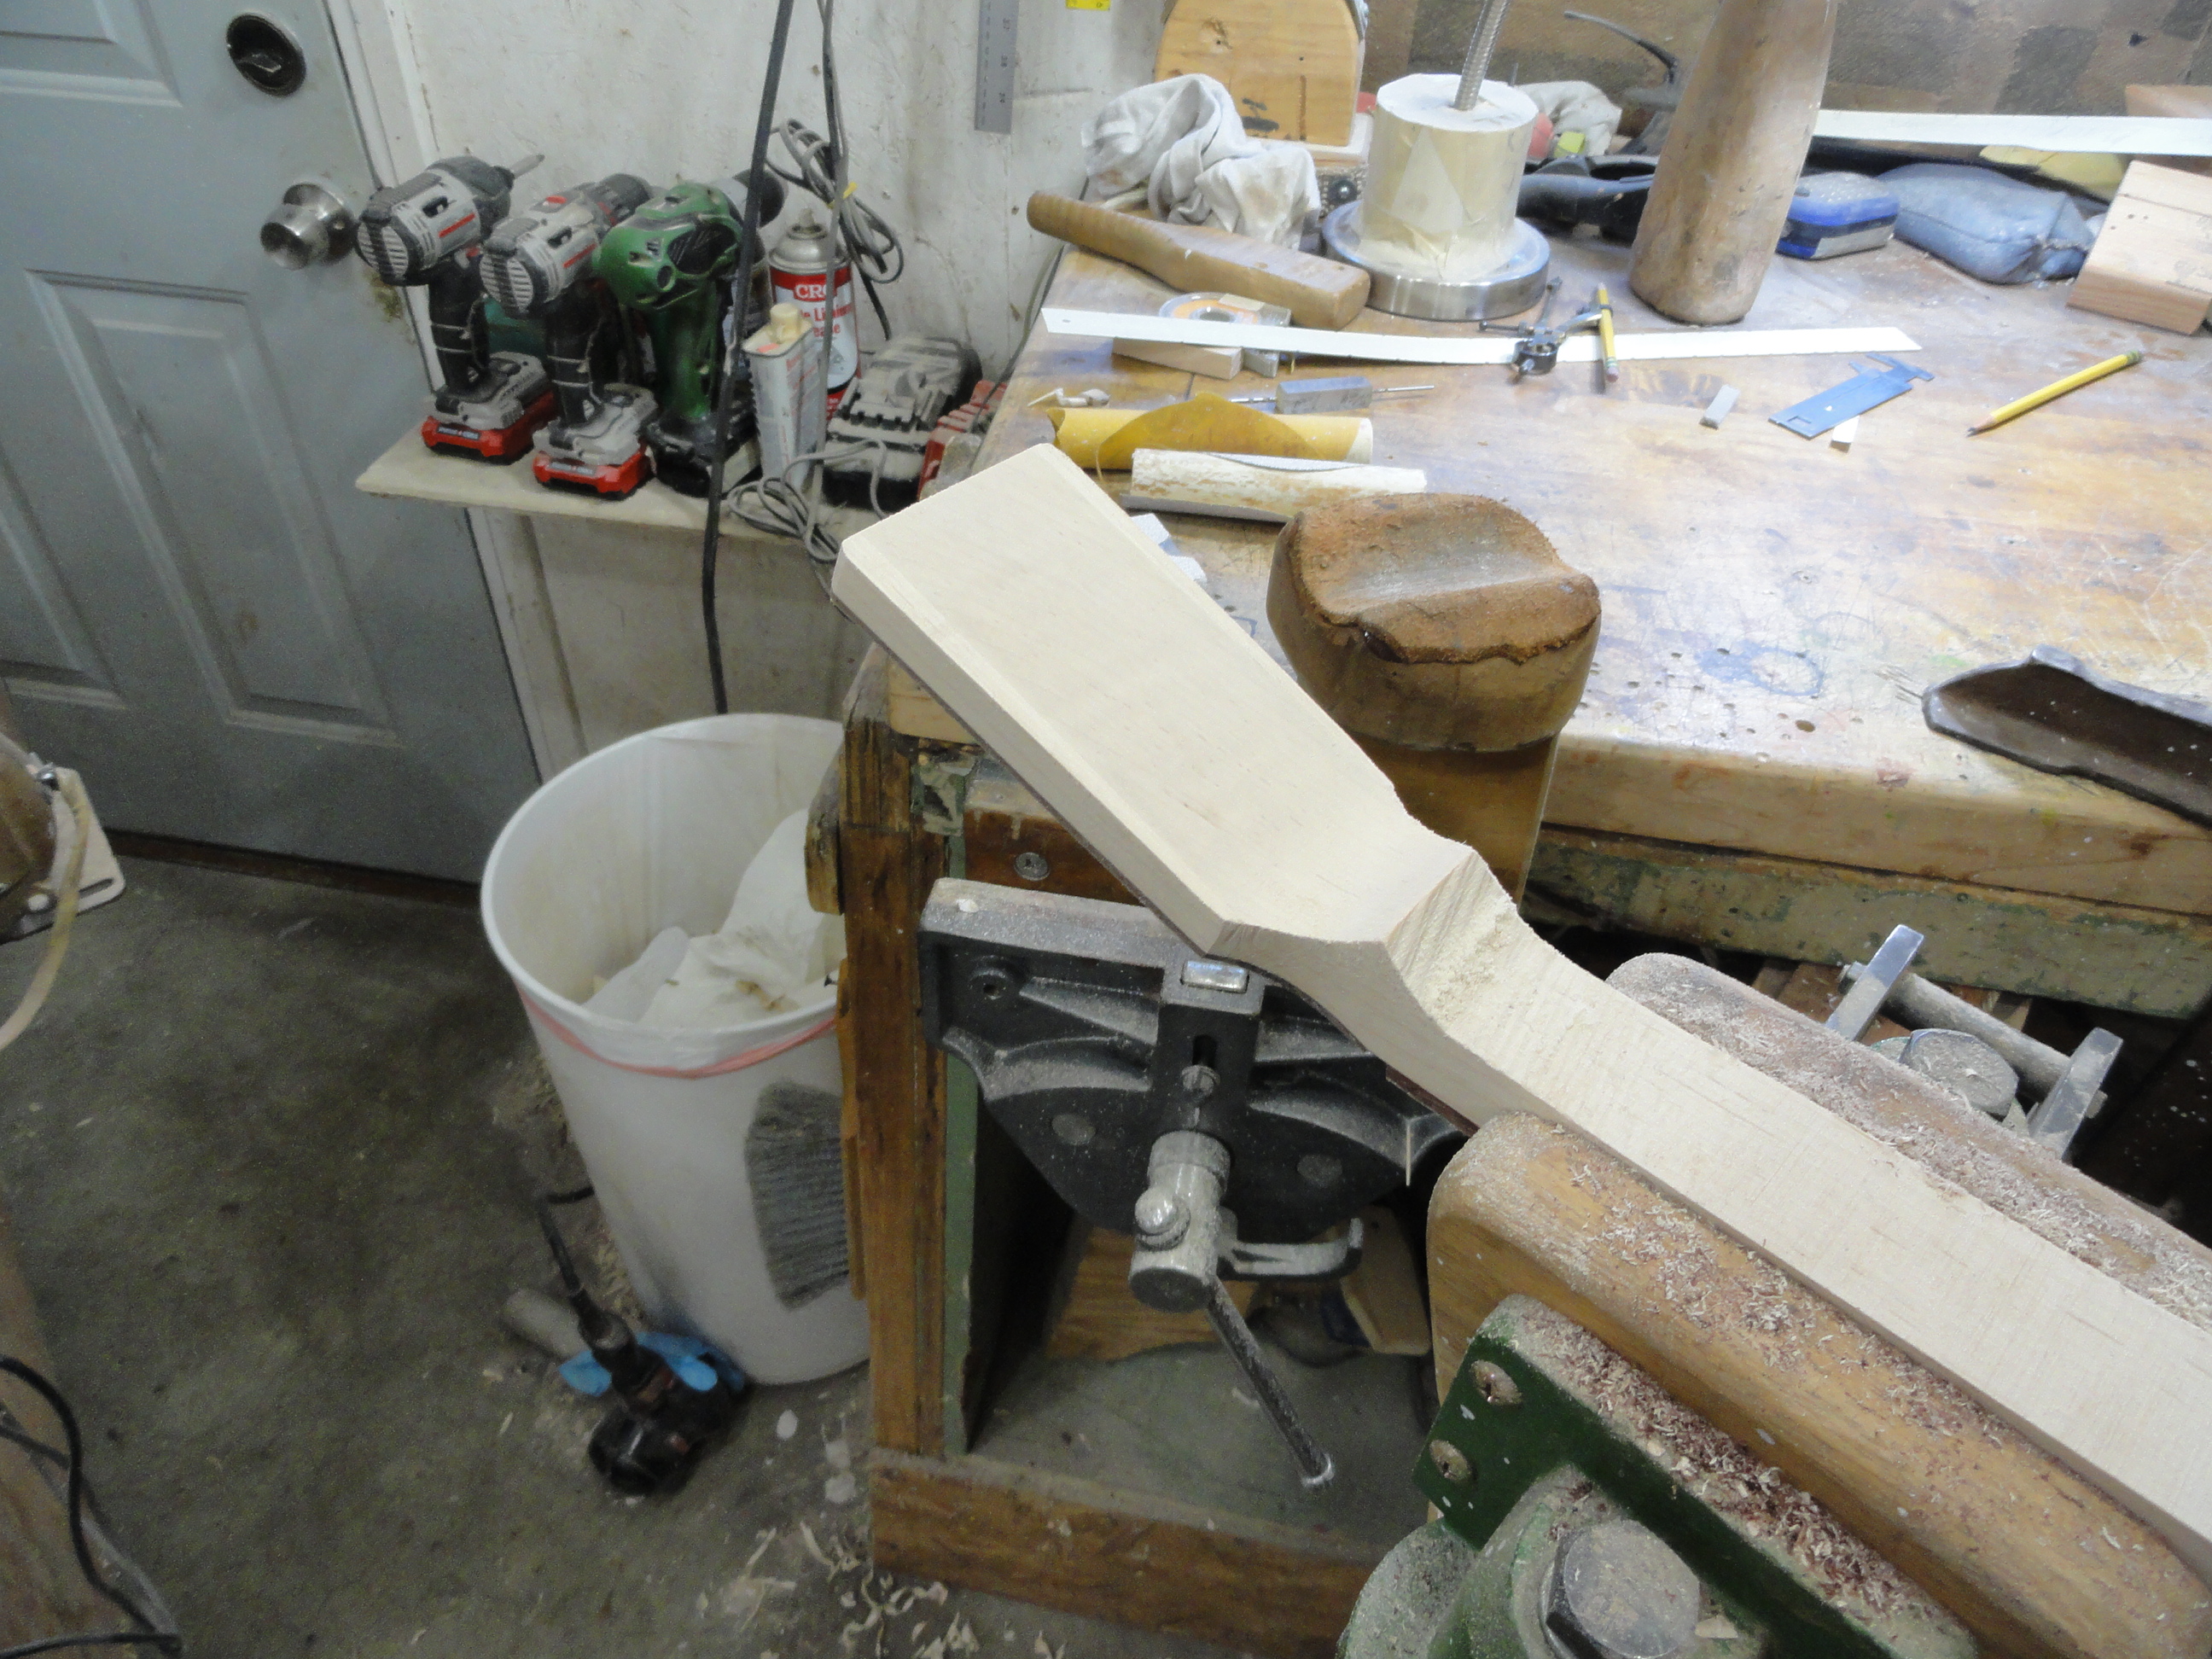
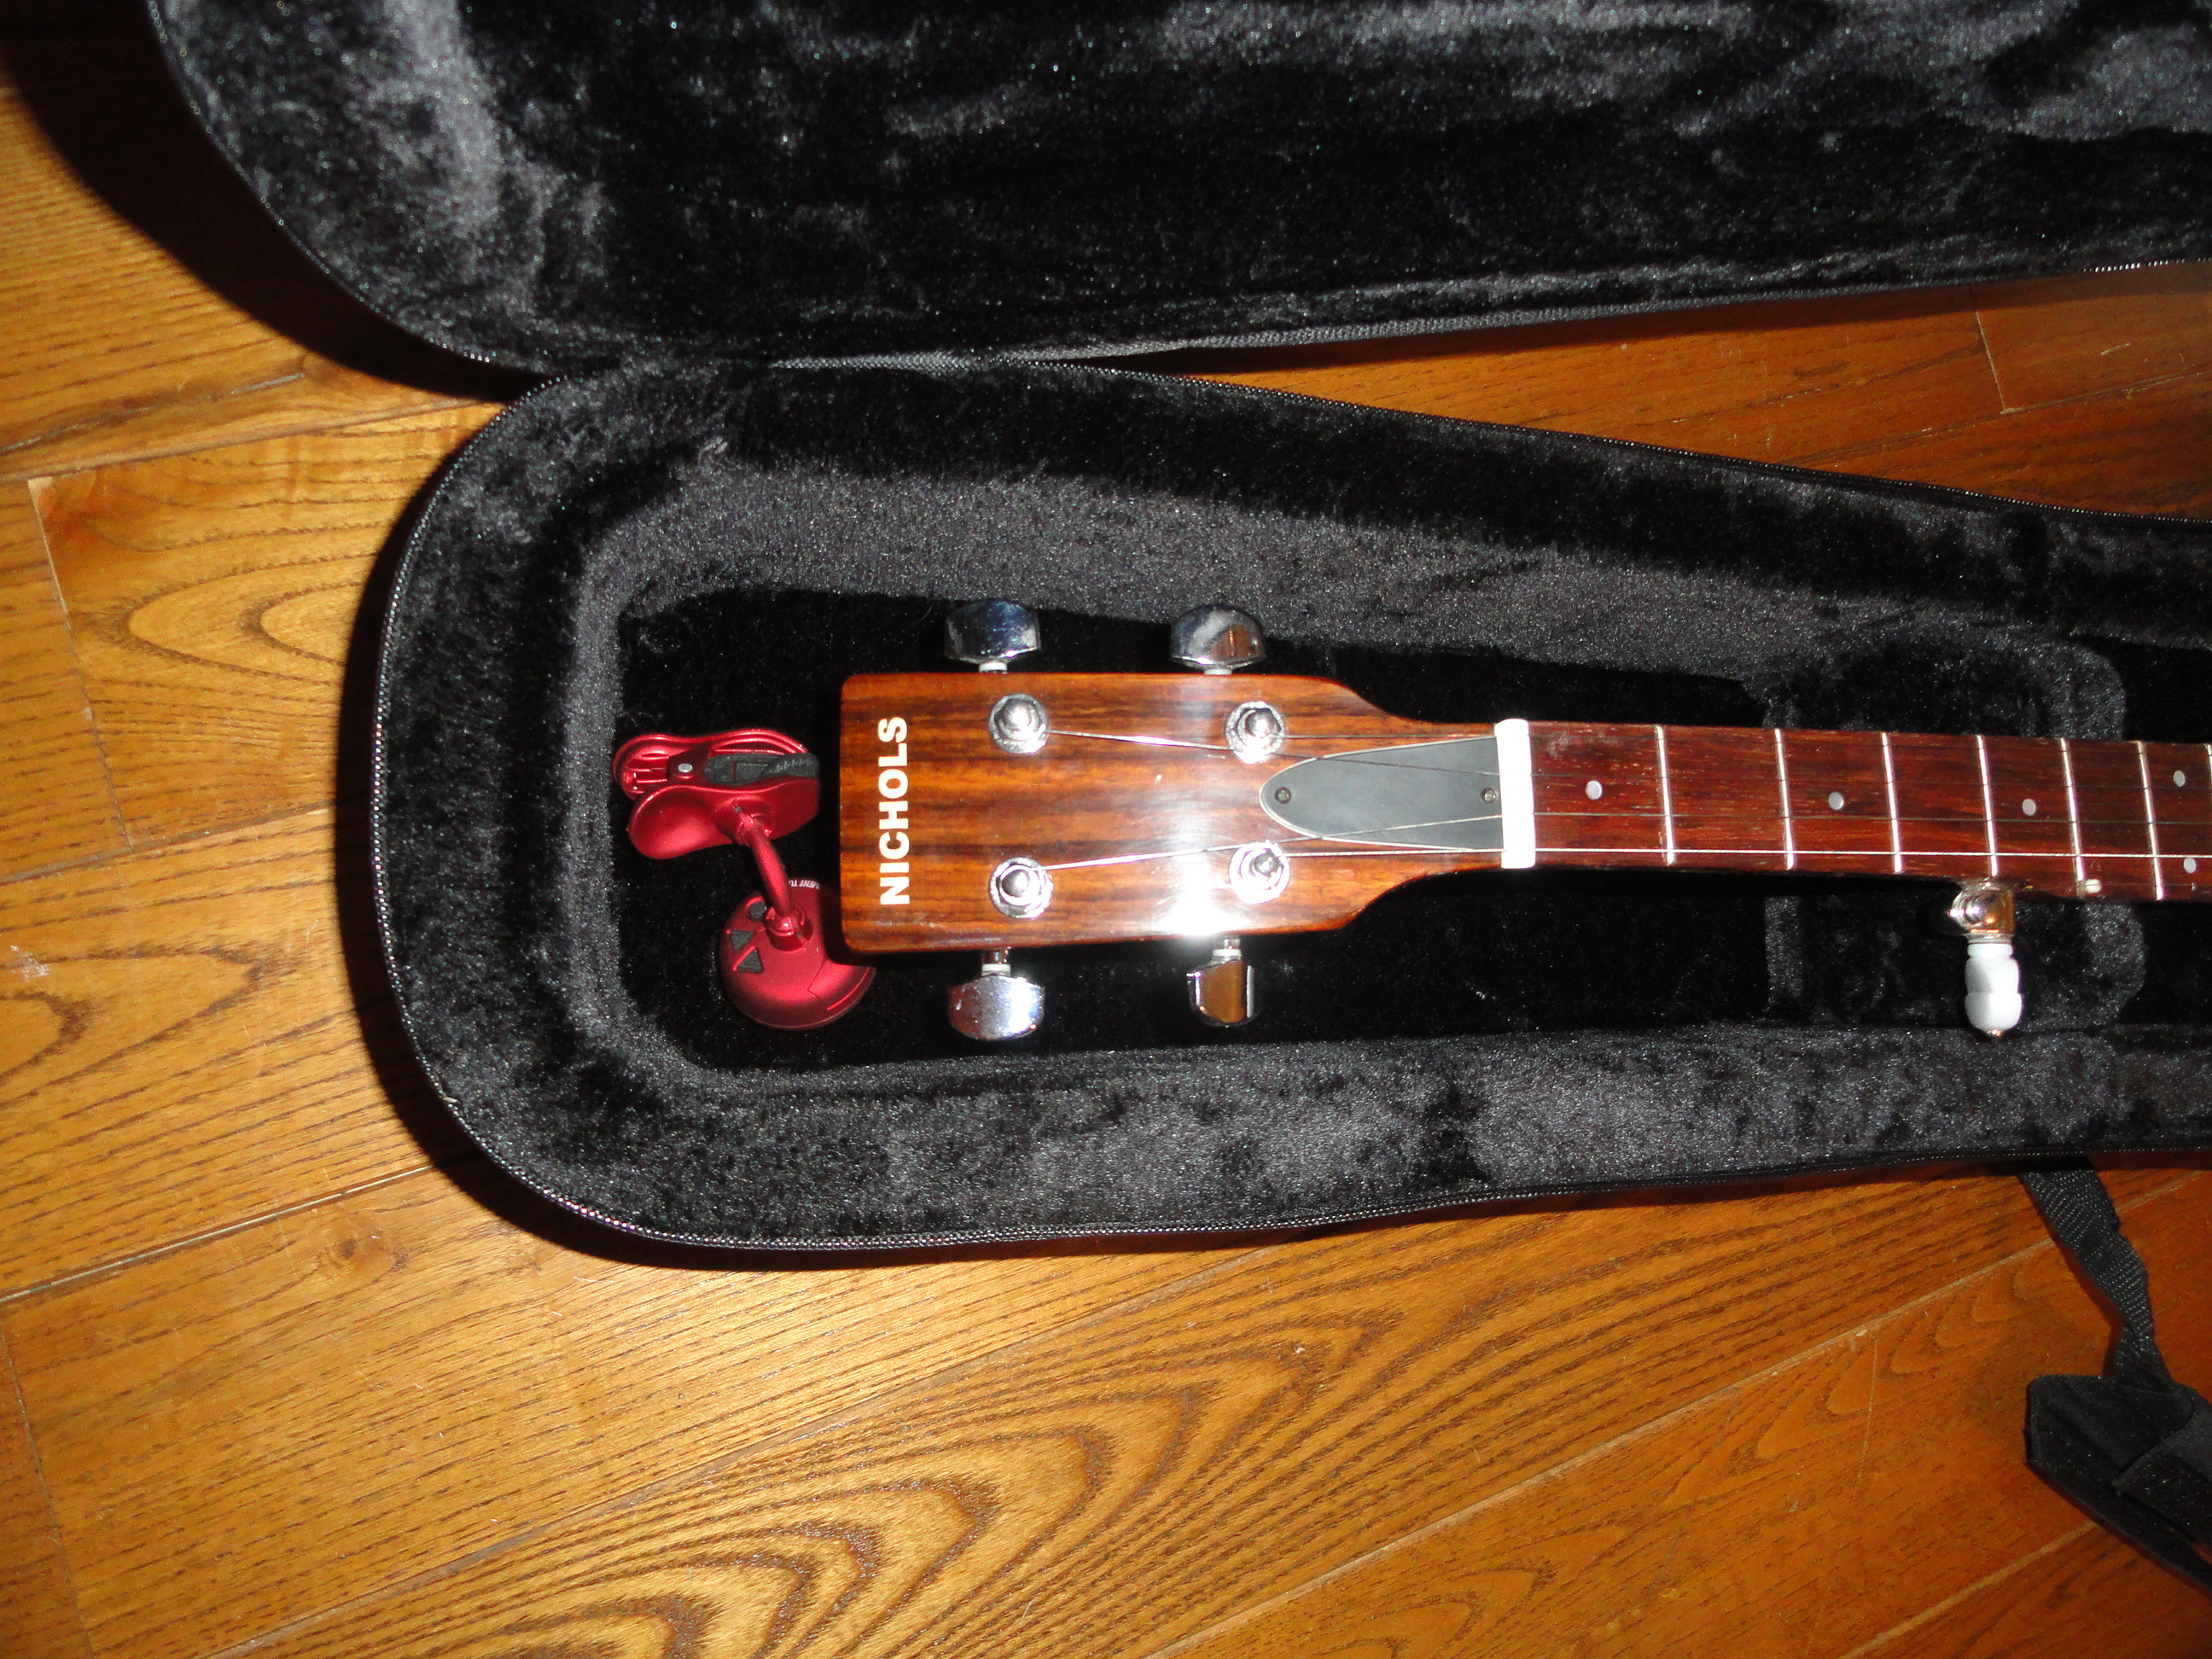
Some shaping on my peghead. I prefer to use guitar type tuners and I like the traditional guitar shape for the peghead. Who made the rule that a banjo had to have a weird shaped peghead?
Some further shaping.
Peghead
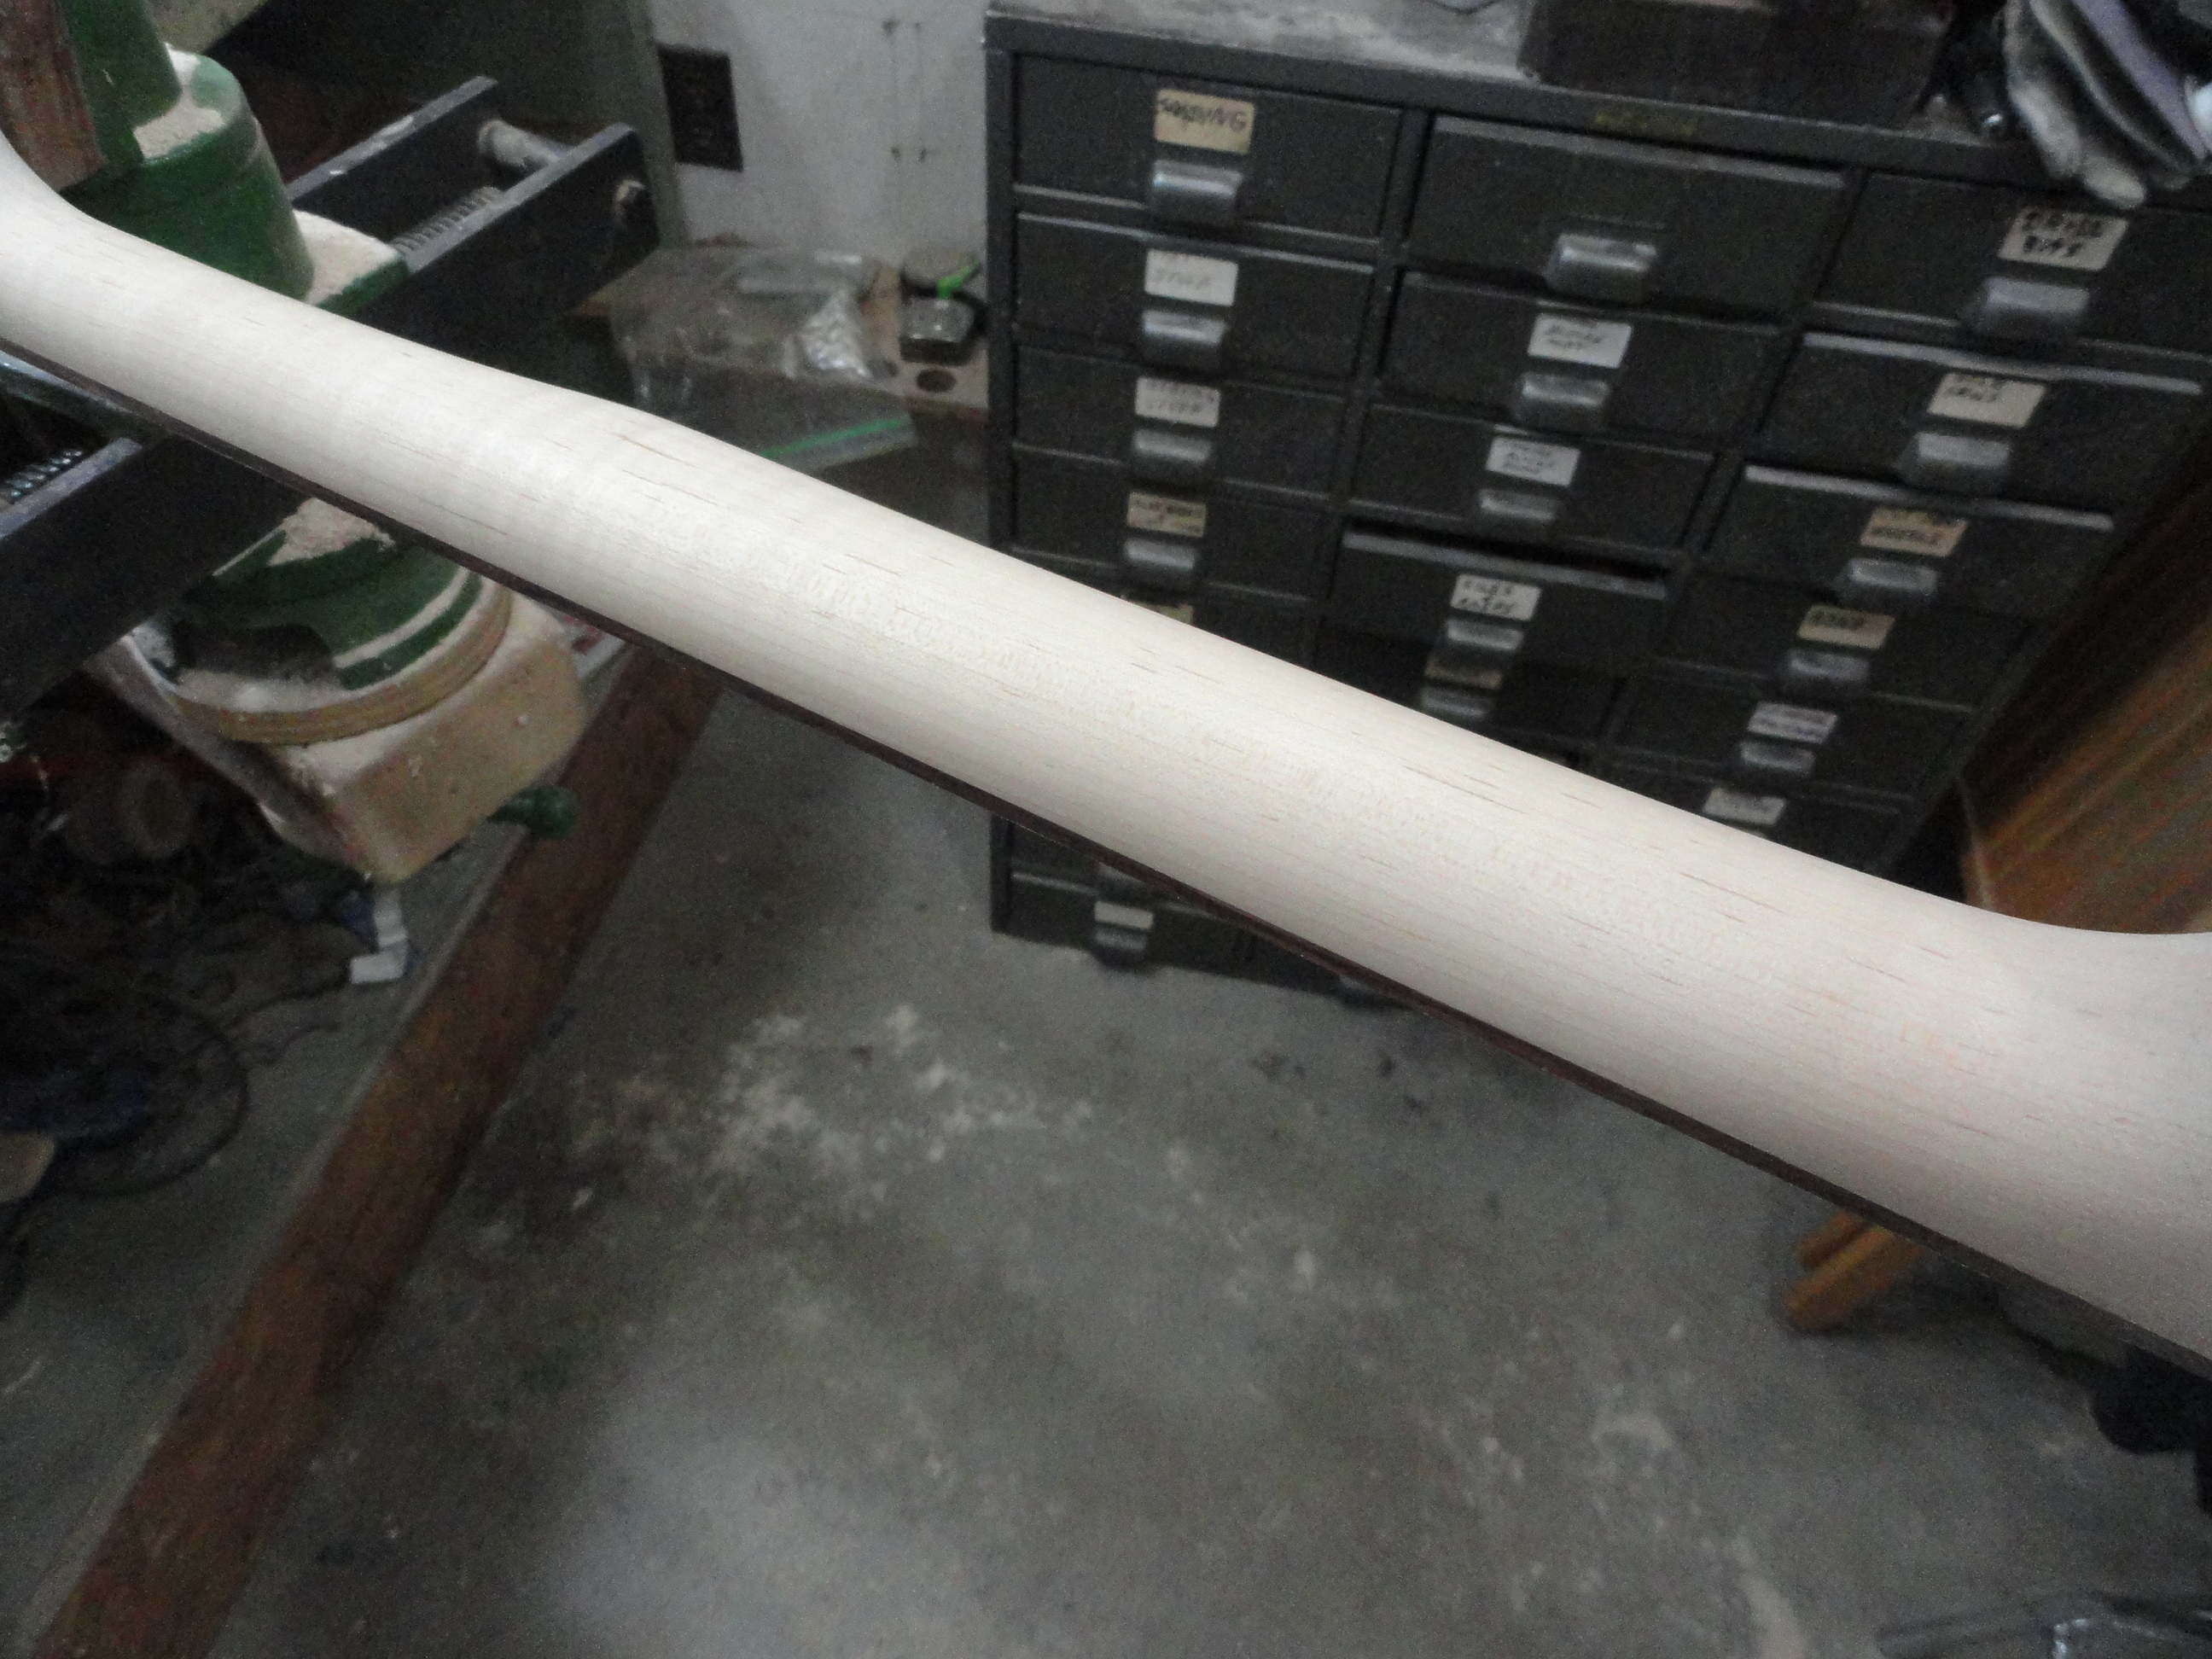
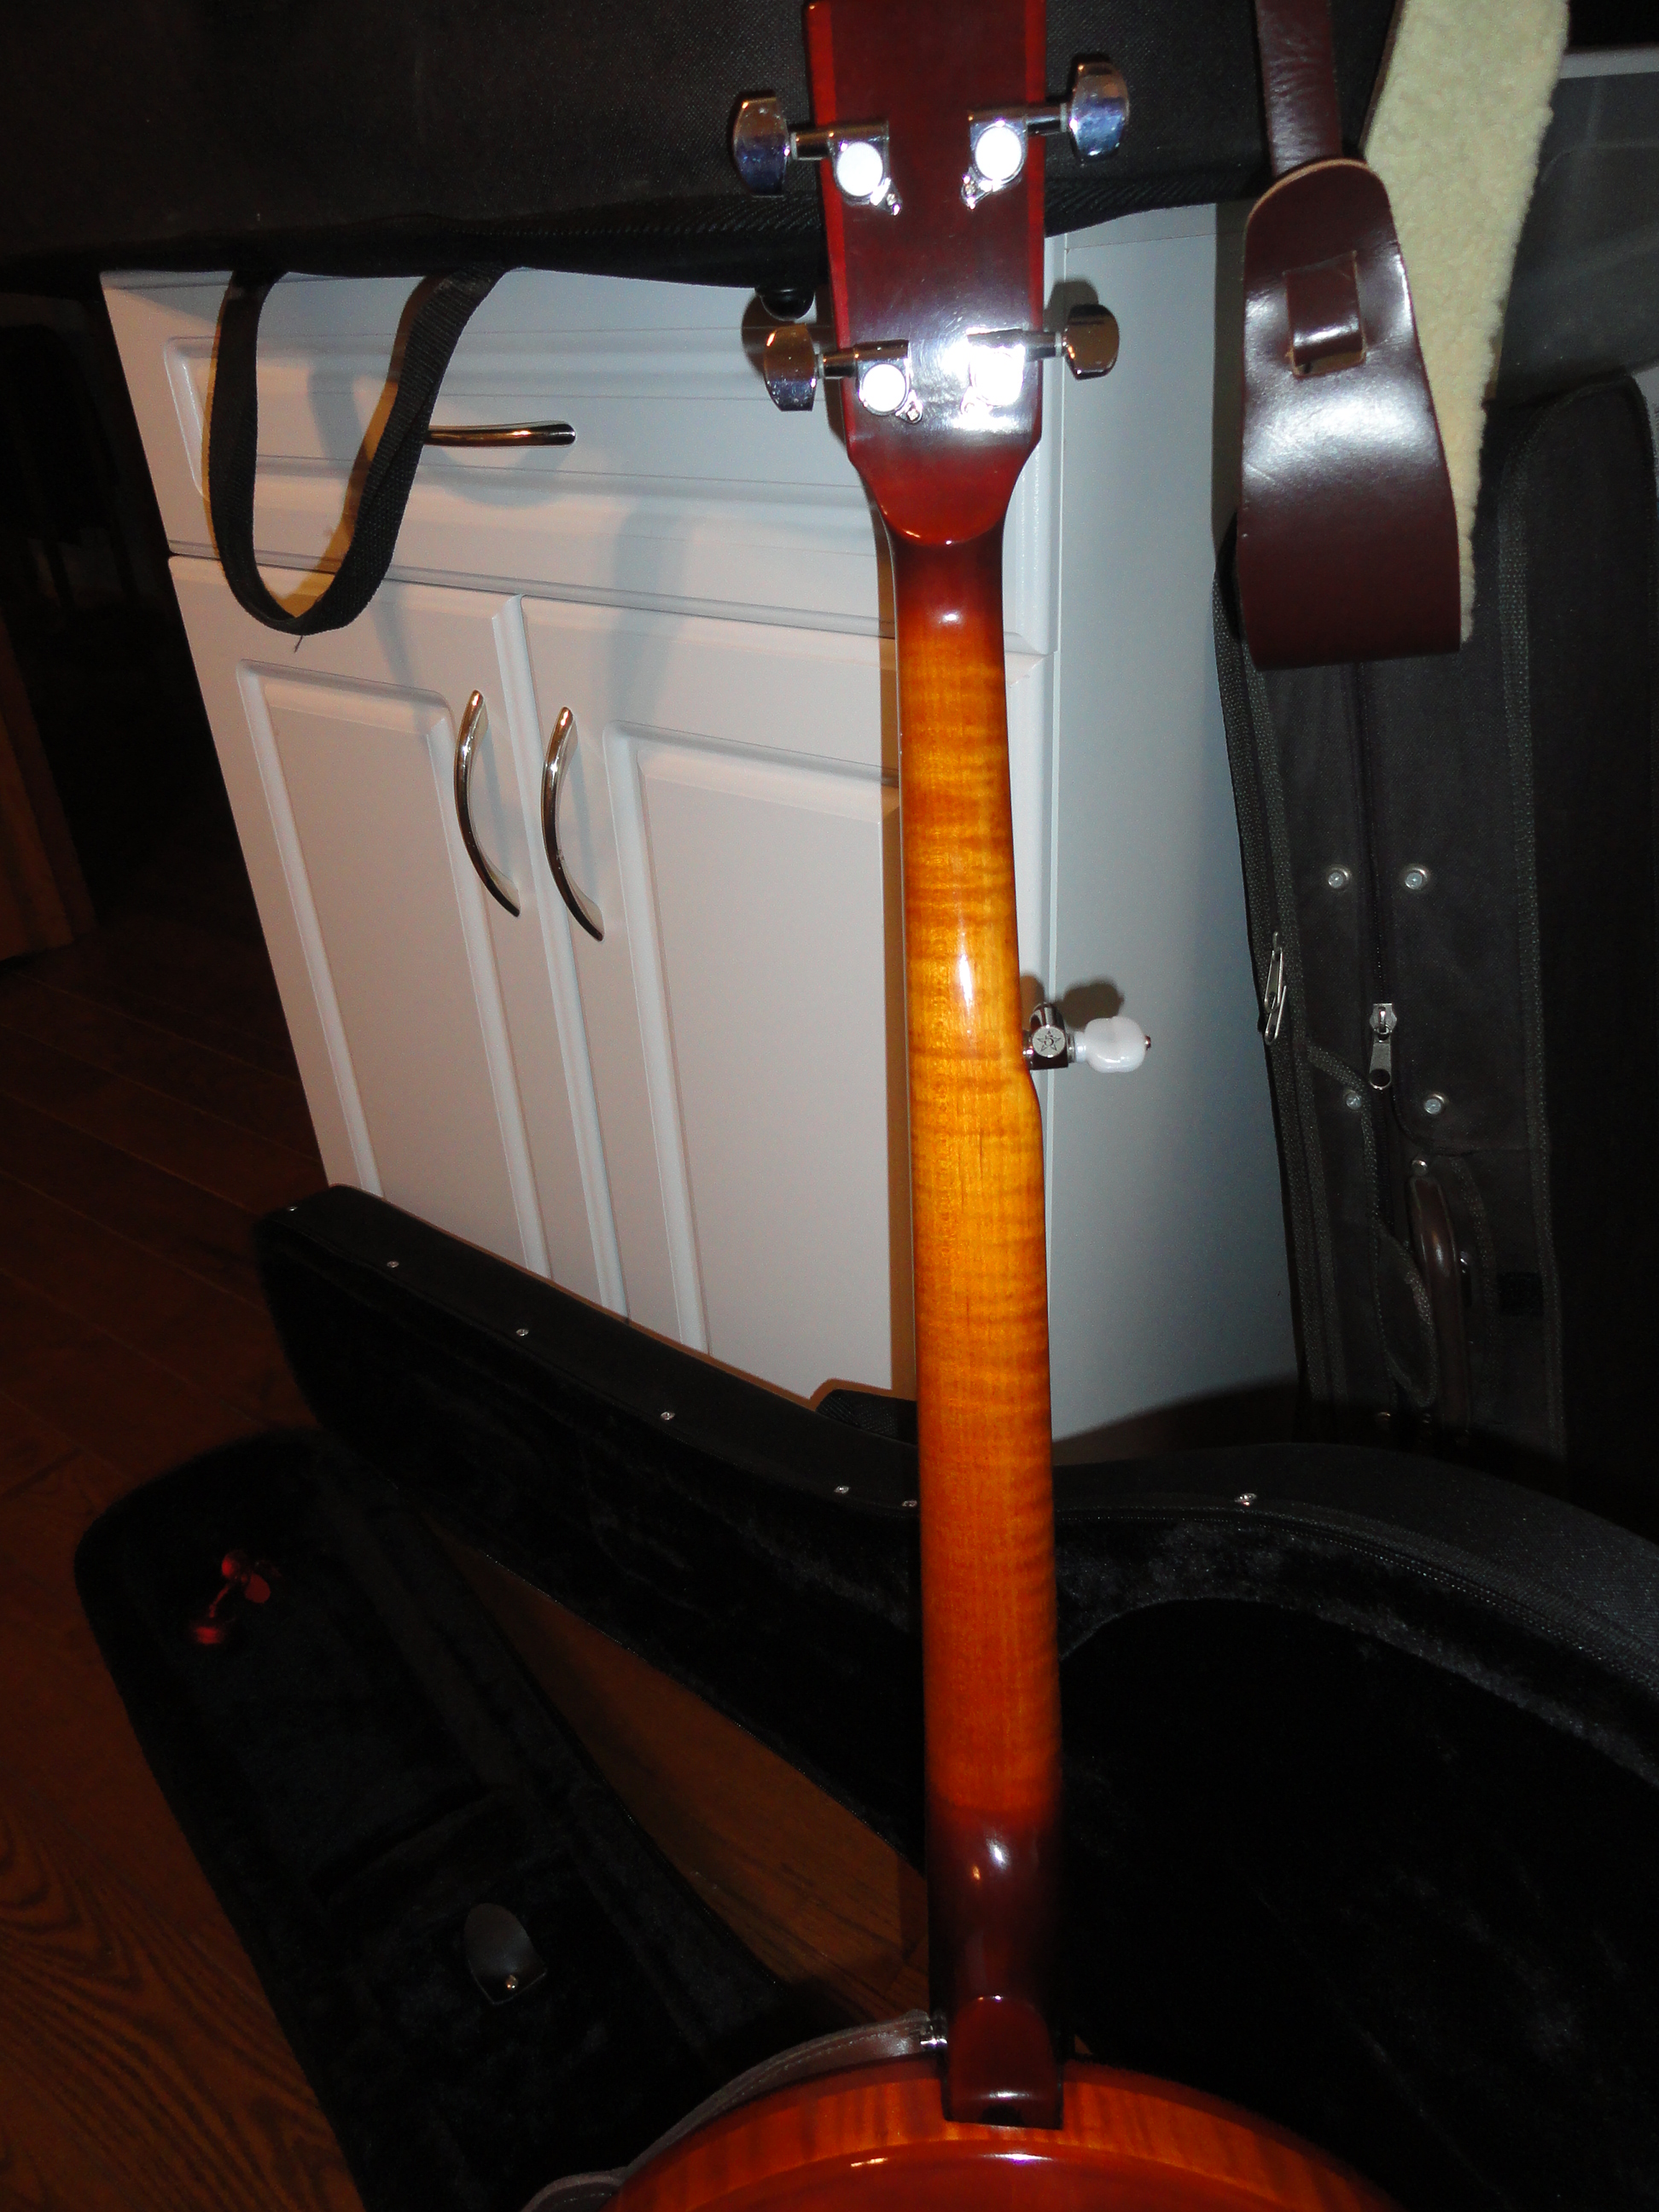
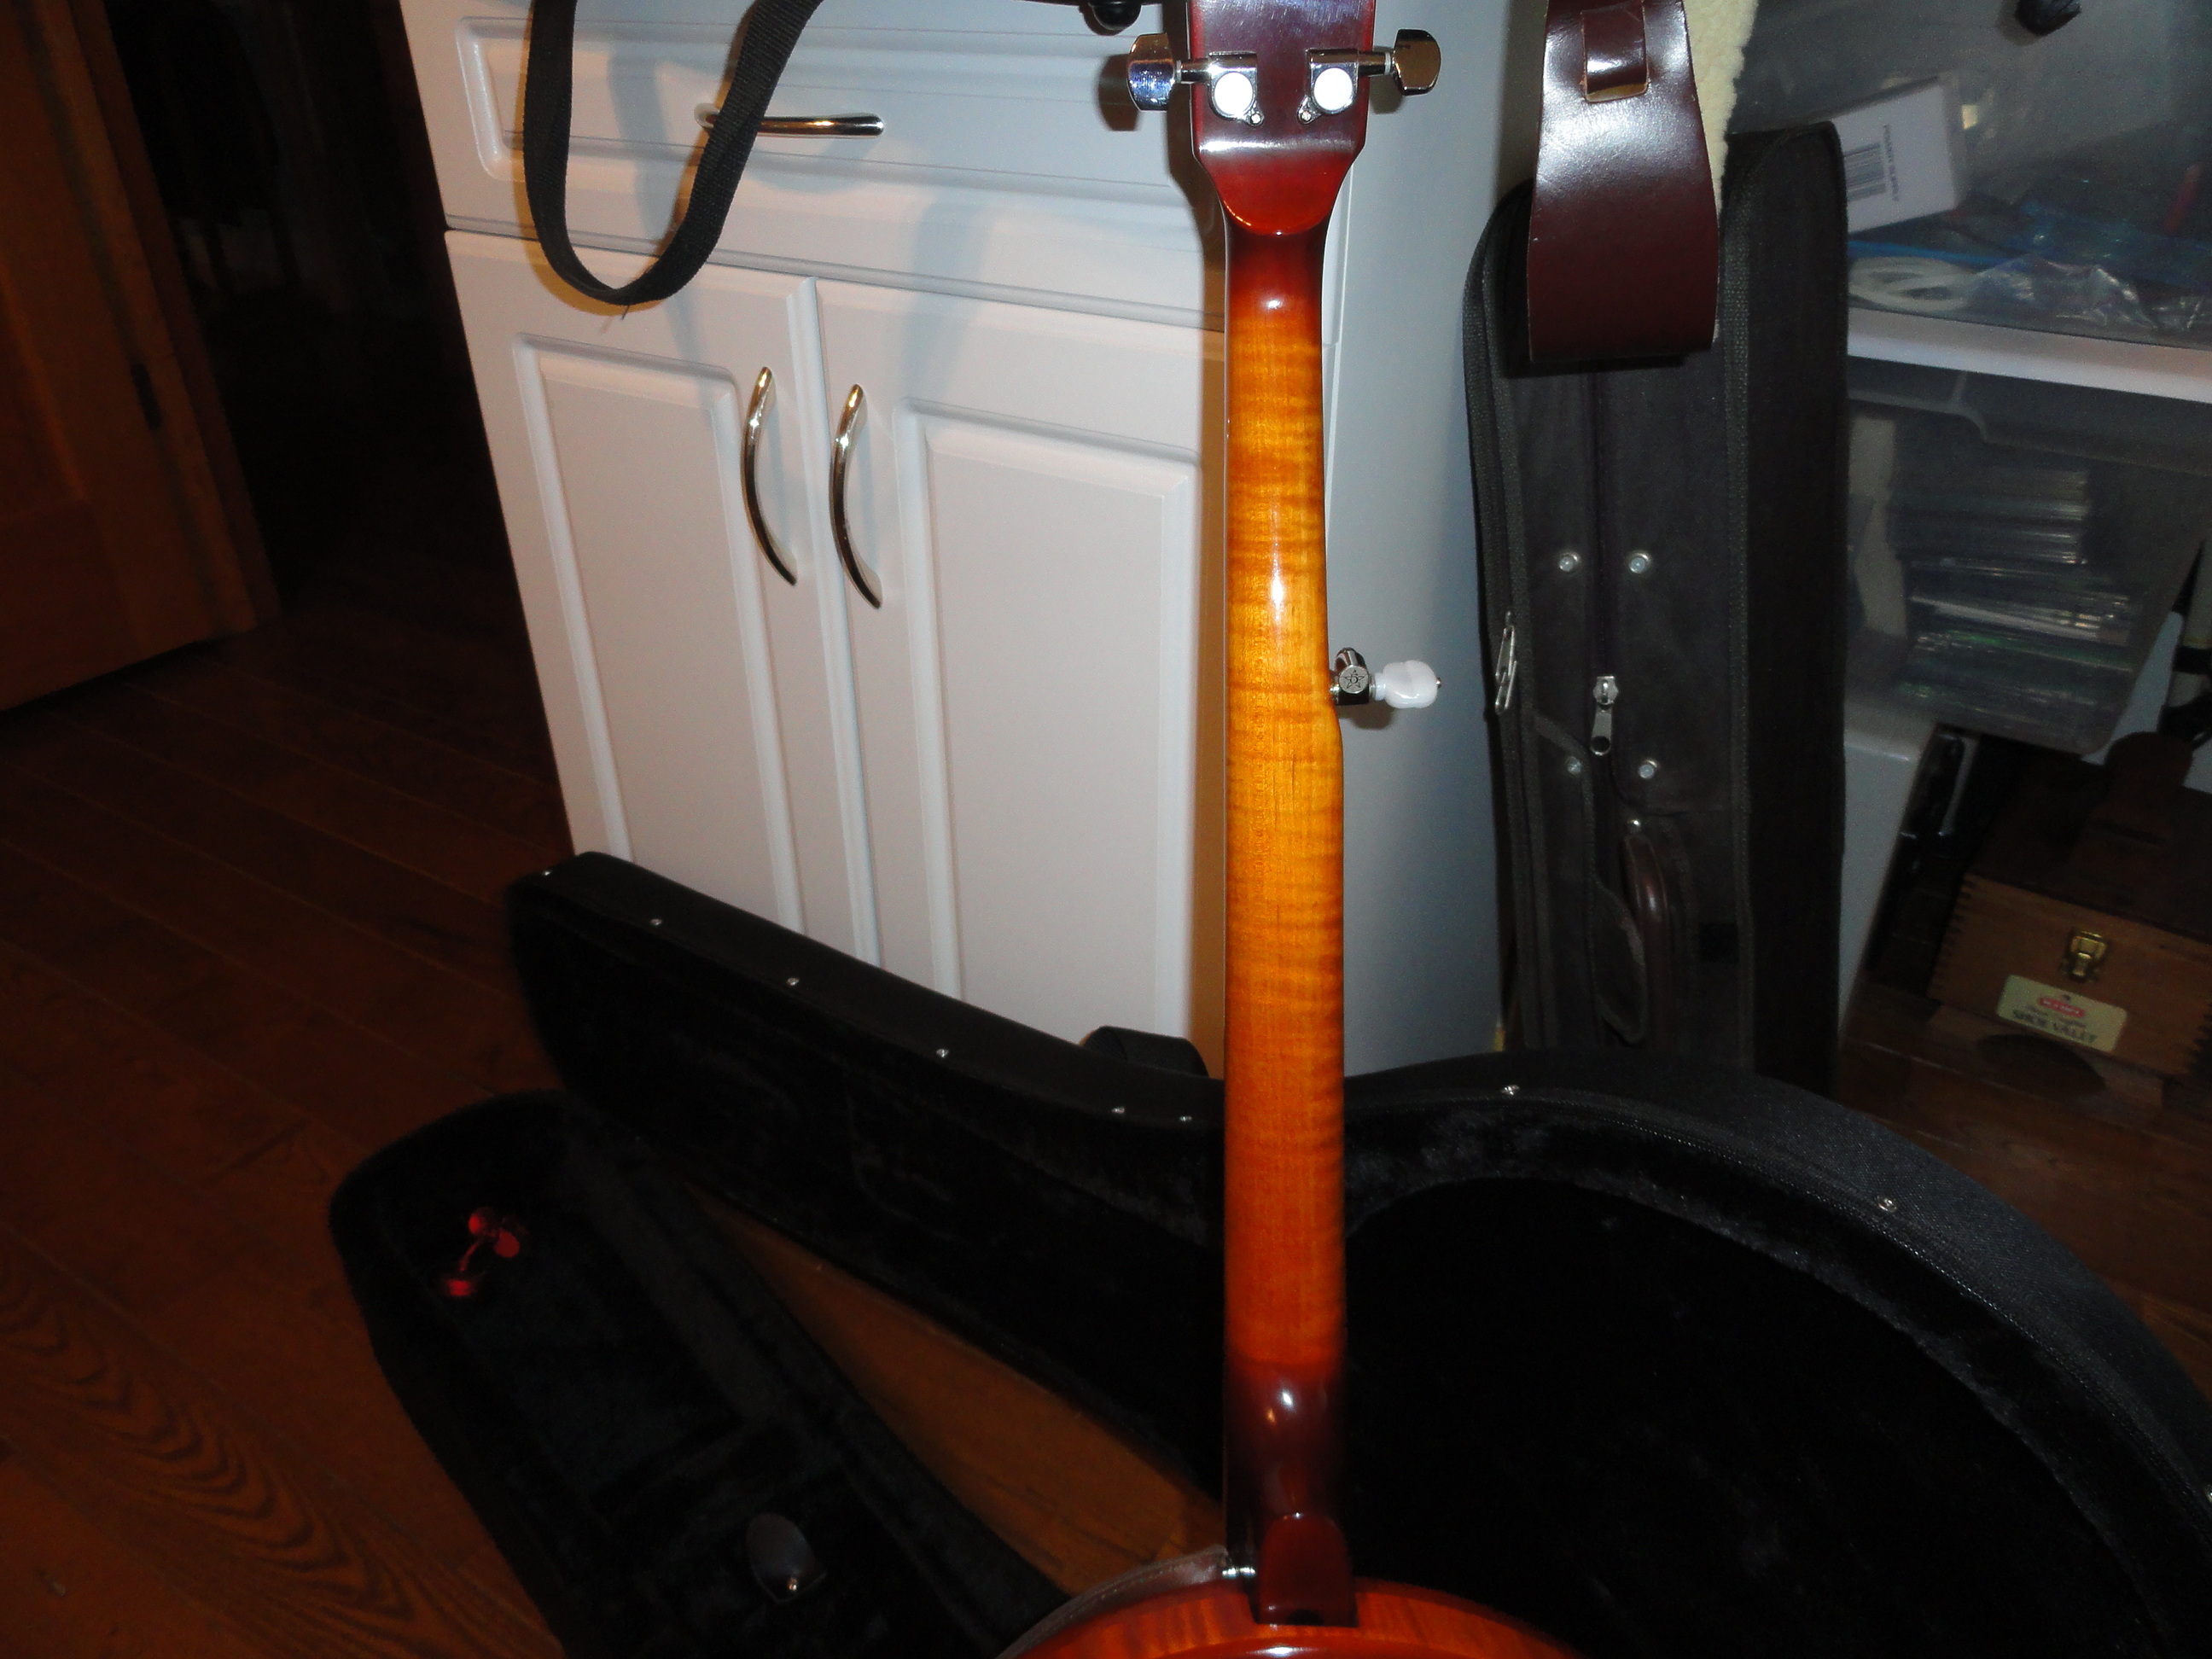
Neck
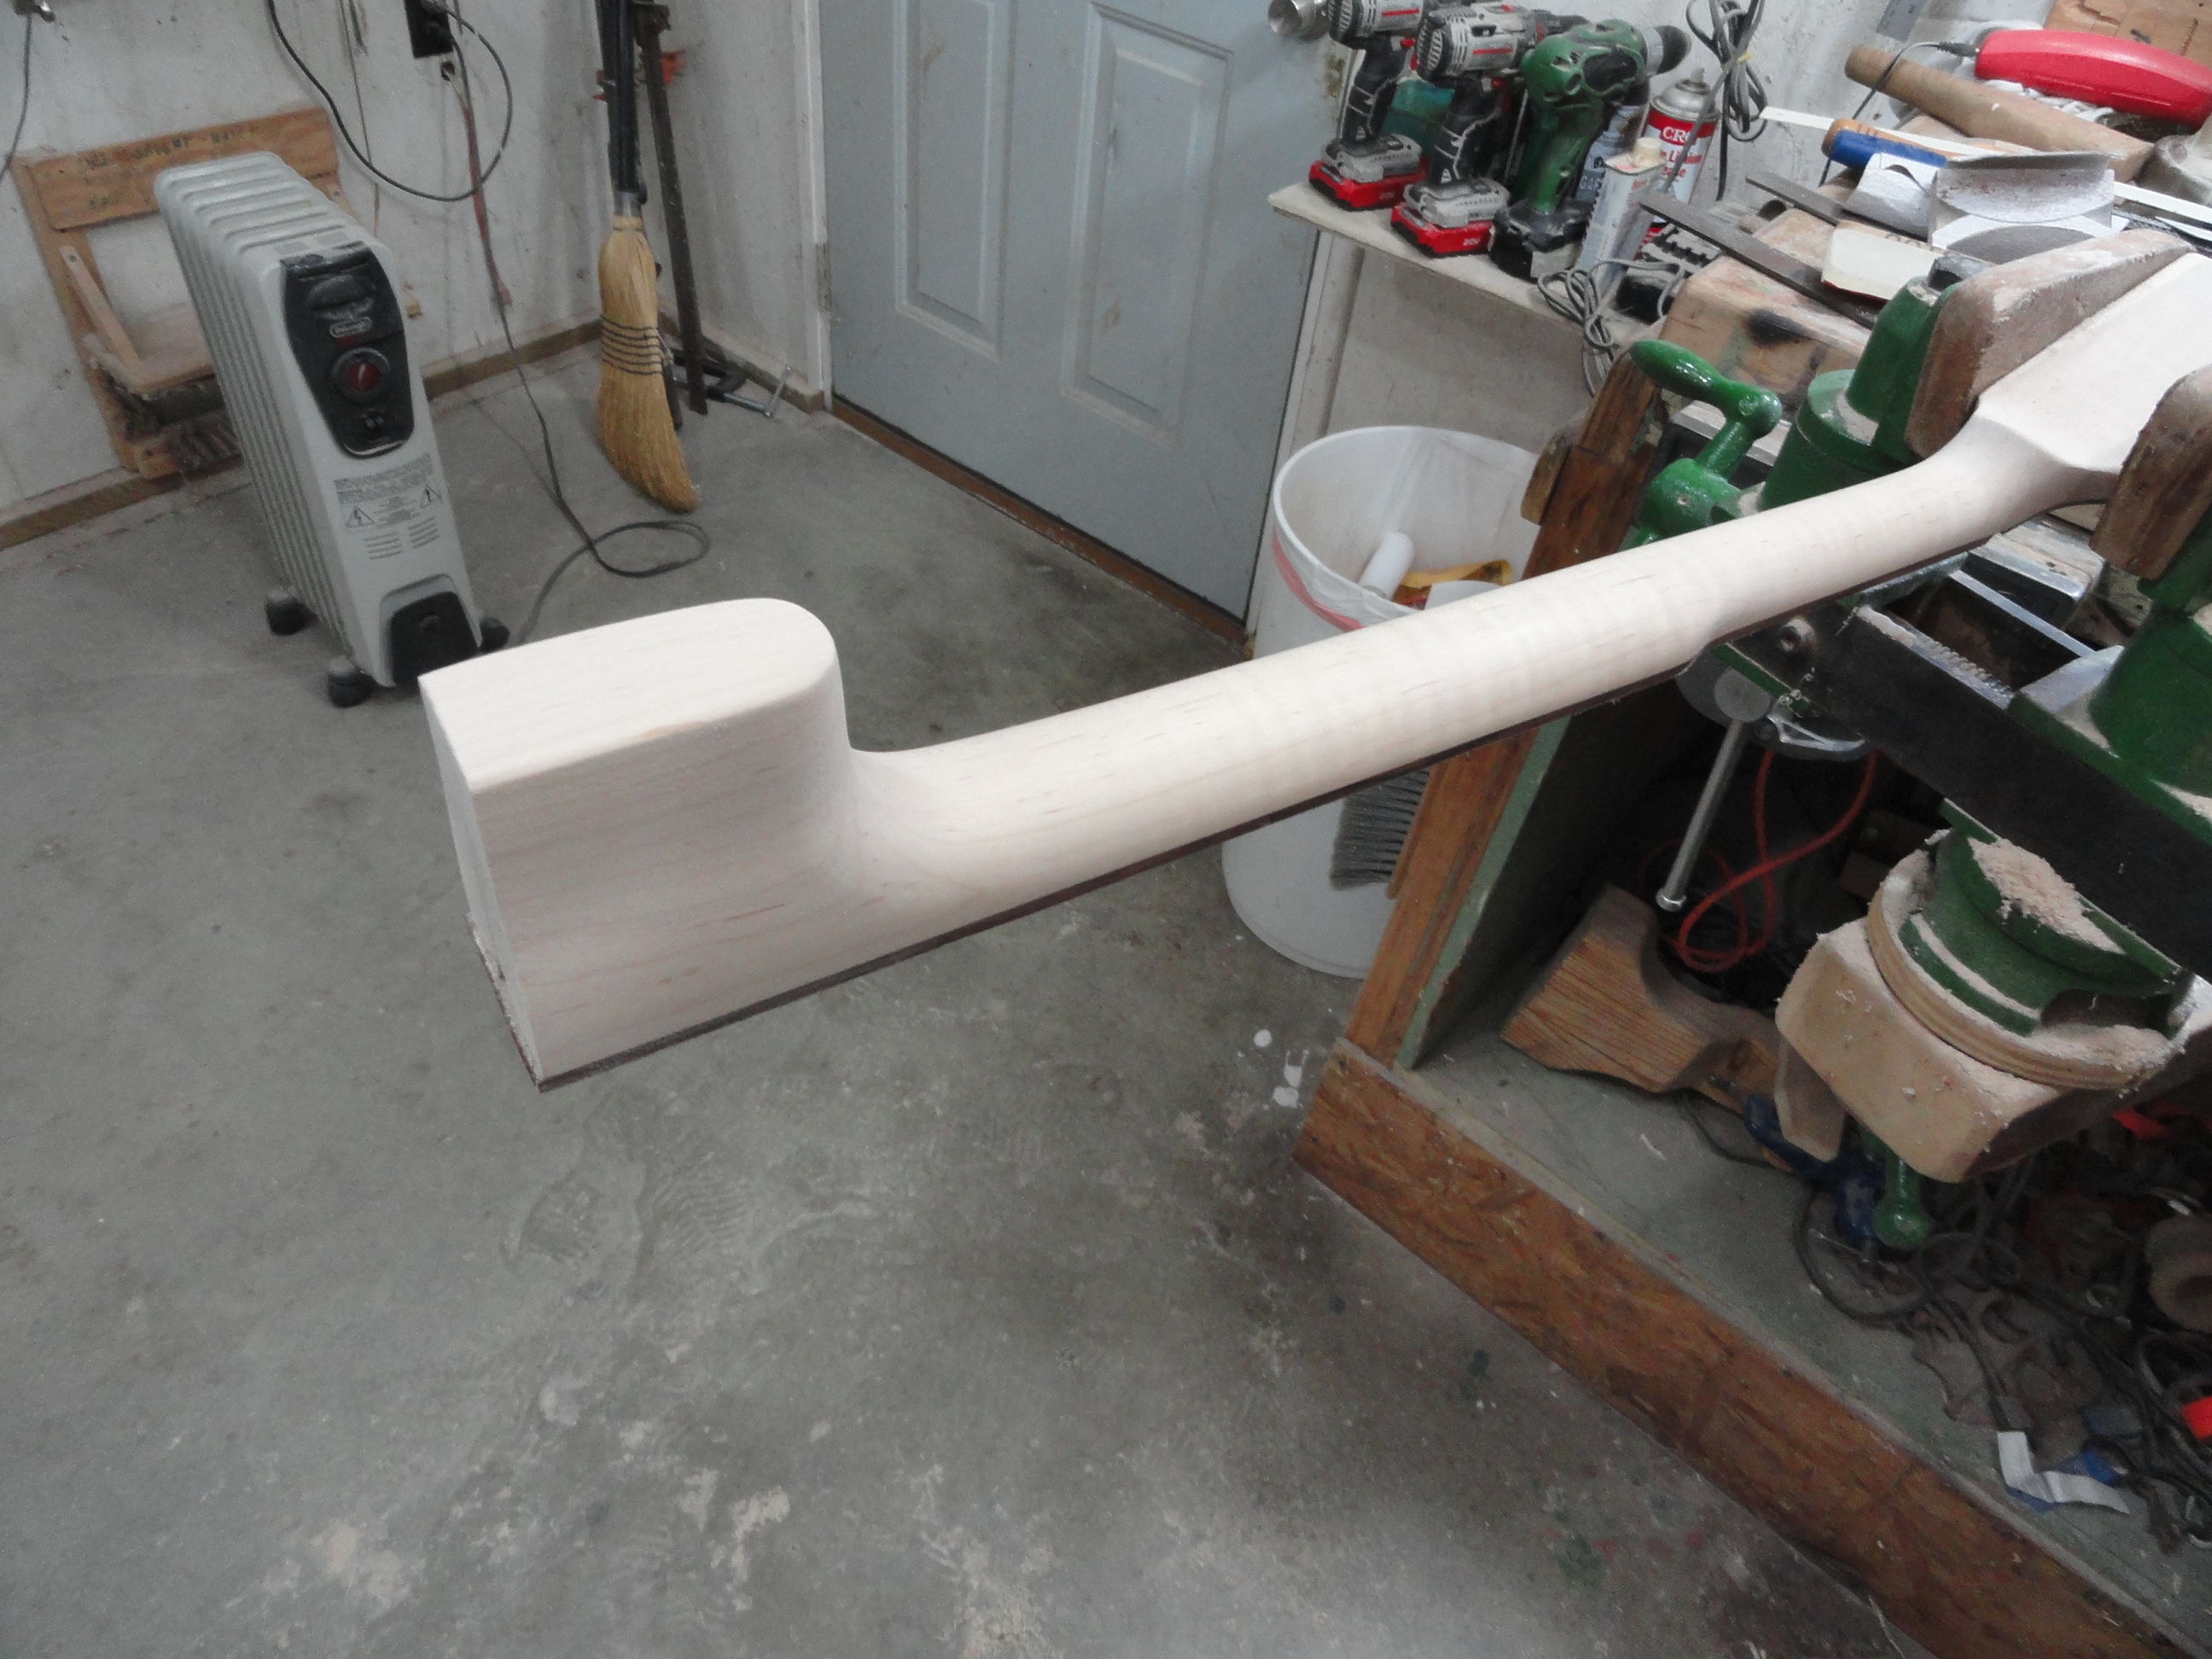
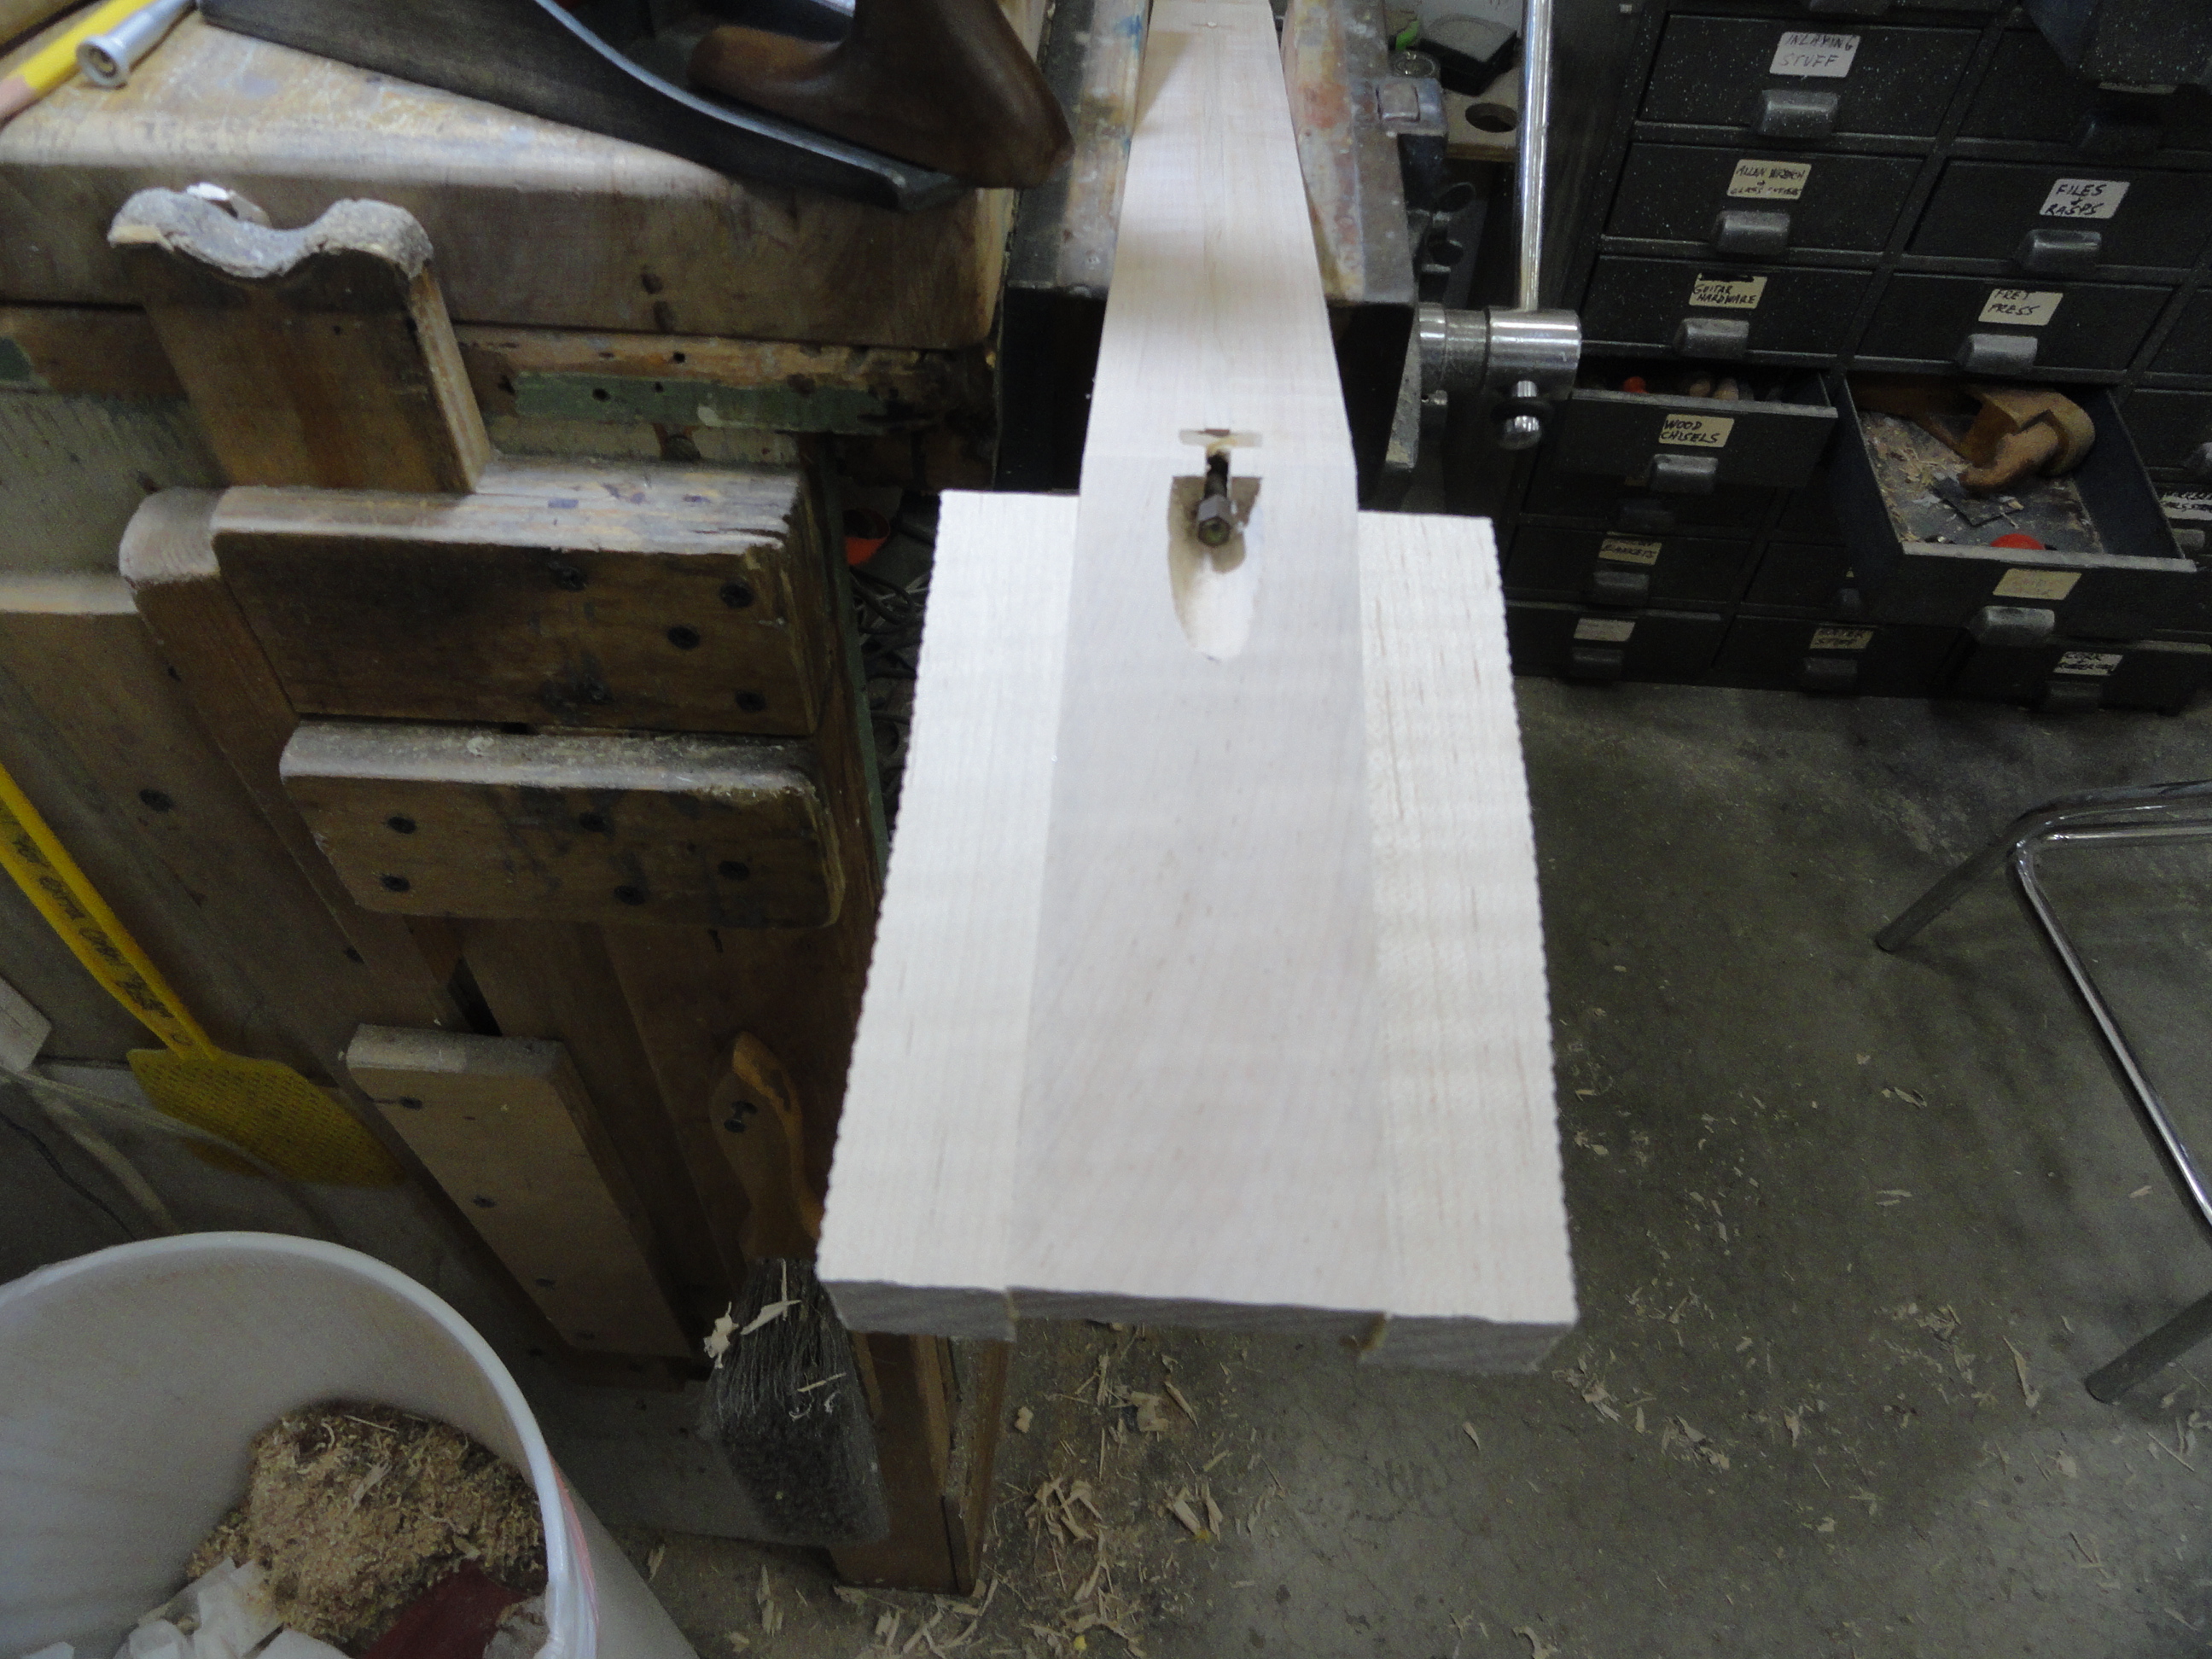
You might notice that this heel is a little longer than he traditional one. My design uses just one 1/4 inch bolt to attach the neck. It attaches to the neck with a 1/2 inch threaded steel rod that is glued into the heel of the neck. This design allows this attachment bolt to be tightened securely without the danger of damaging the neck.
Neck with inlays installed.

I fabricated and polished a bone nut. There is nothing that can duplicate the look of polished bone. I’ve also installed some frets.
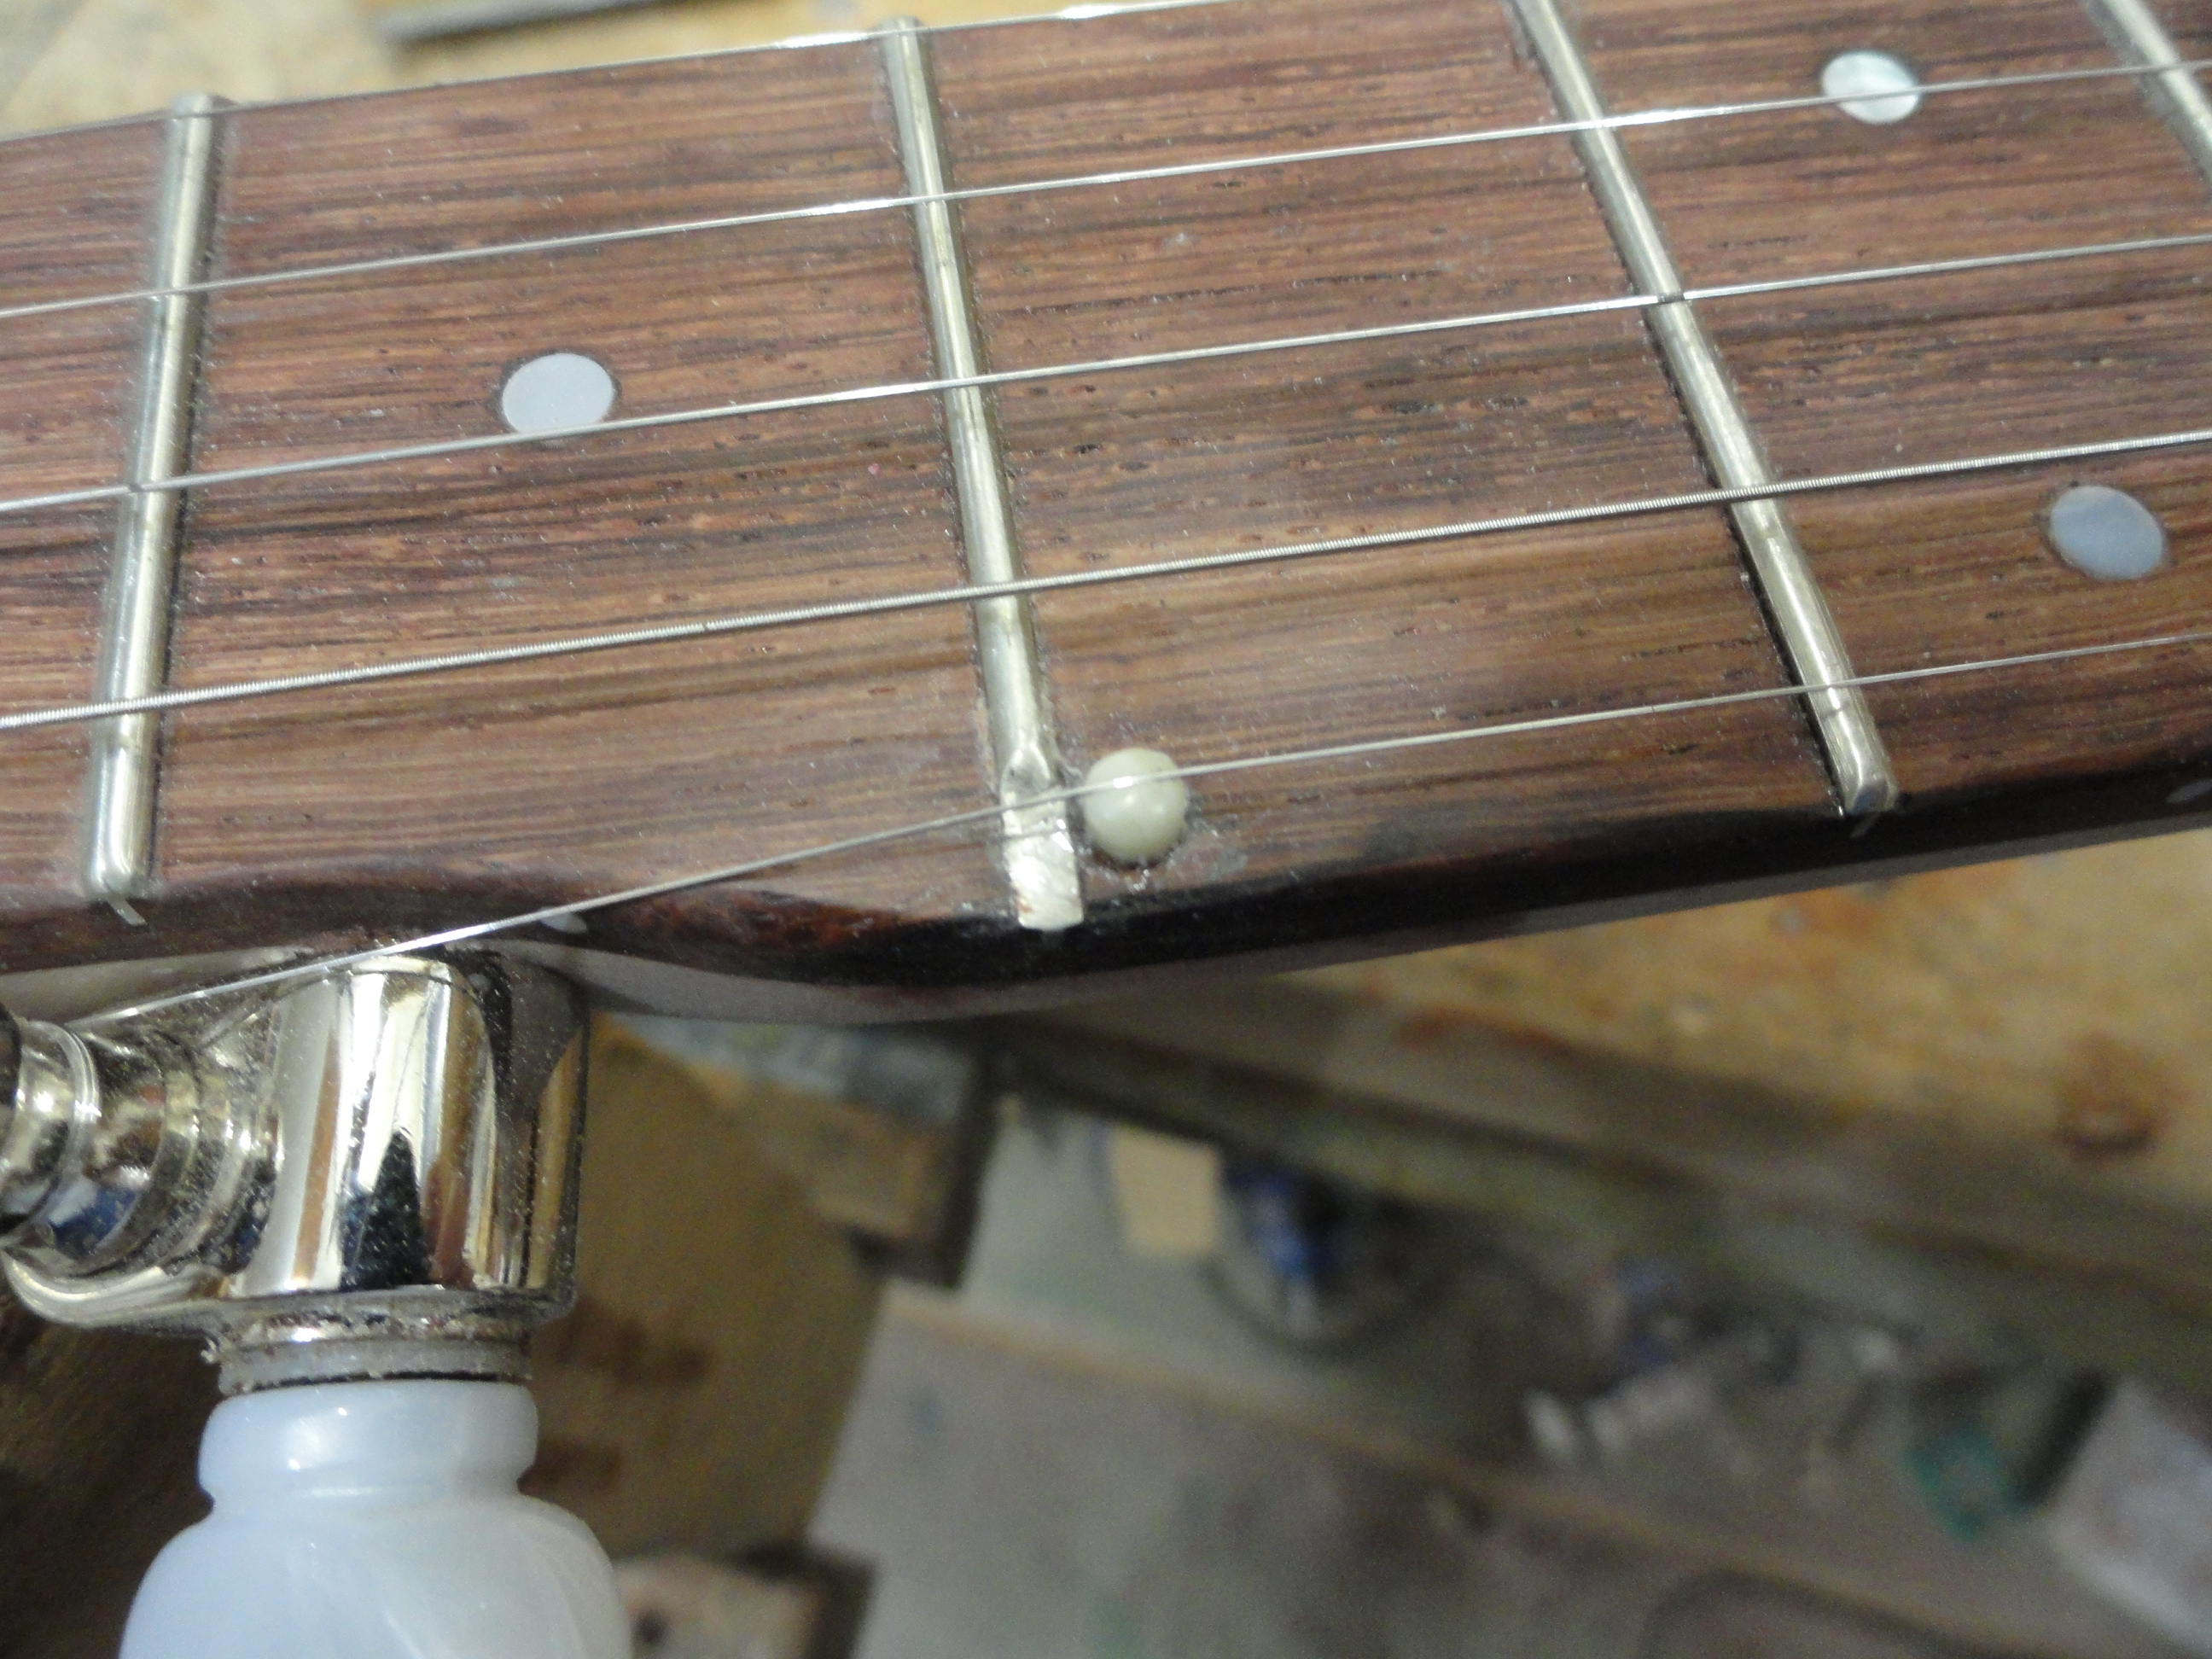
My fifth string nut is in a different place than most. I’ve found through the years that moving the nut to this position makes the fifth string stay in tune better when it is capoed.
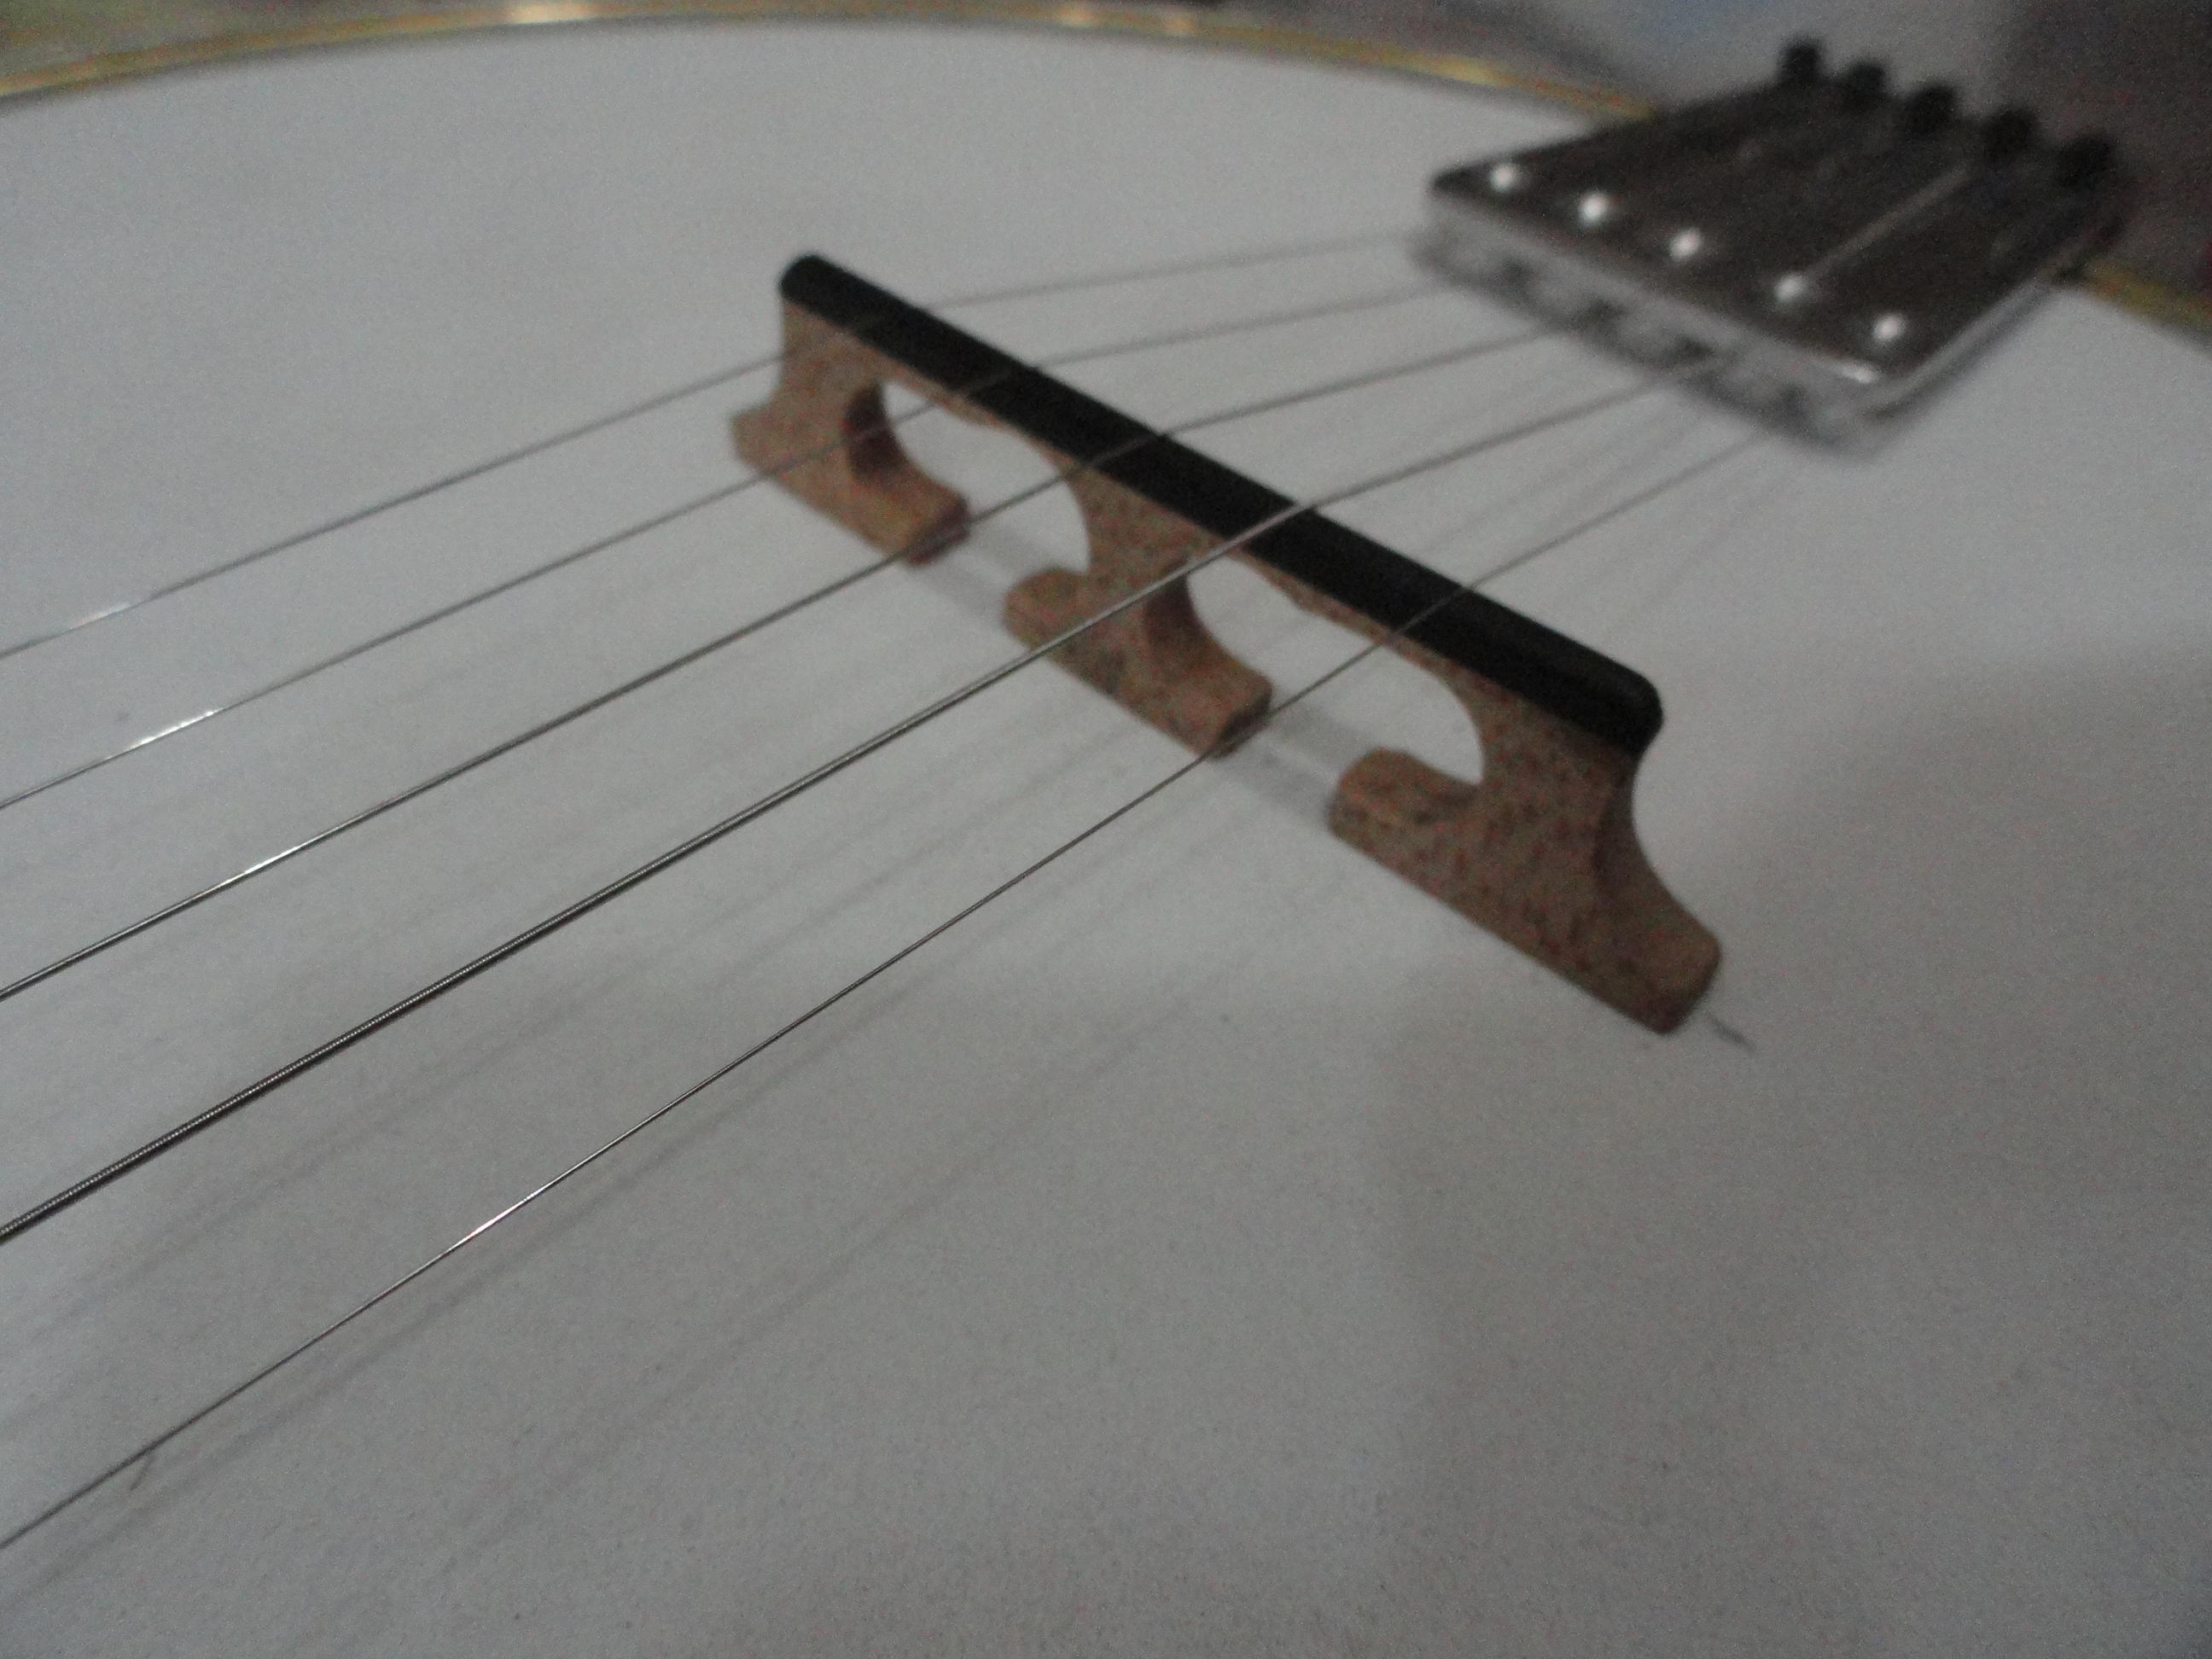
I fabricated a bridge from some 100 year old maple with an ebony top. I strung it up prior to finishing it to make sure I had everything right.
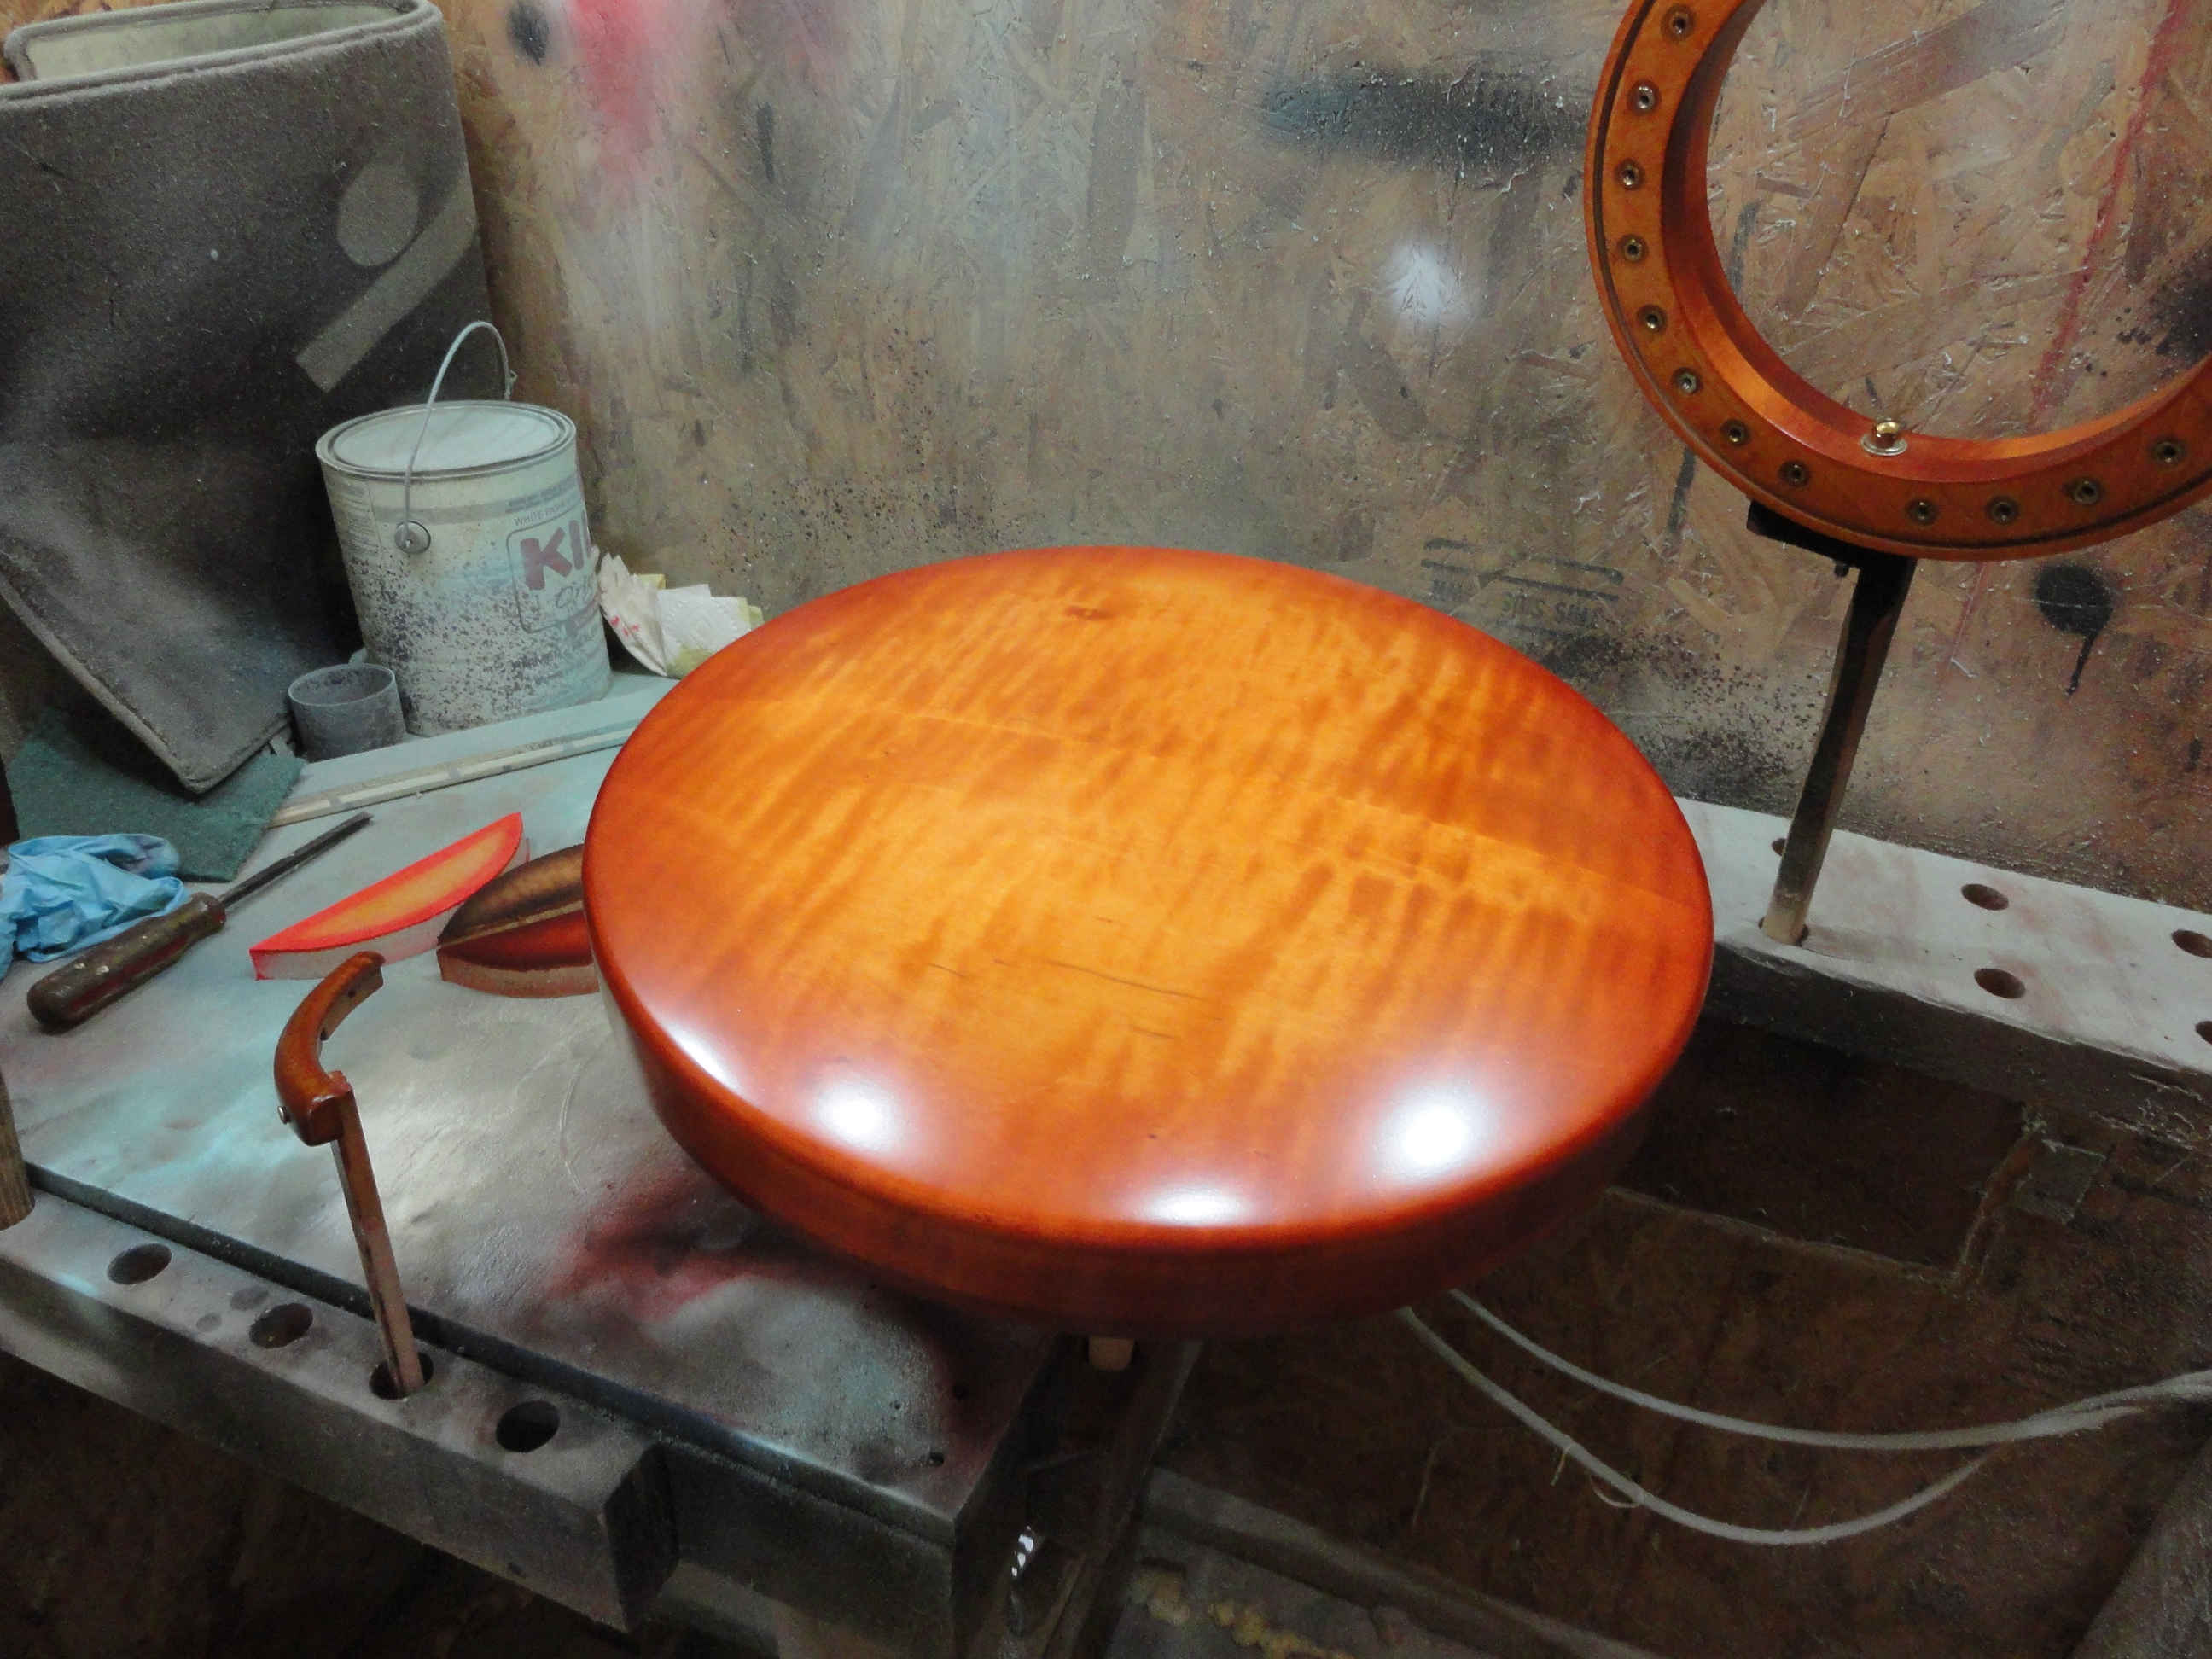
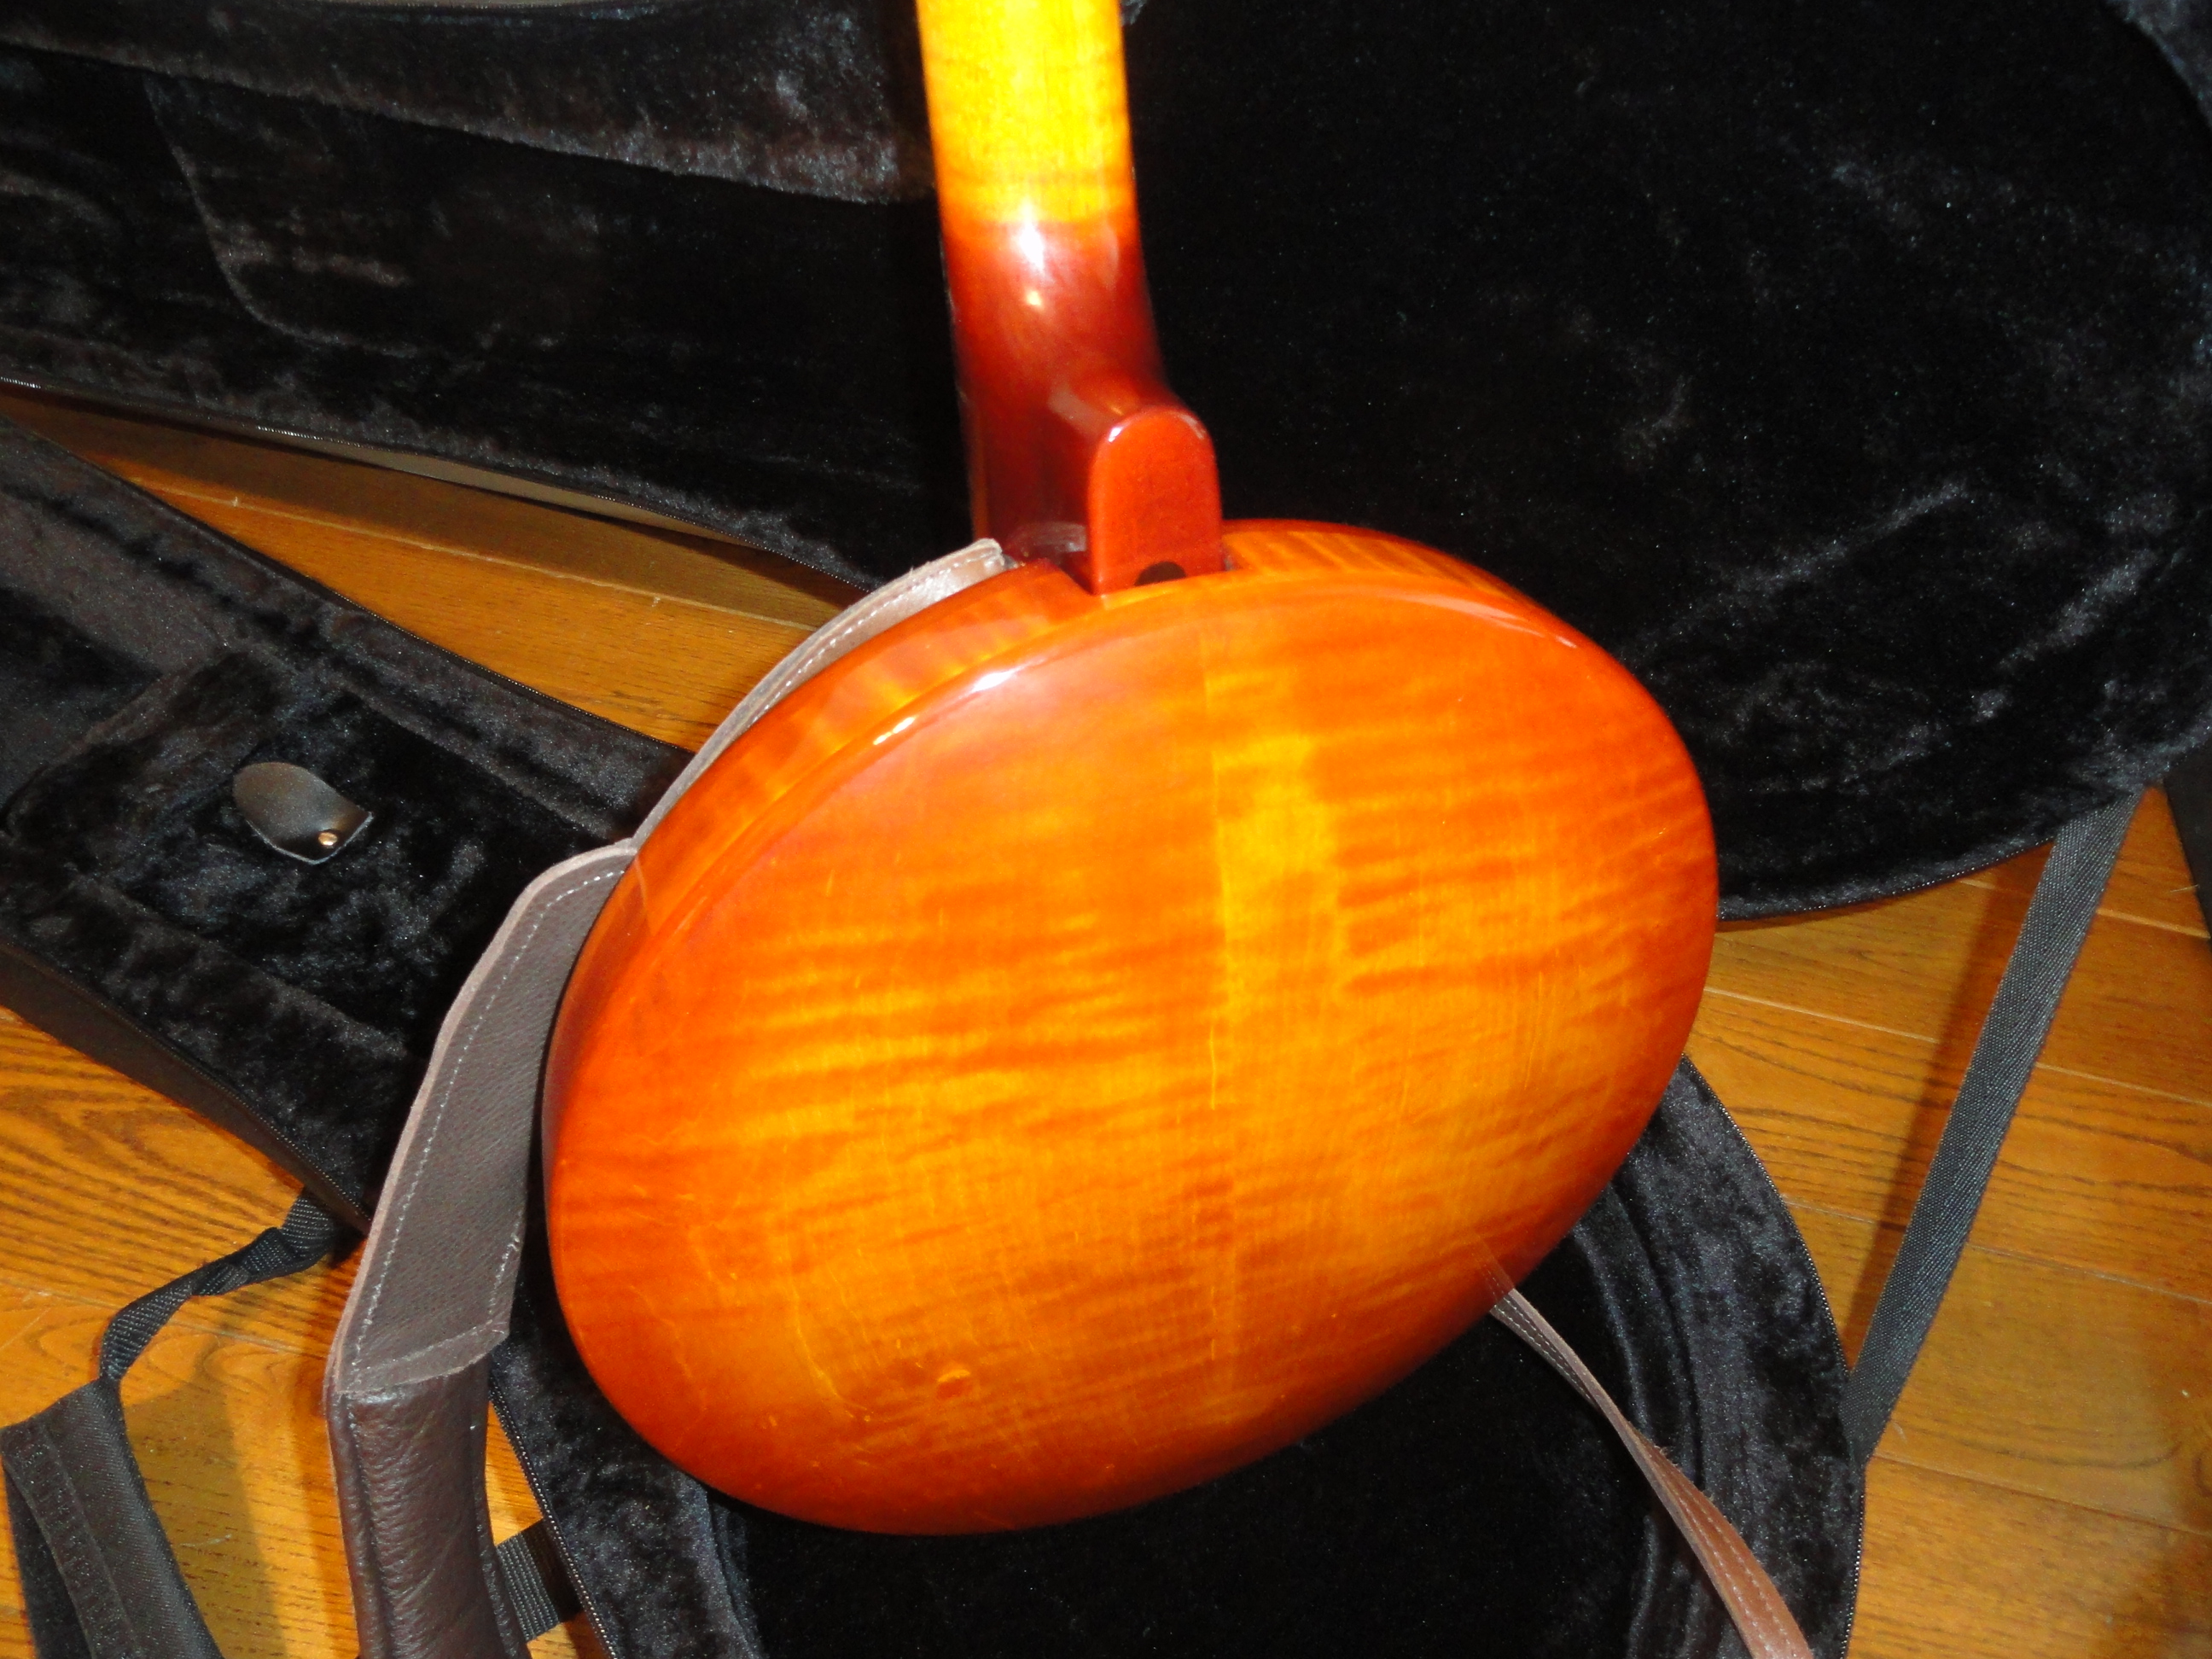
I spent a lot of time trying to get a color that I liked. I settled on this amber color with a sunburst in a darker reddish-brown tone.
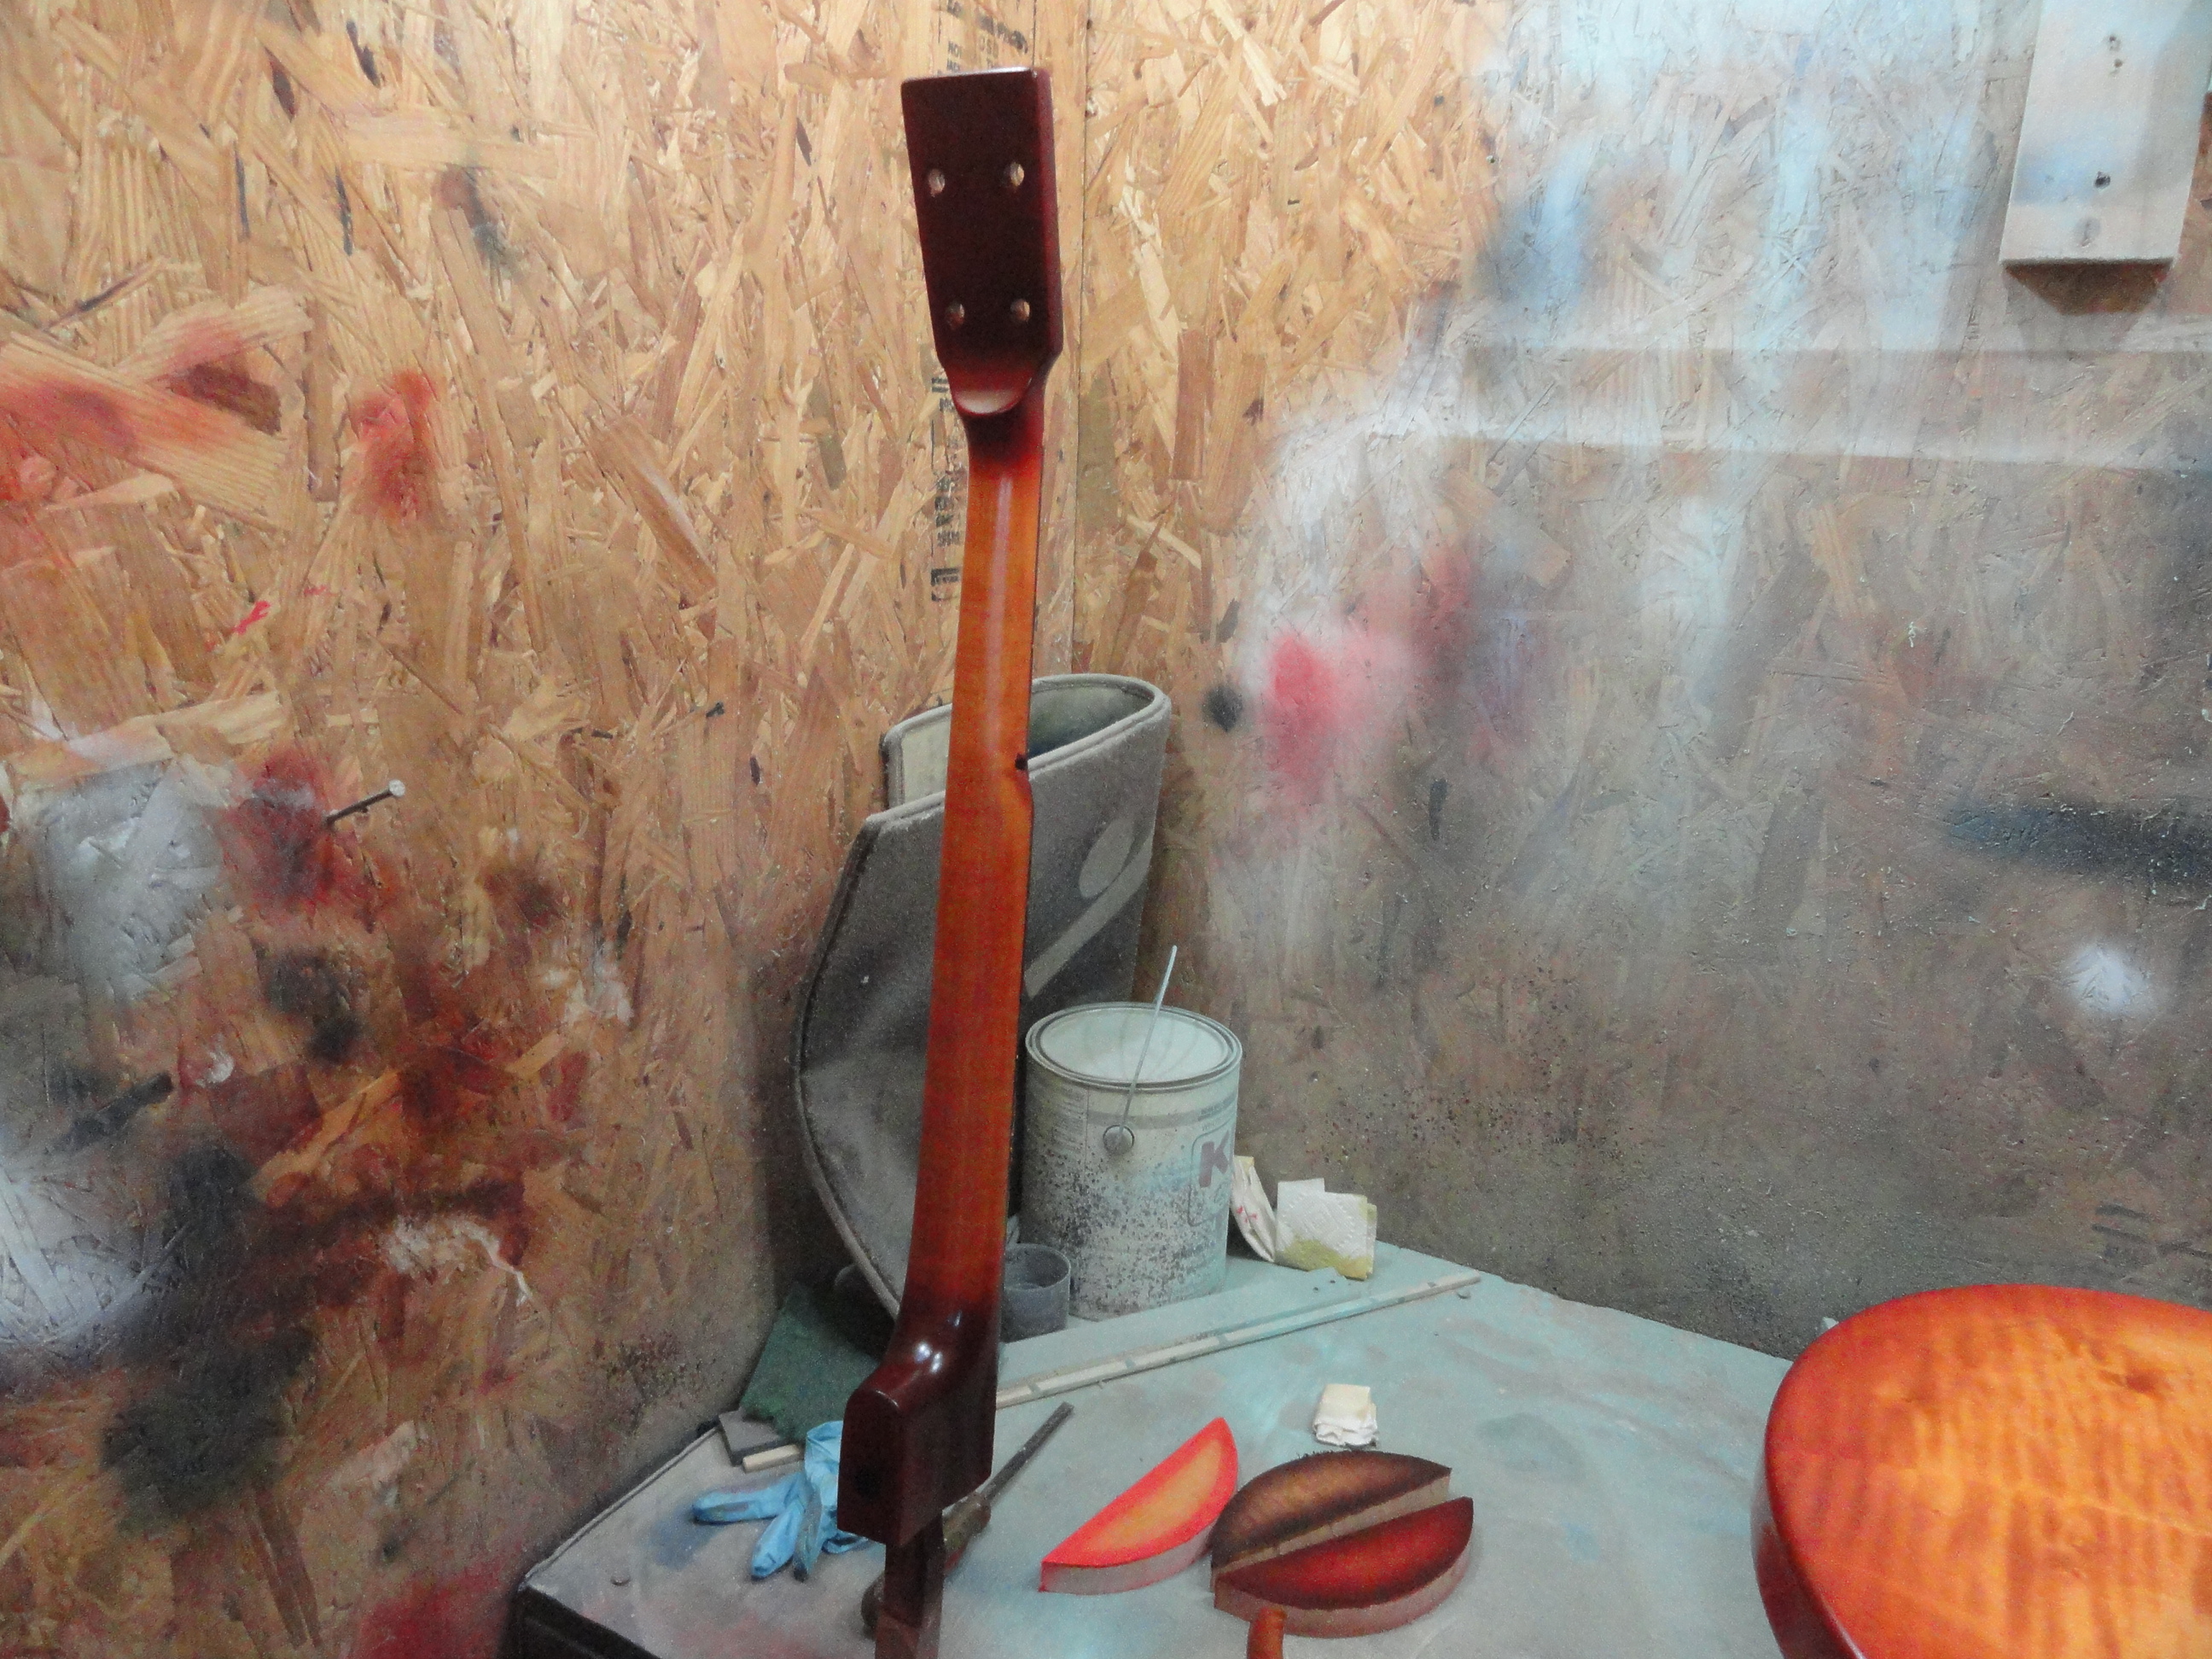
The finishing process. You might notice my little sample colors that I had tried laying on the bench.
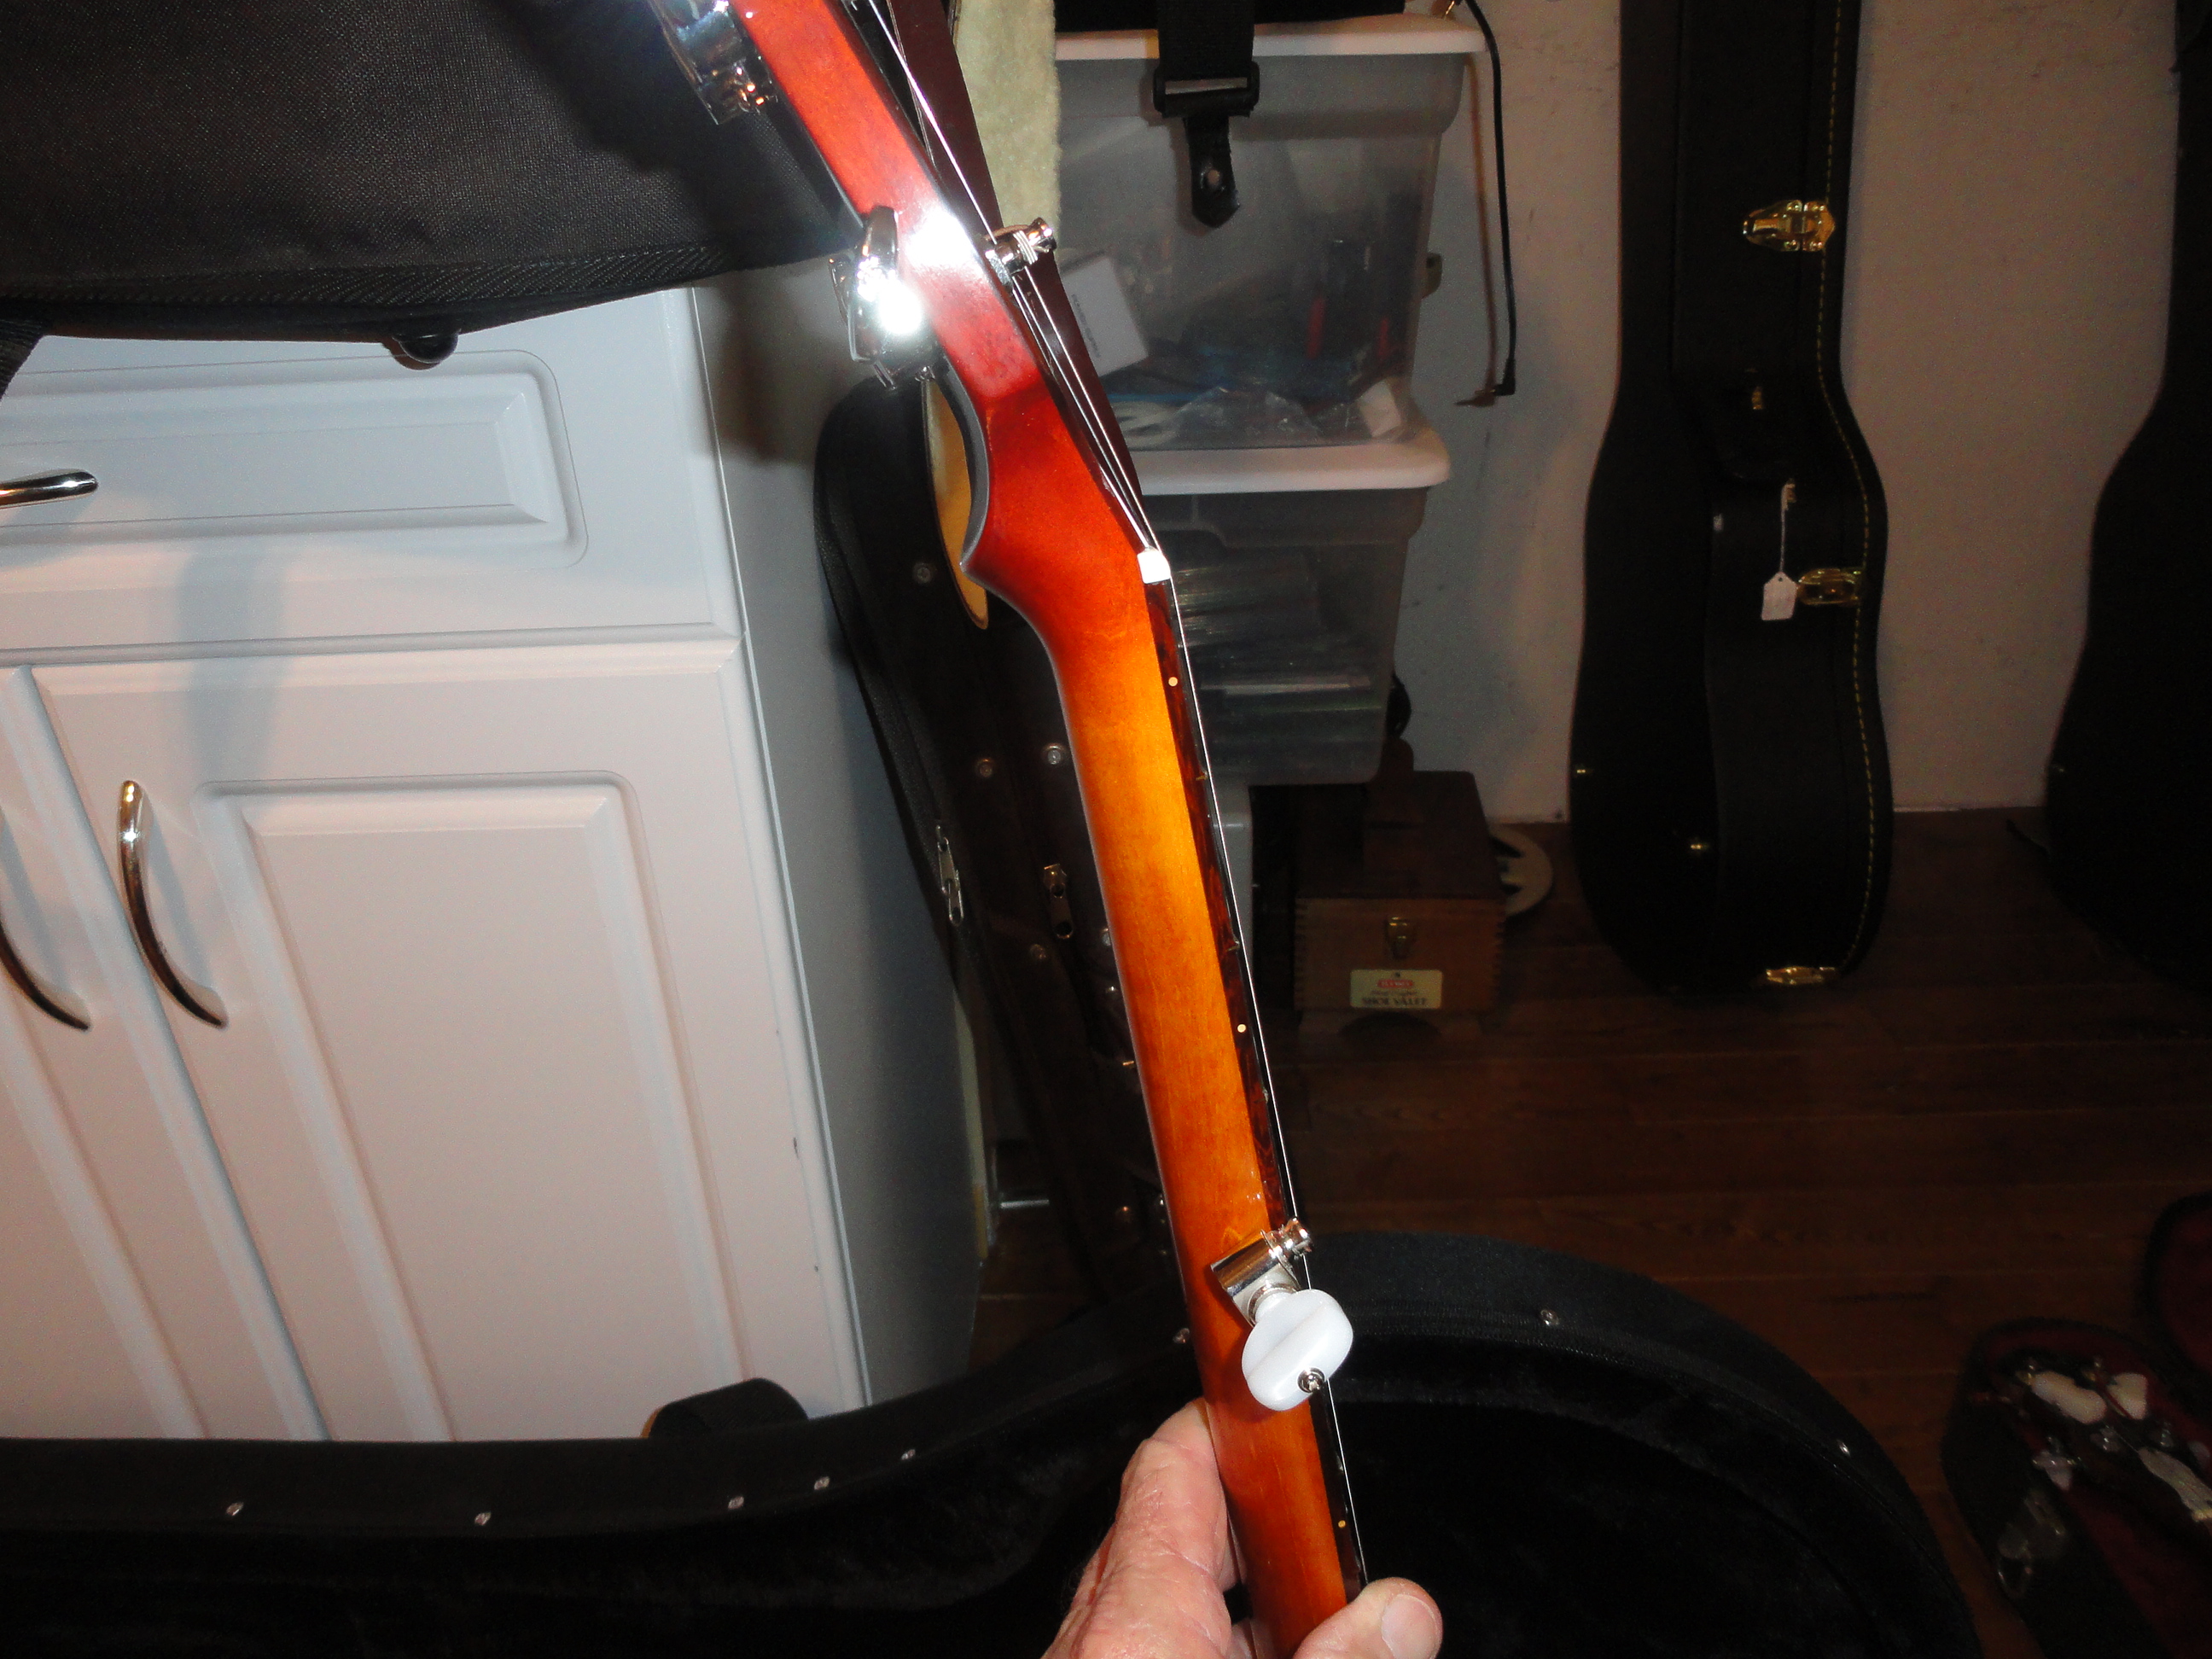
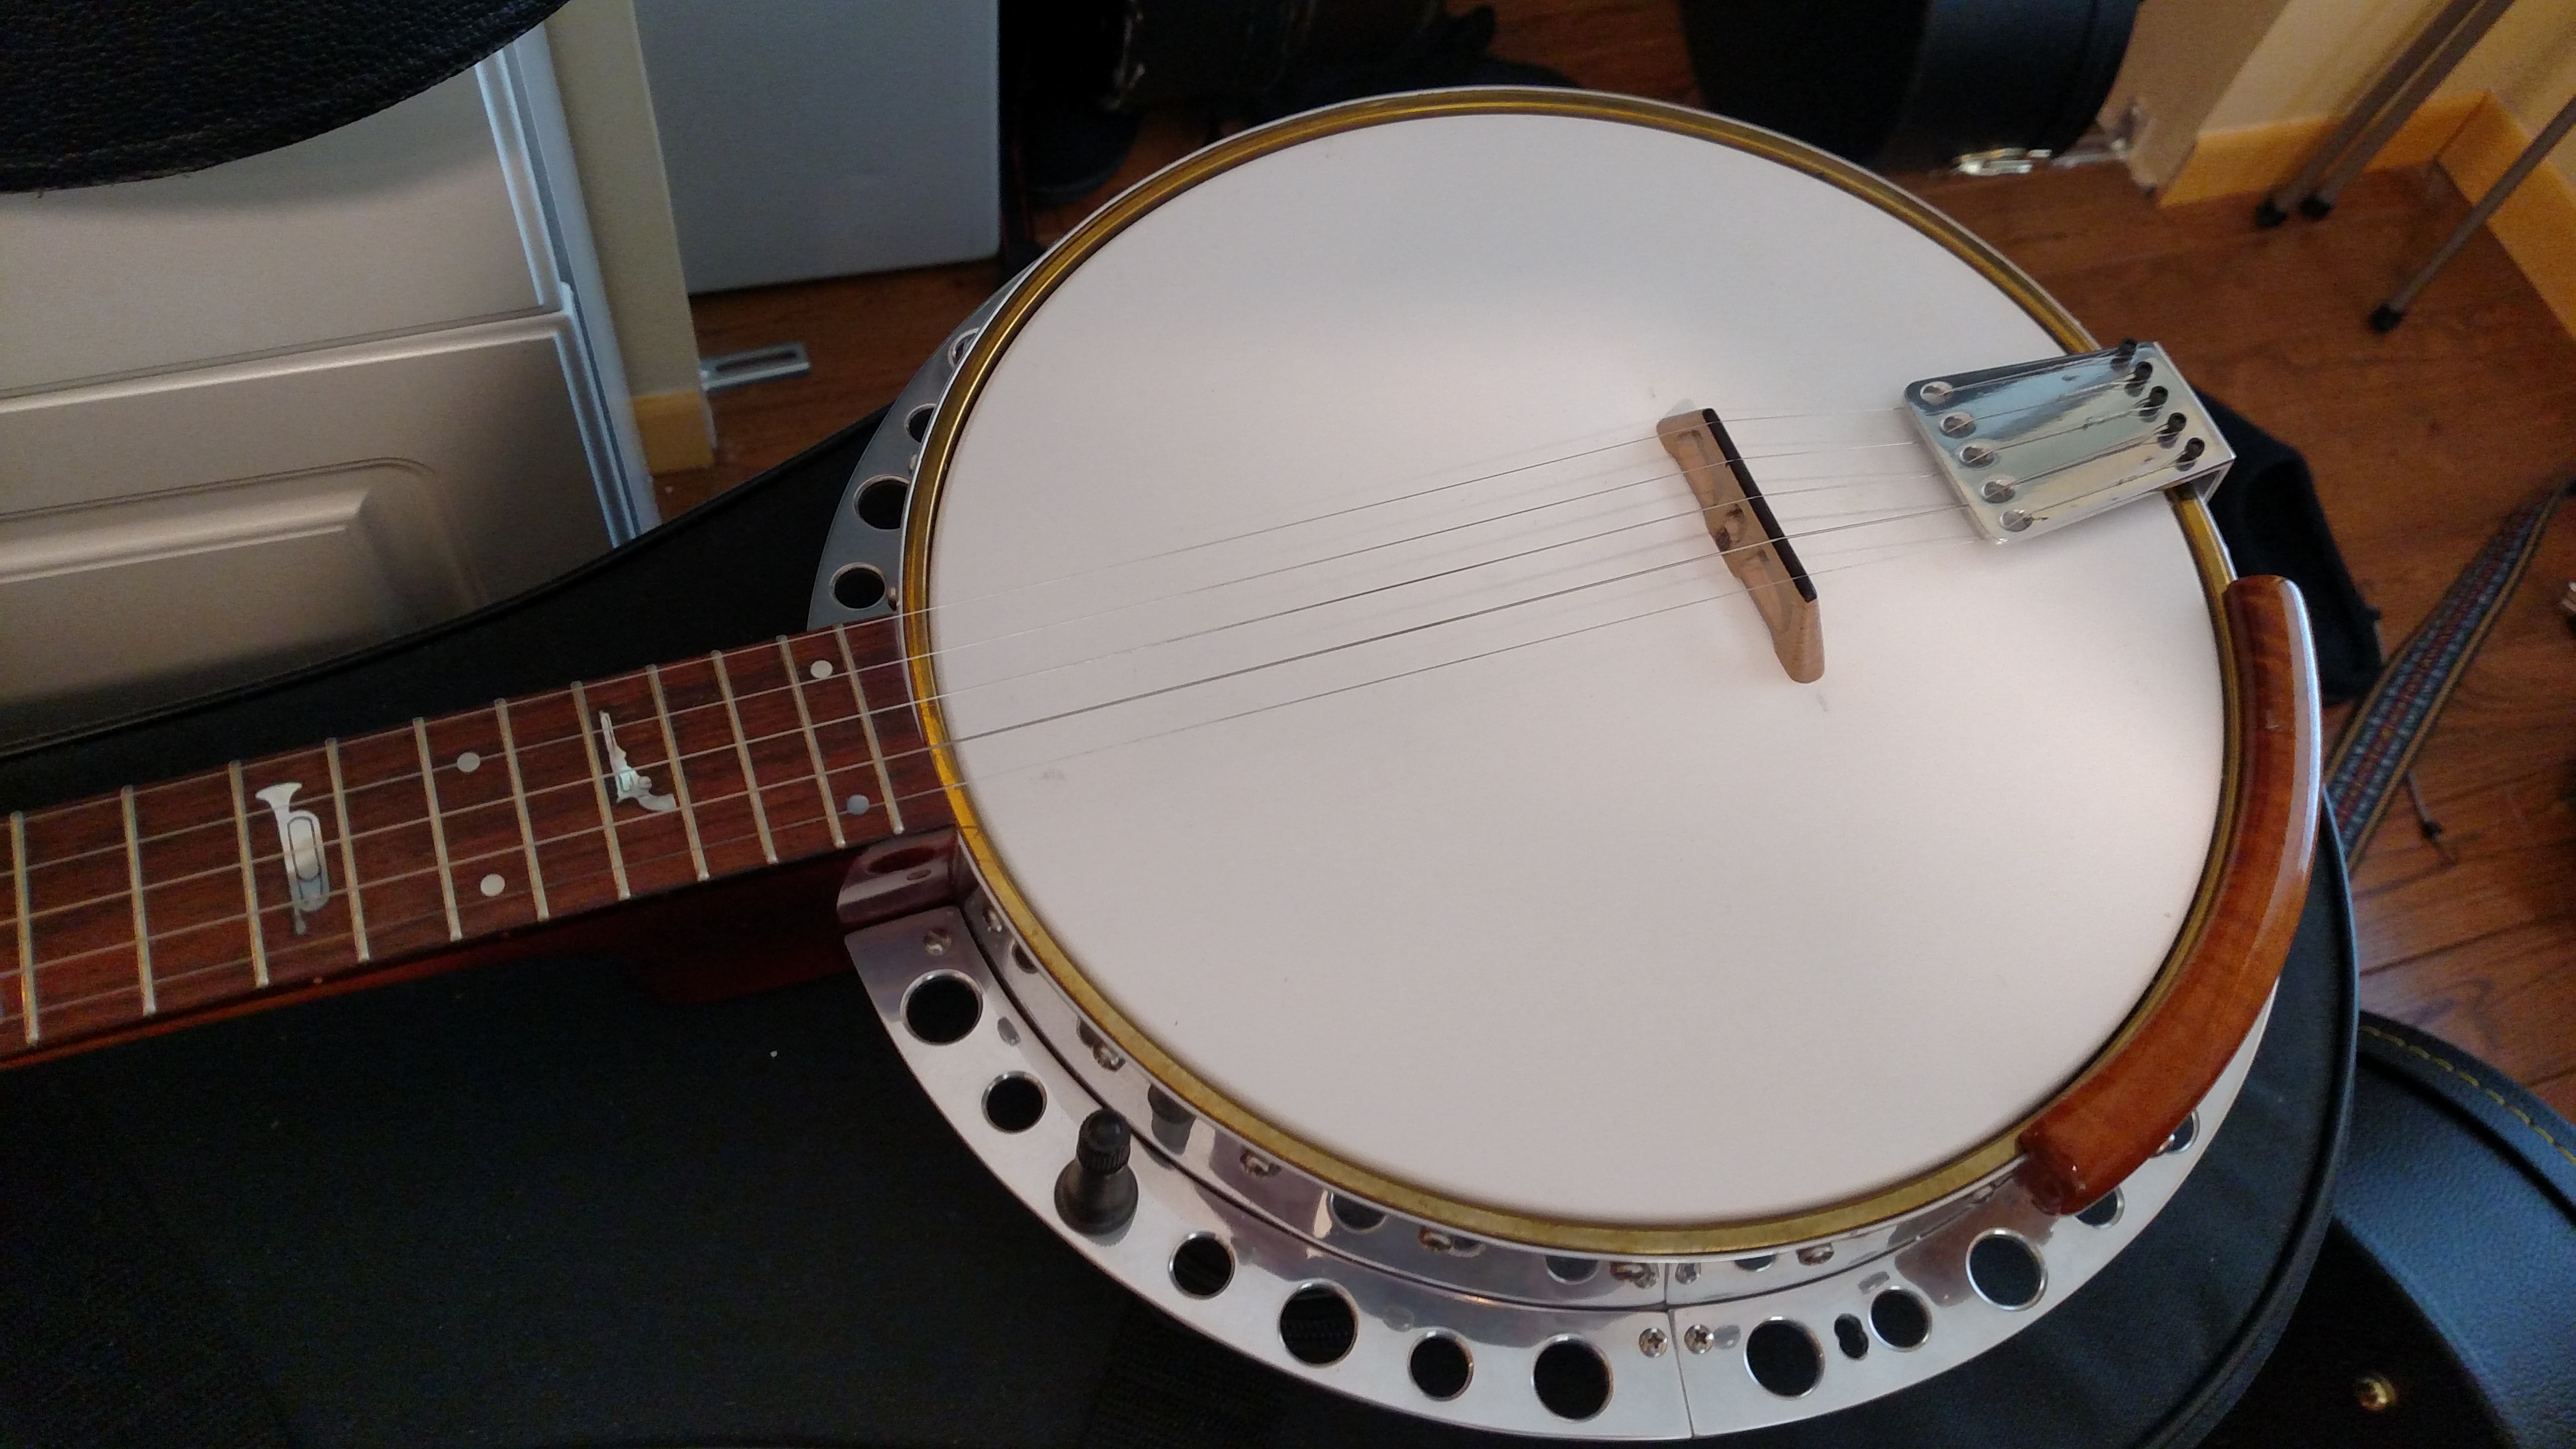
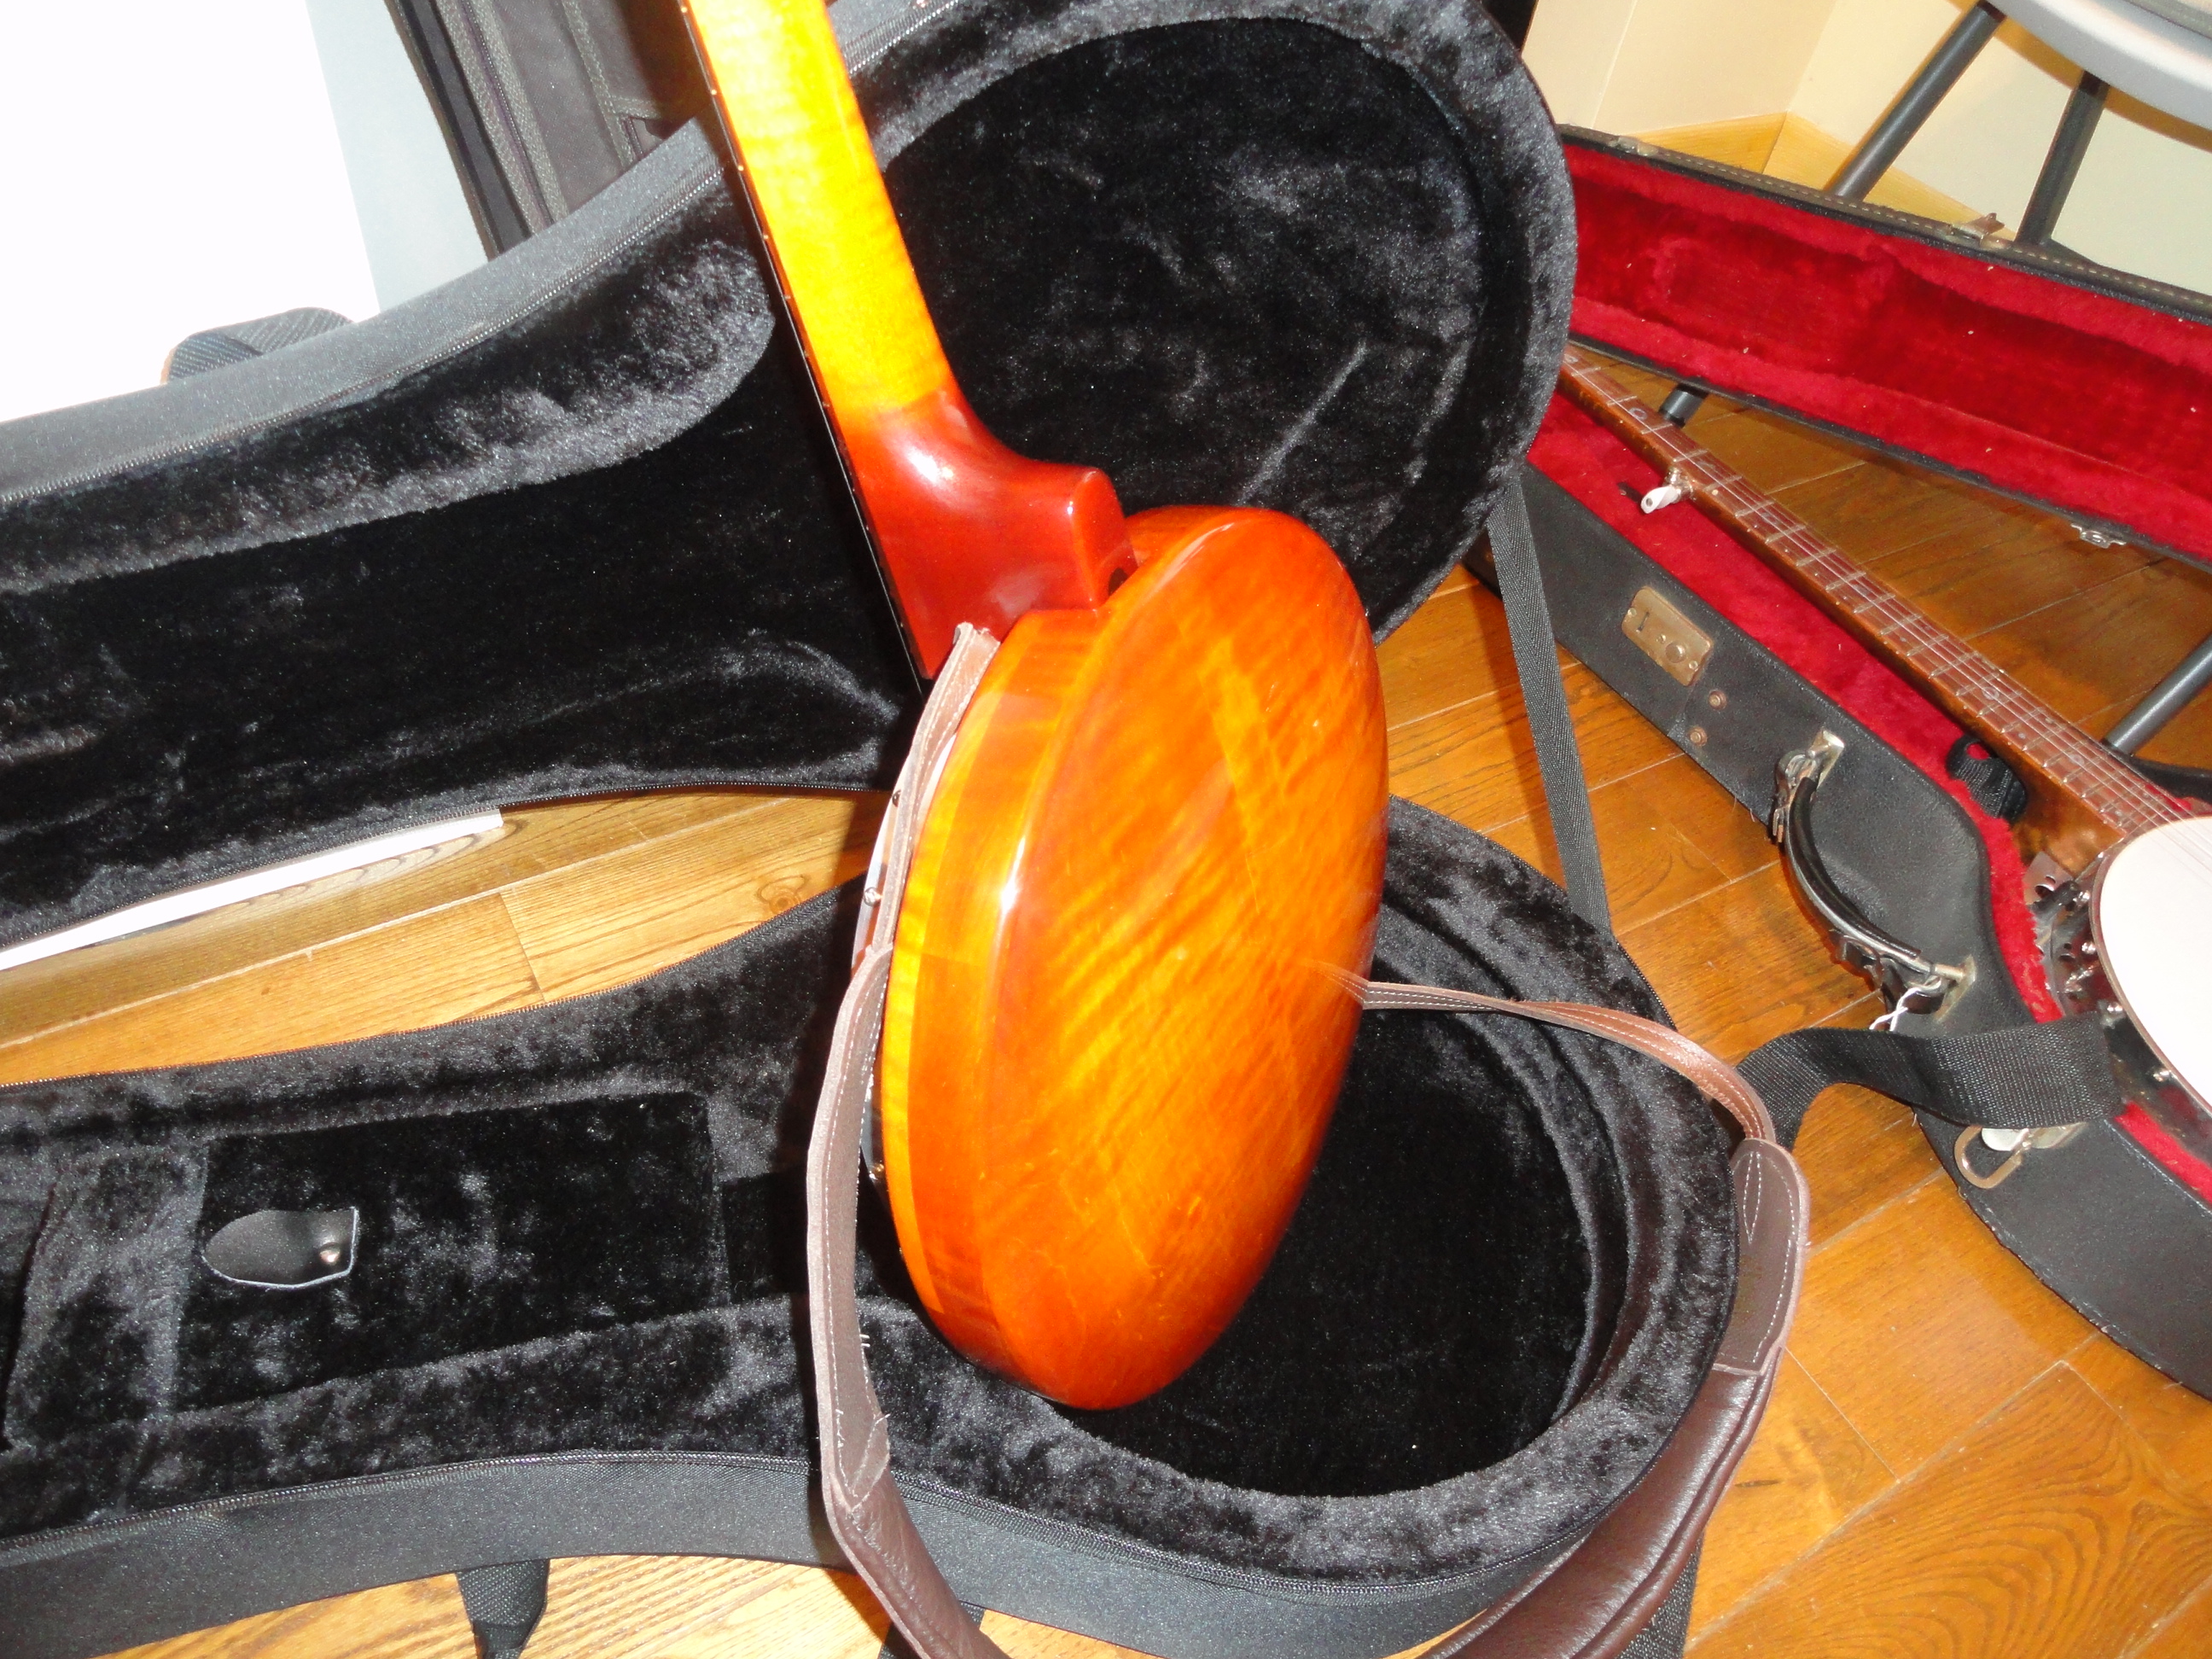
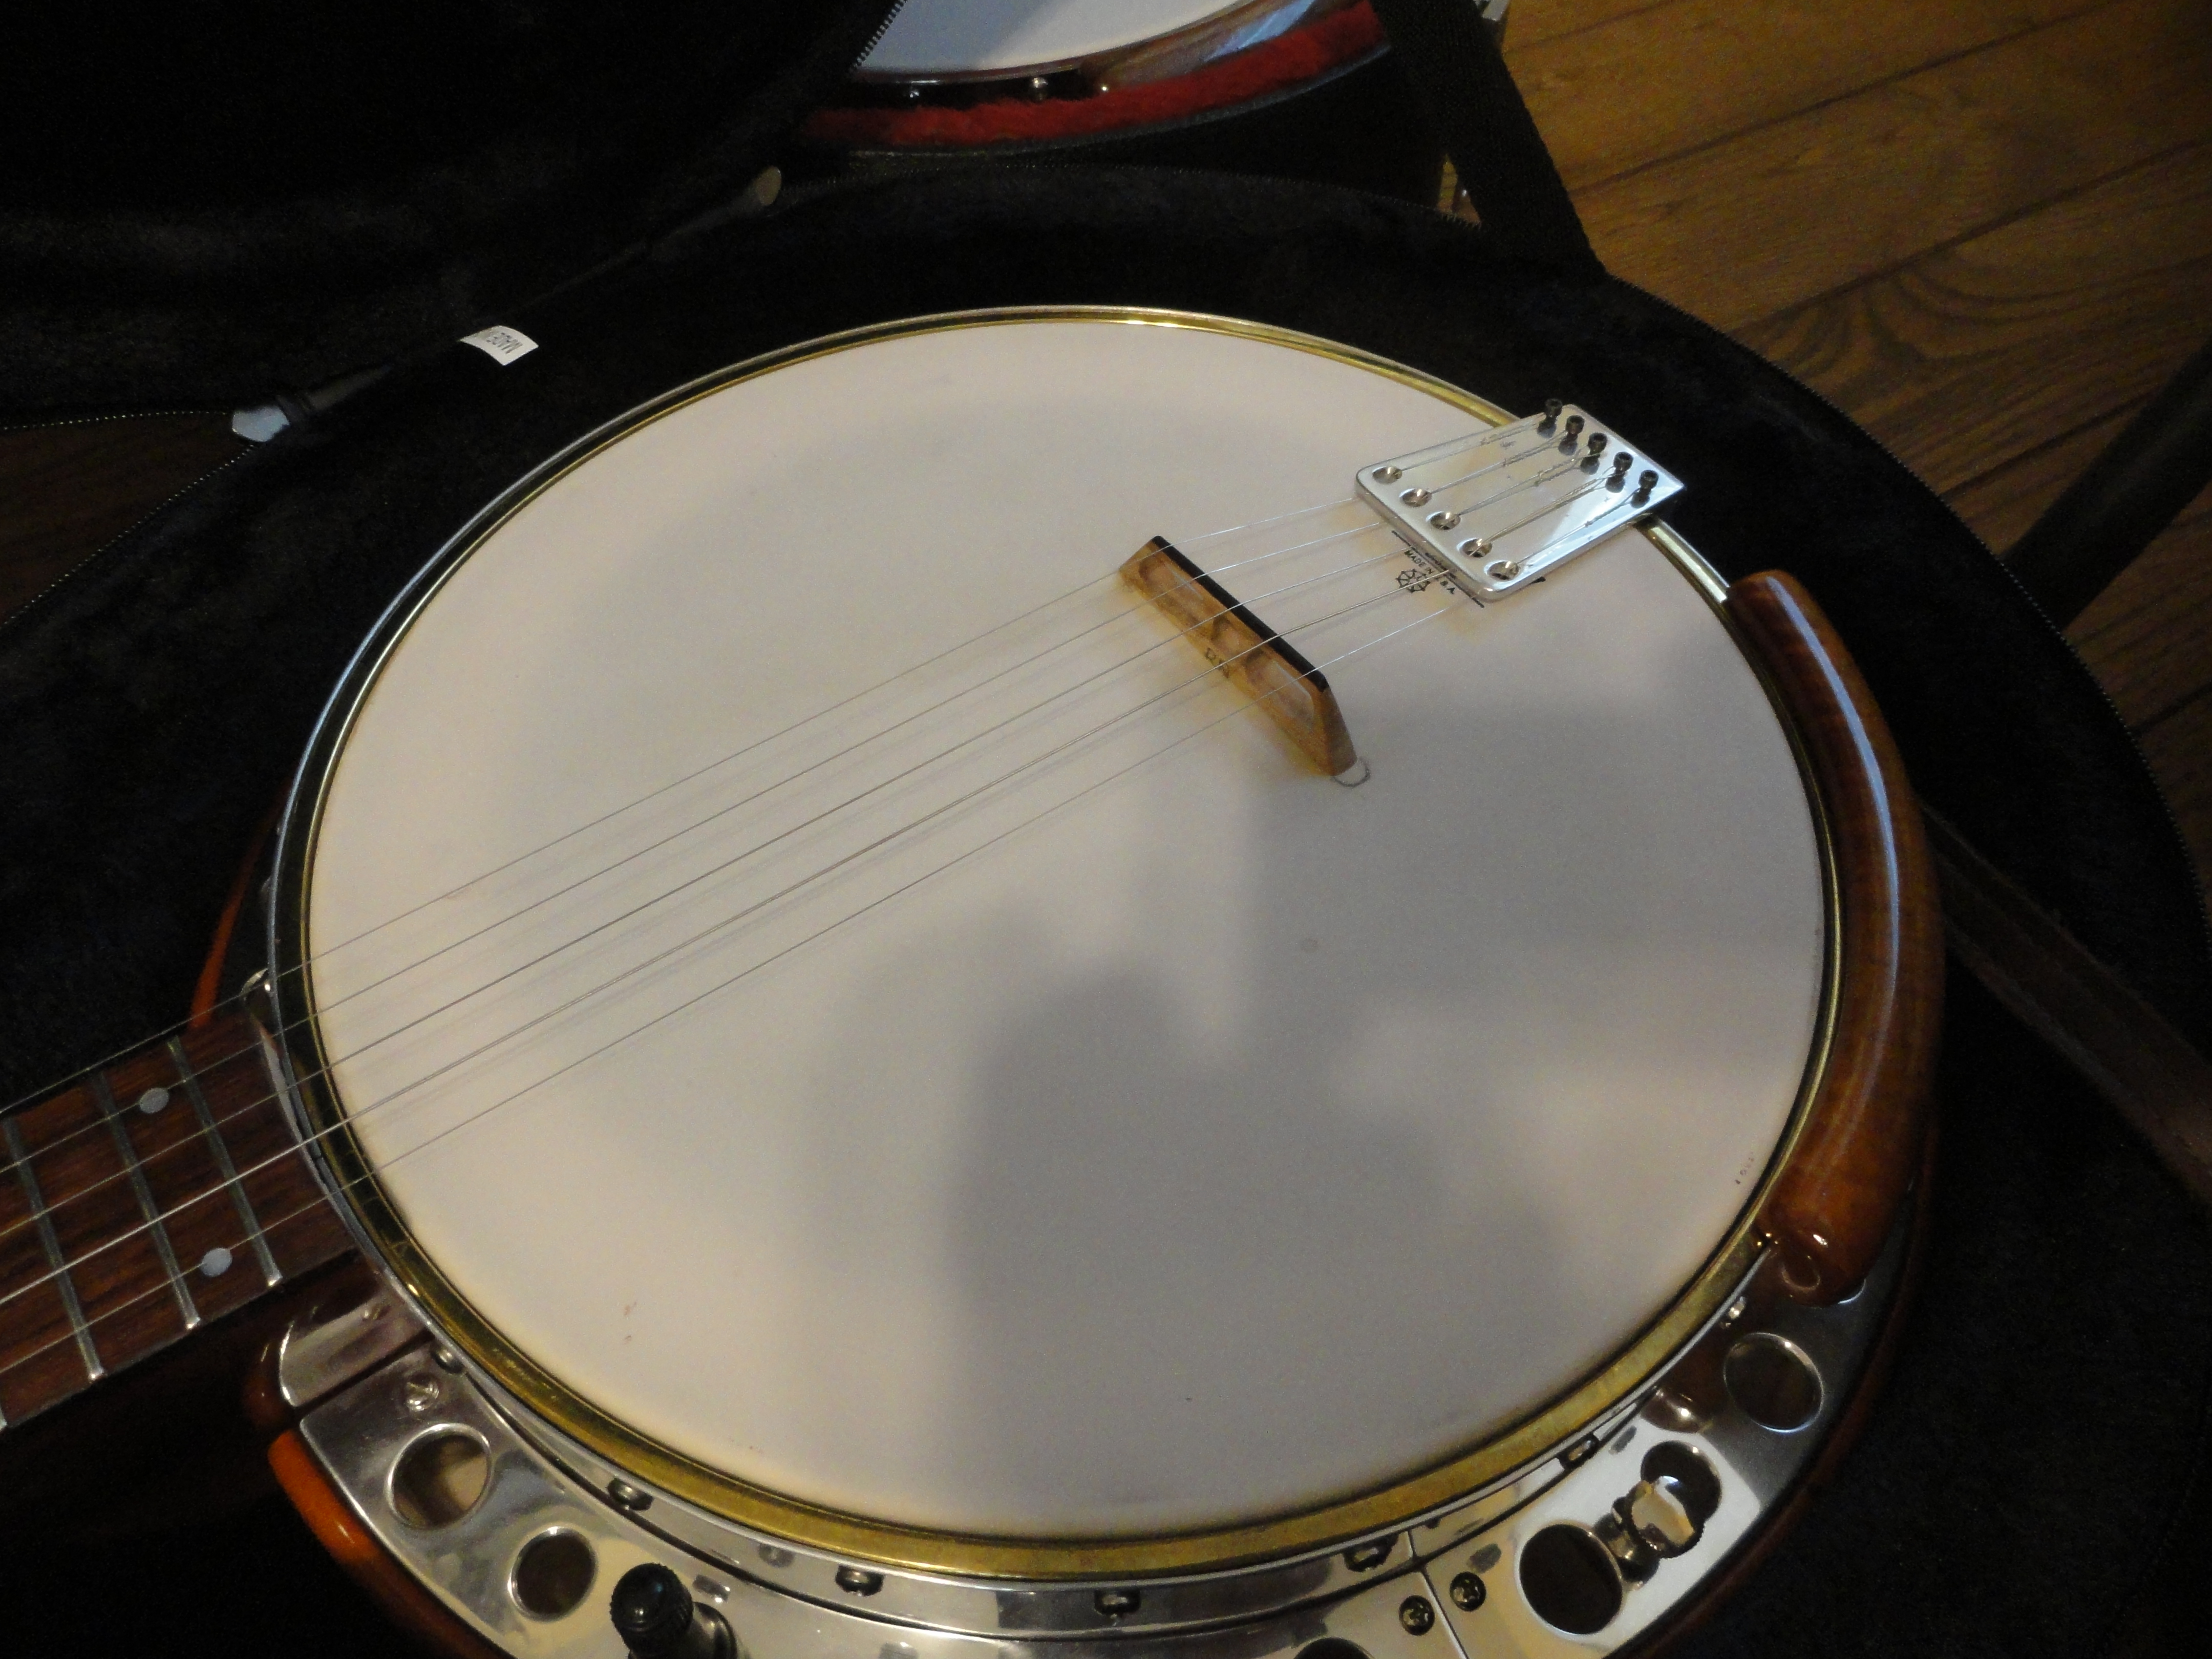
Here are some pictures of the completed banjo.
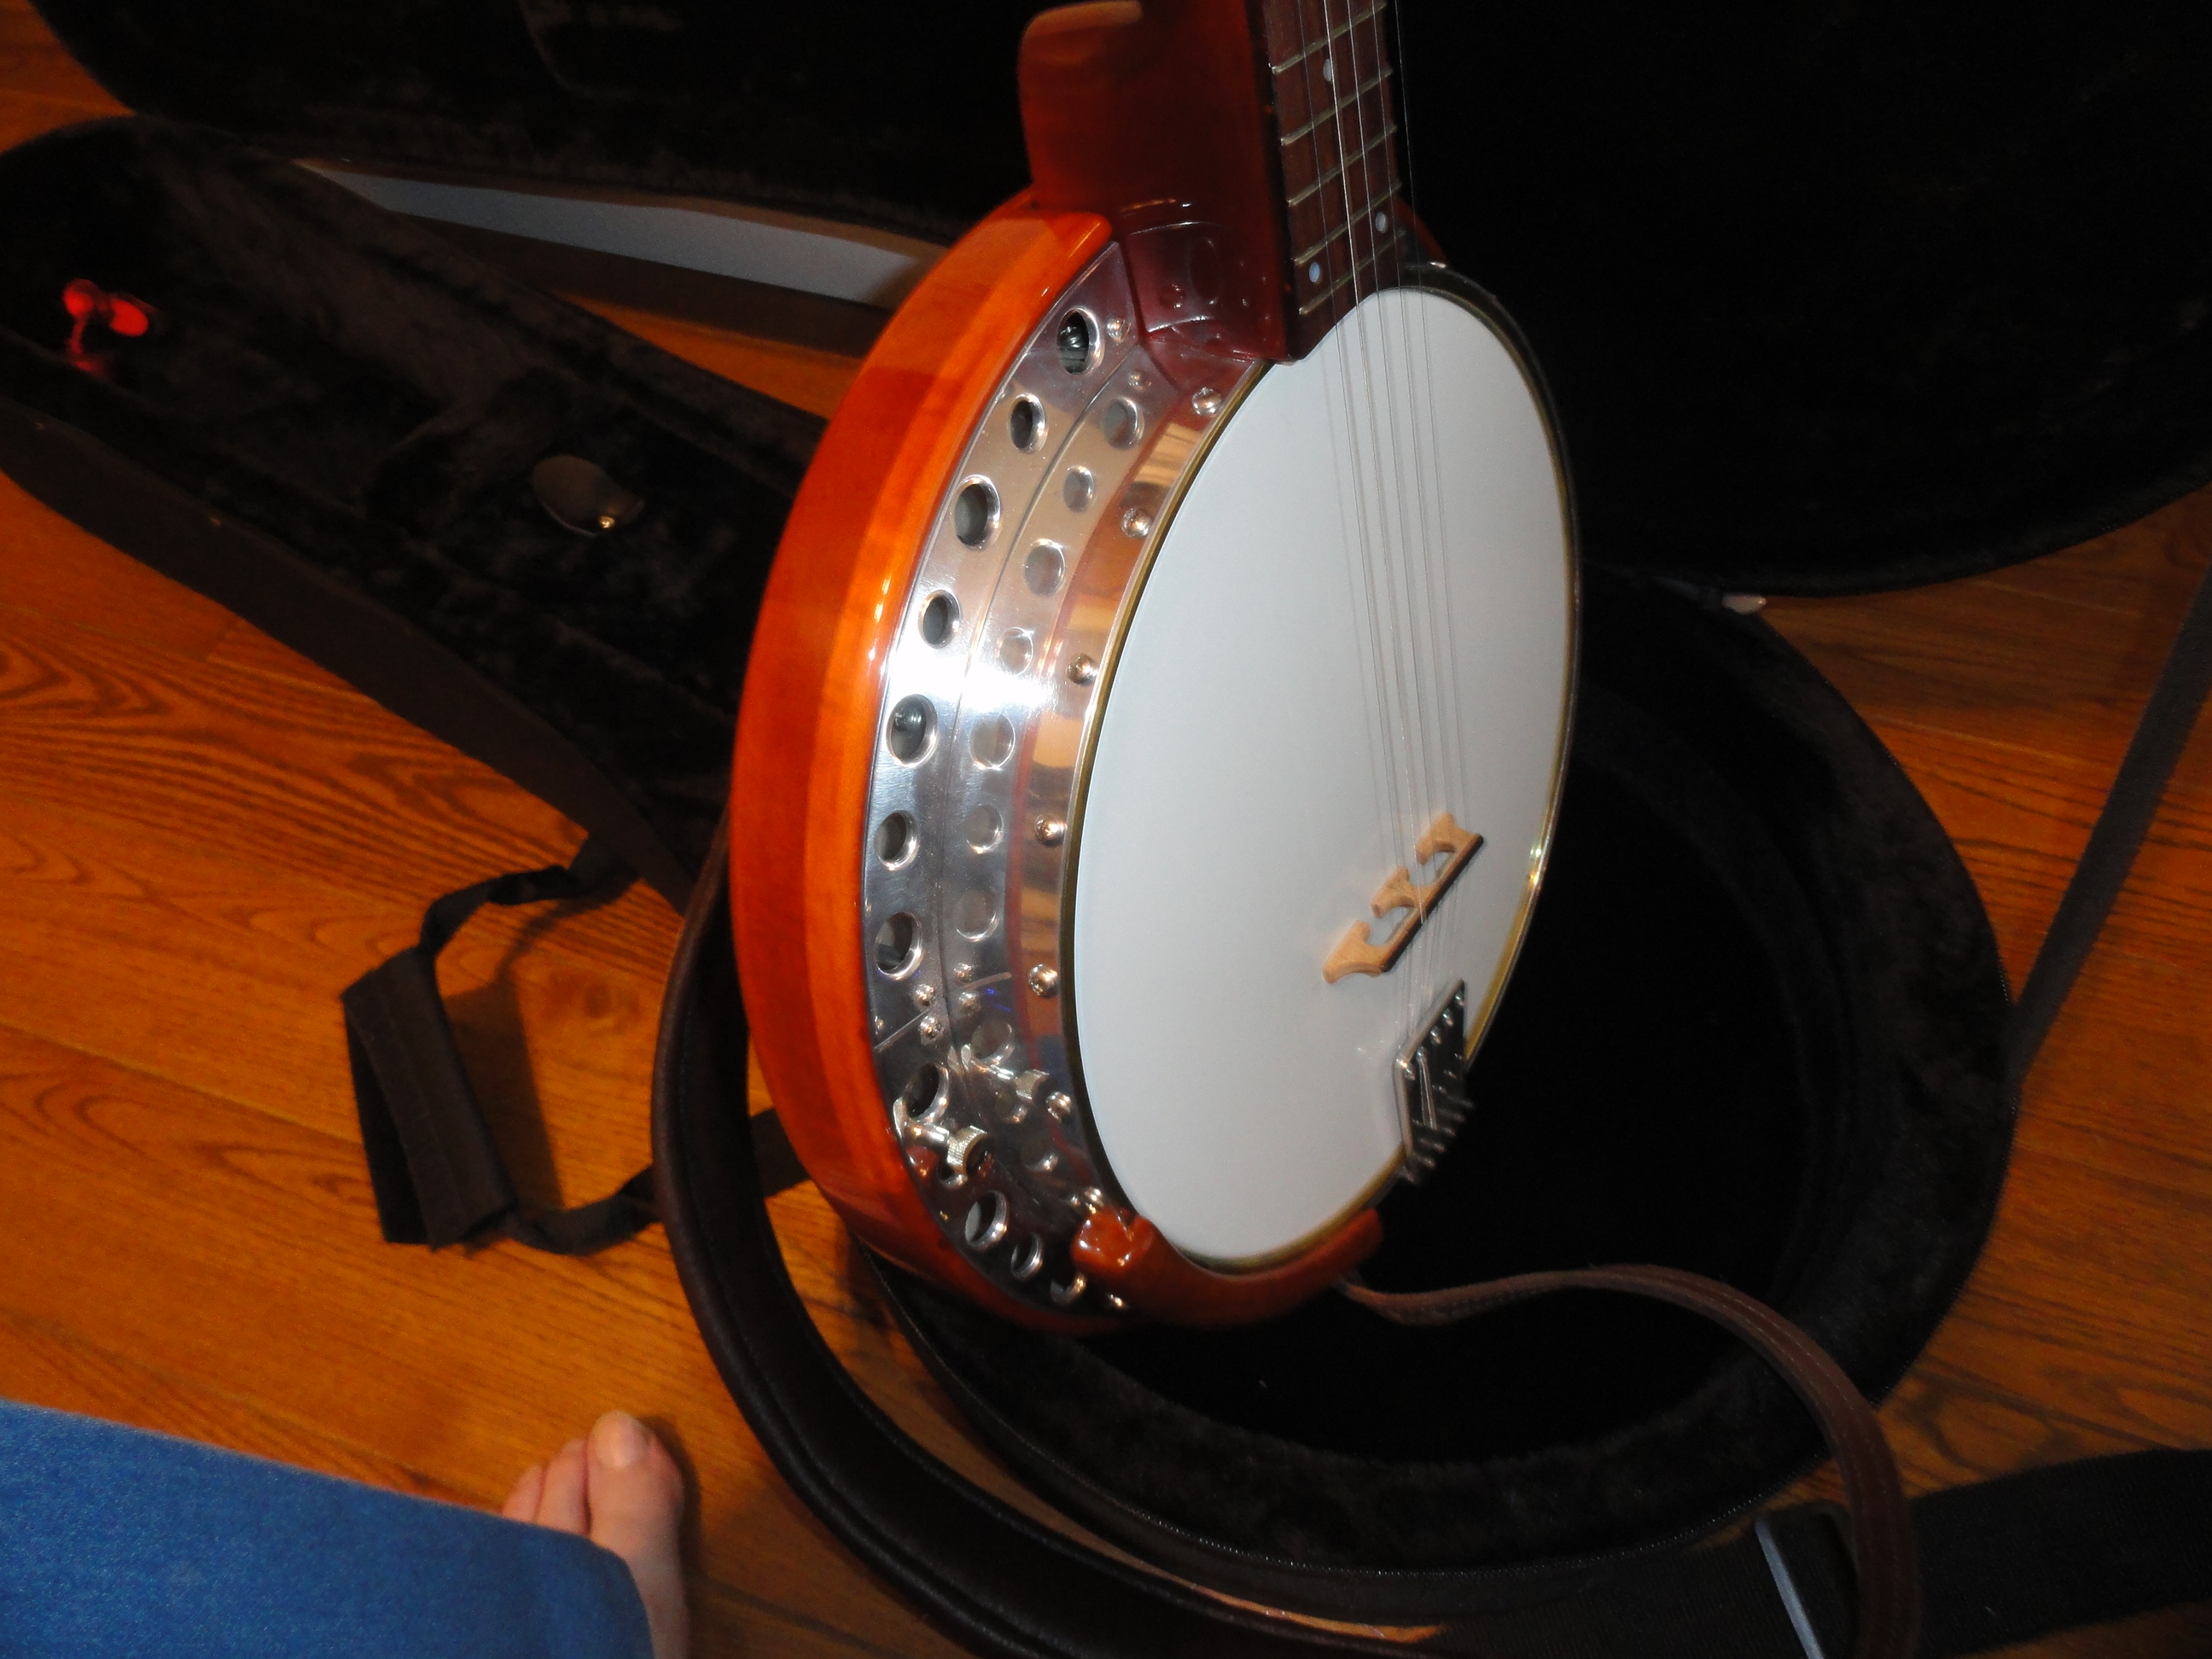
I’m still tweaking and fine tuning this banjo. It turned out pretty well. It is satisfying to me to have designed and made most of the components myself. Banjos are a personal thing. This banjo may not suit anybody but me. I guess that is the only one that matters.
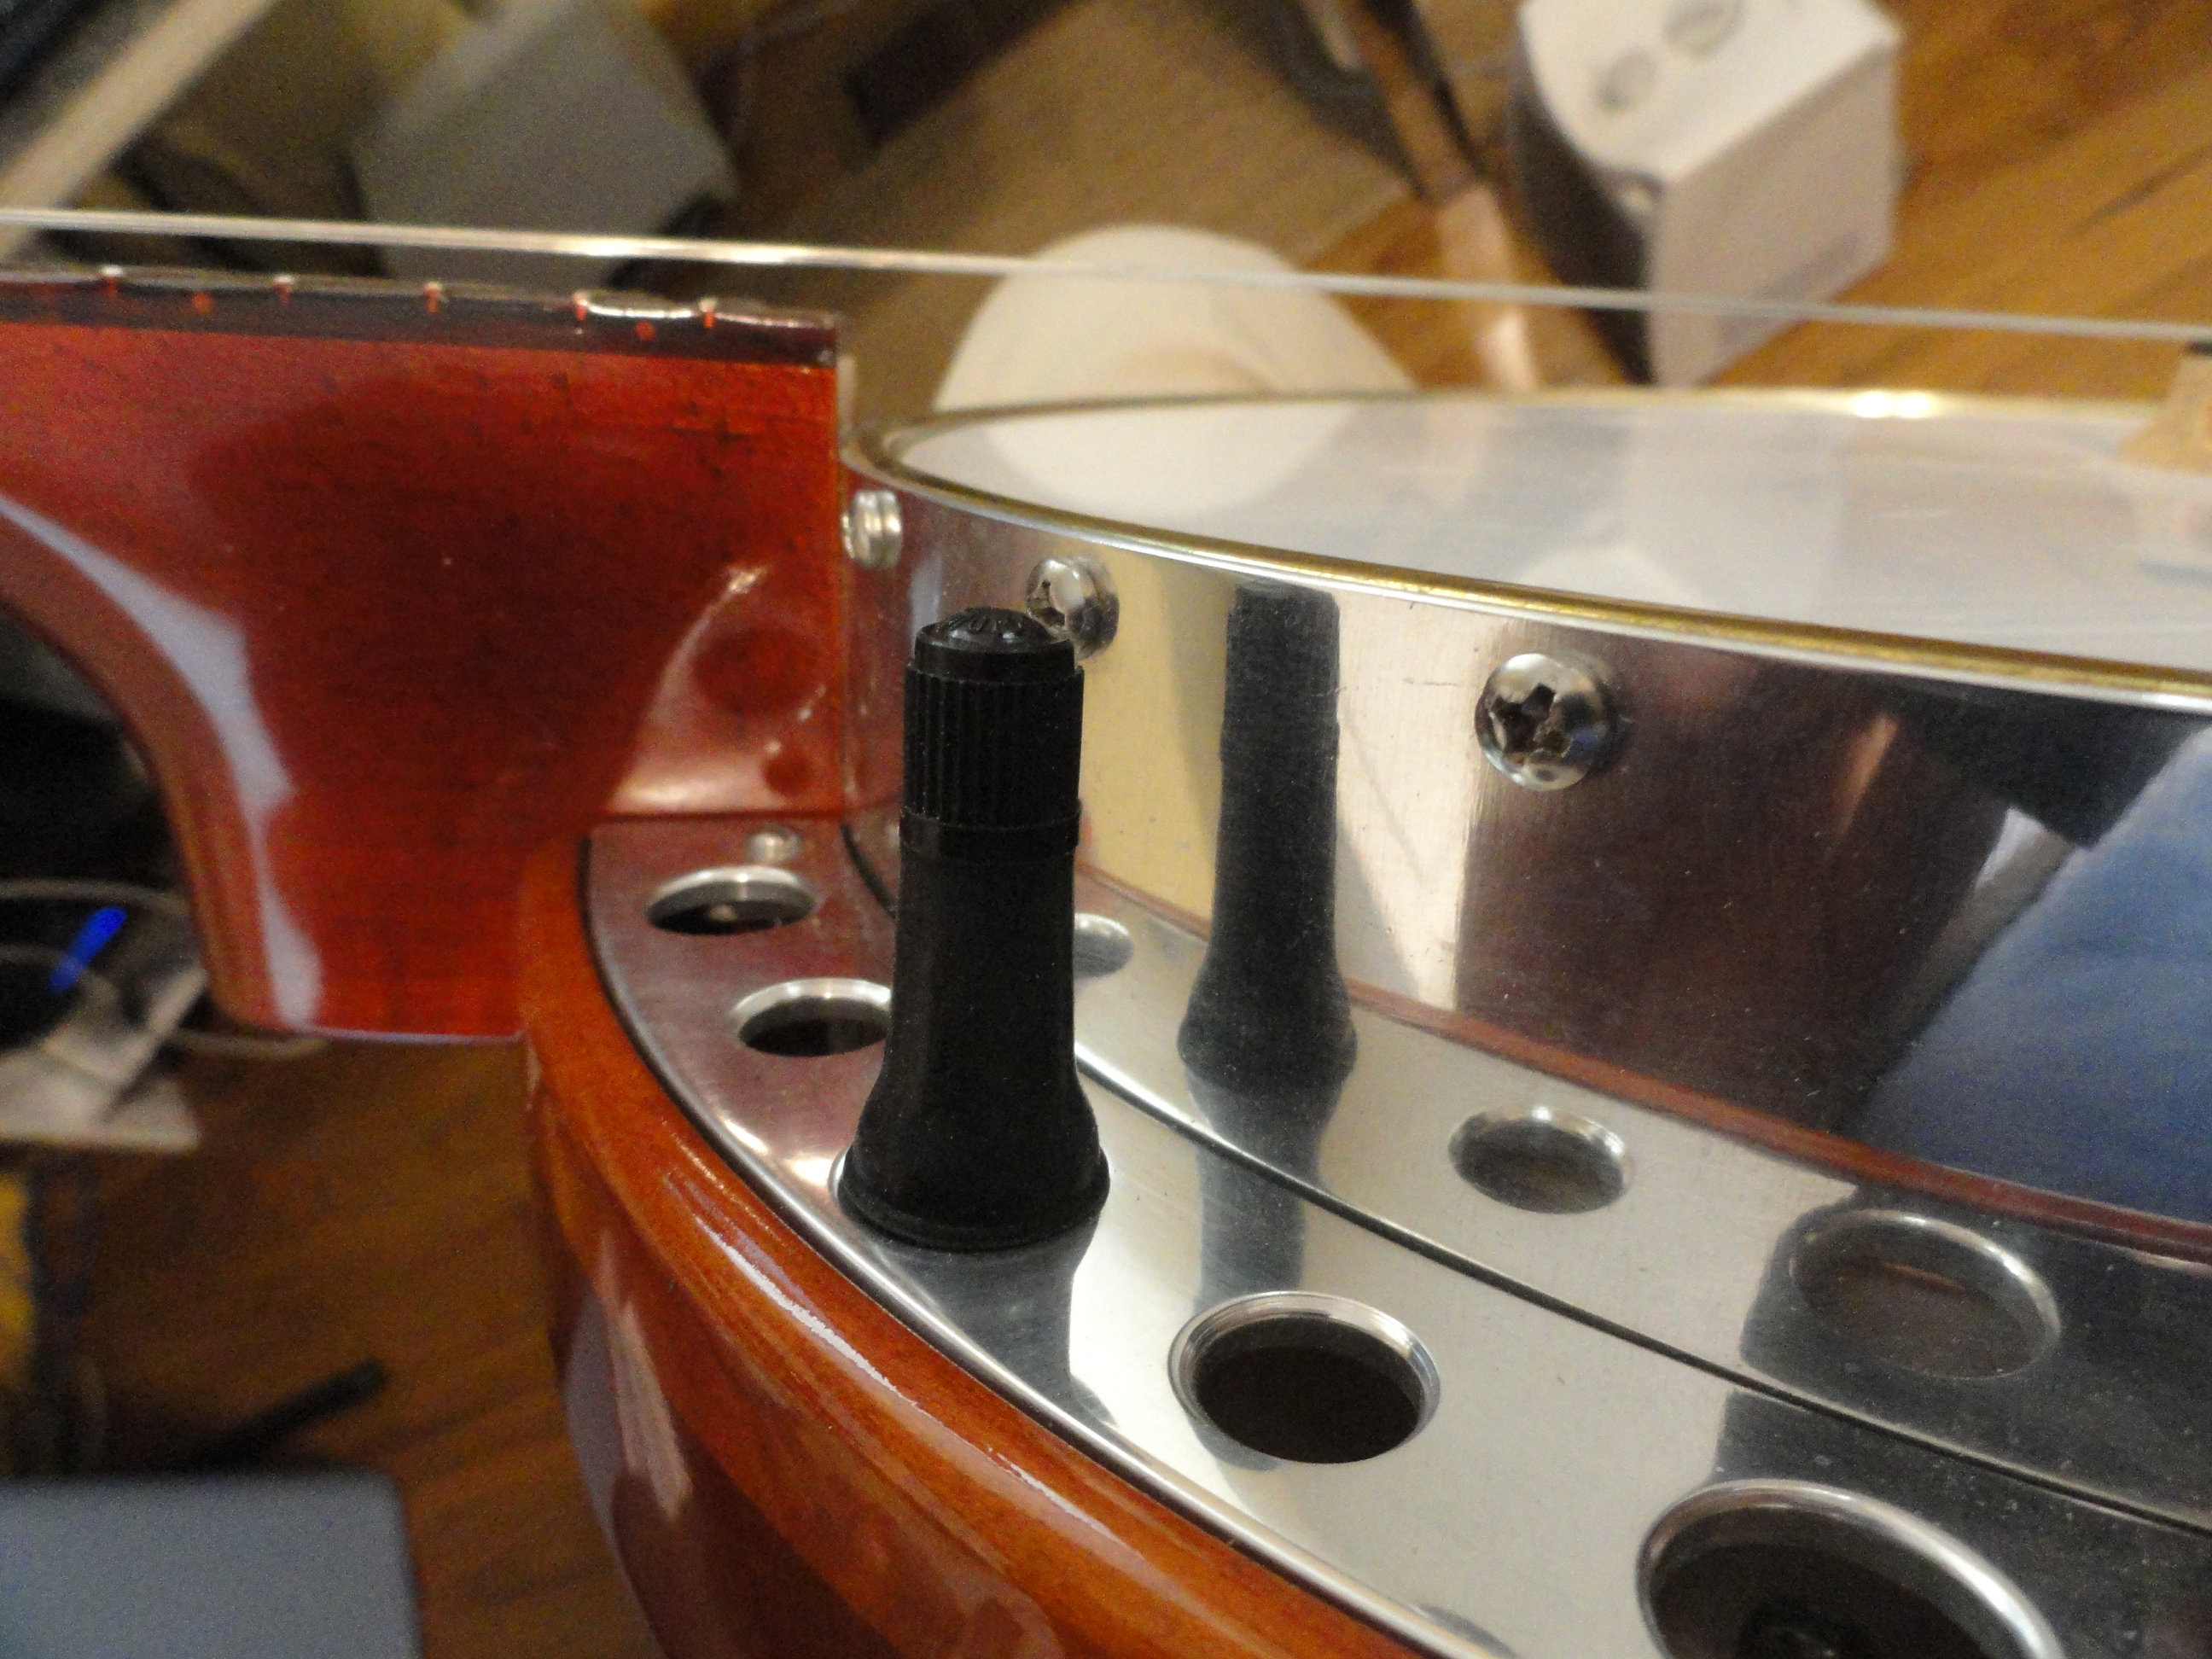
I almost forgot the most important part of this banjo.You can’t have an Air Banjo without some way to air it up can you? It just seemed to fit. I think I’ll try about 25 pounds.
Update: January, 2016. I was never really happy with the sound this banjo produced as originally constructed. I tried several bridges and head tensions and I just wasn’t happy with the sound. I decided to remove the Gibson-style tone ring and replace it with a light-weight 11 inch brass ring that I get from Stew Mac. It is one that they sell for old time banjos but I think it produces a good tone. It is about the size of a normal tension hoop except it is 11 inches outside diameter. I fabricated a wooden piece for the tone ring to set on and installed it in the pot. This involved cutting about 3/8 inches off the top of the shell to make room. I didn’t take pictures of this part of the project. I went back to my style Nichols Bridge. I recently purchased an old school desk made from hard rock maple. The date stamped on this desk was November, 1920. I’ve made some banjo bridges from this old maple and they are some of the best ones I have made in a long time. I put one of these bridges on this banjo. The difference in tone that these changes made was amazing to me. Also getting rid of that 3 pound 15.5 ounce tone ring made this banjo feel a lot better to me. I’m now pretty pleased with the sound. I may do a little more experimenting with different weights of bridges, but I’m overall very happy with the tone. The head tension is about an 88 on the Drum Dial. I’ve learned to seek tone and not volume on a banjo.
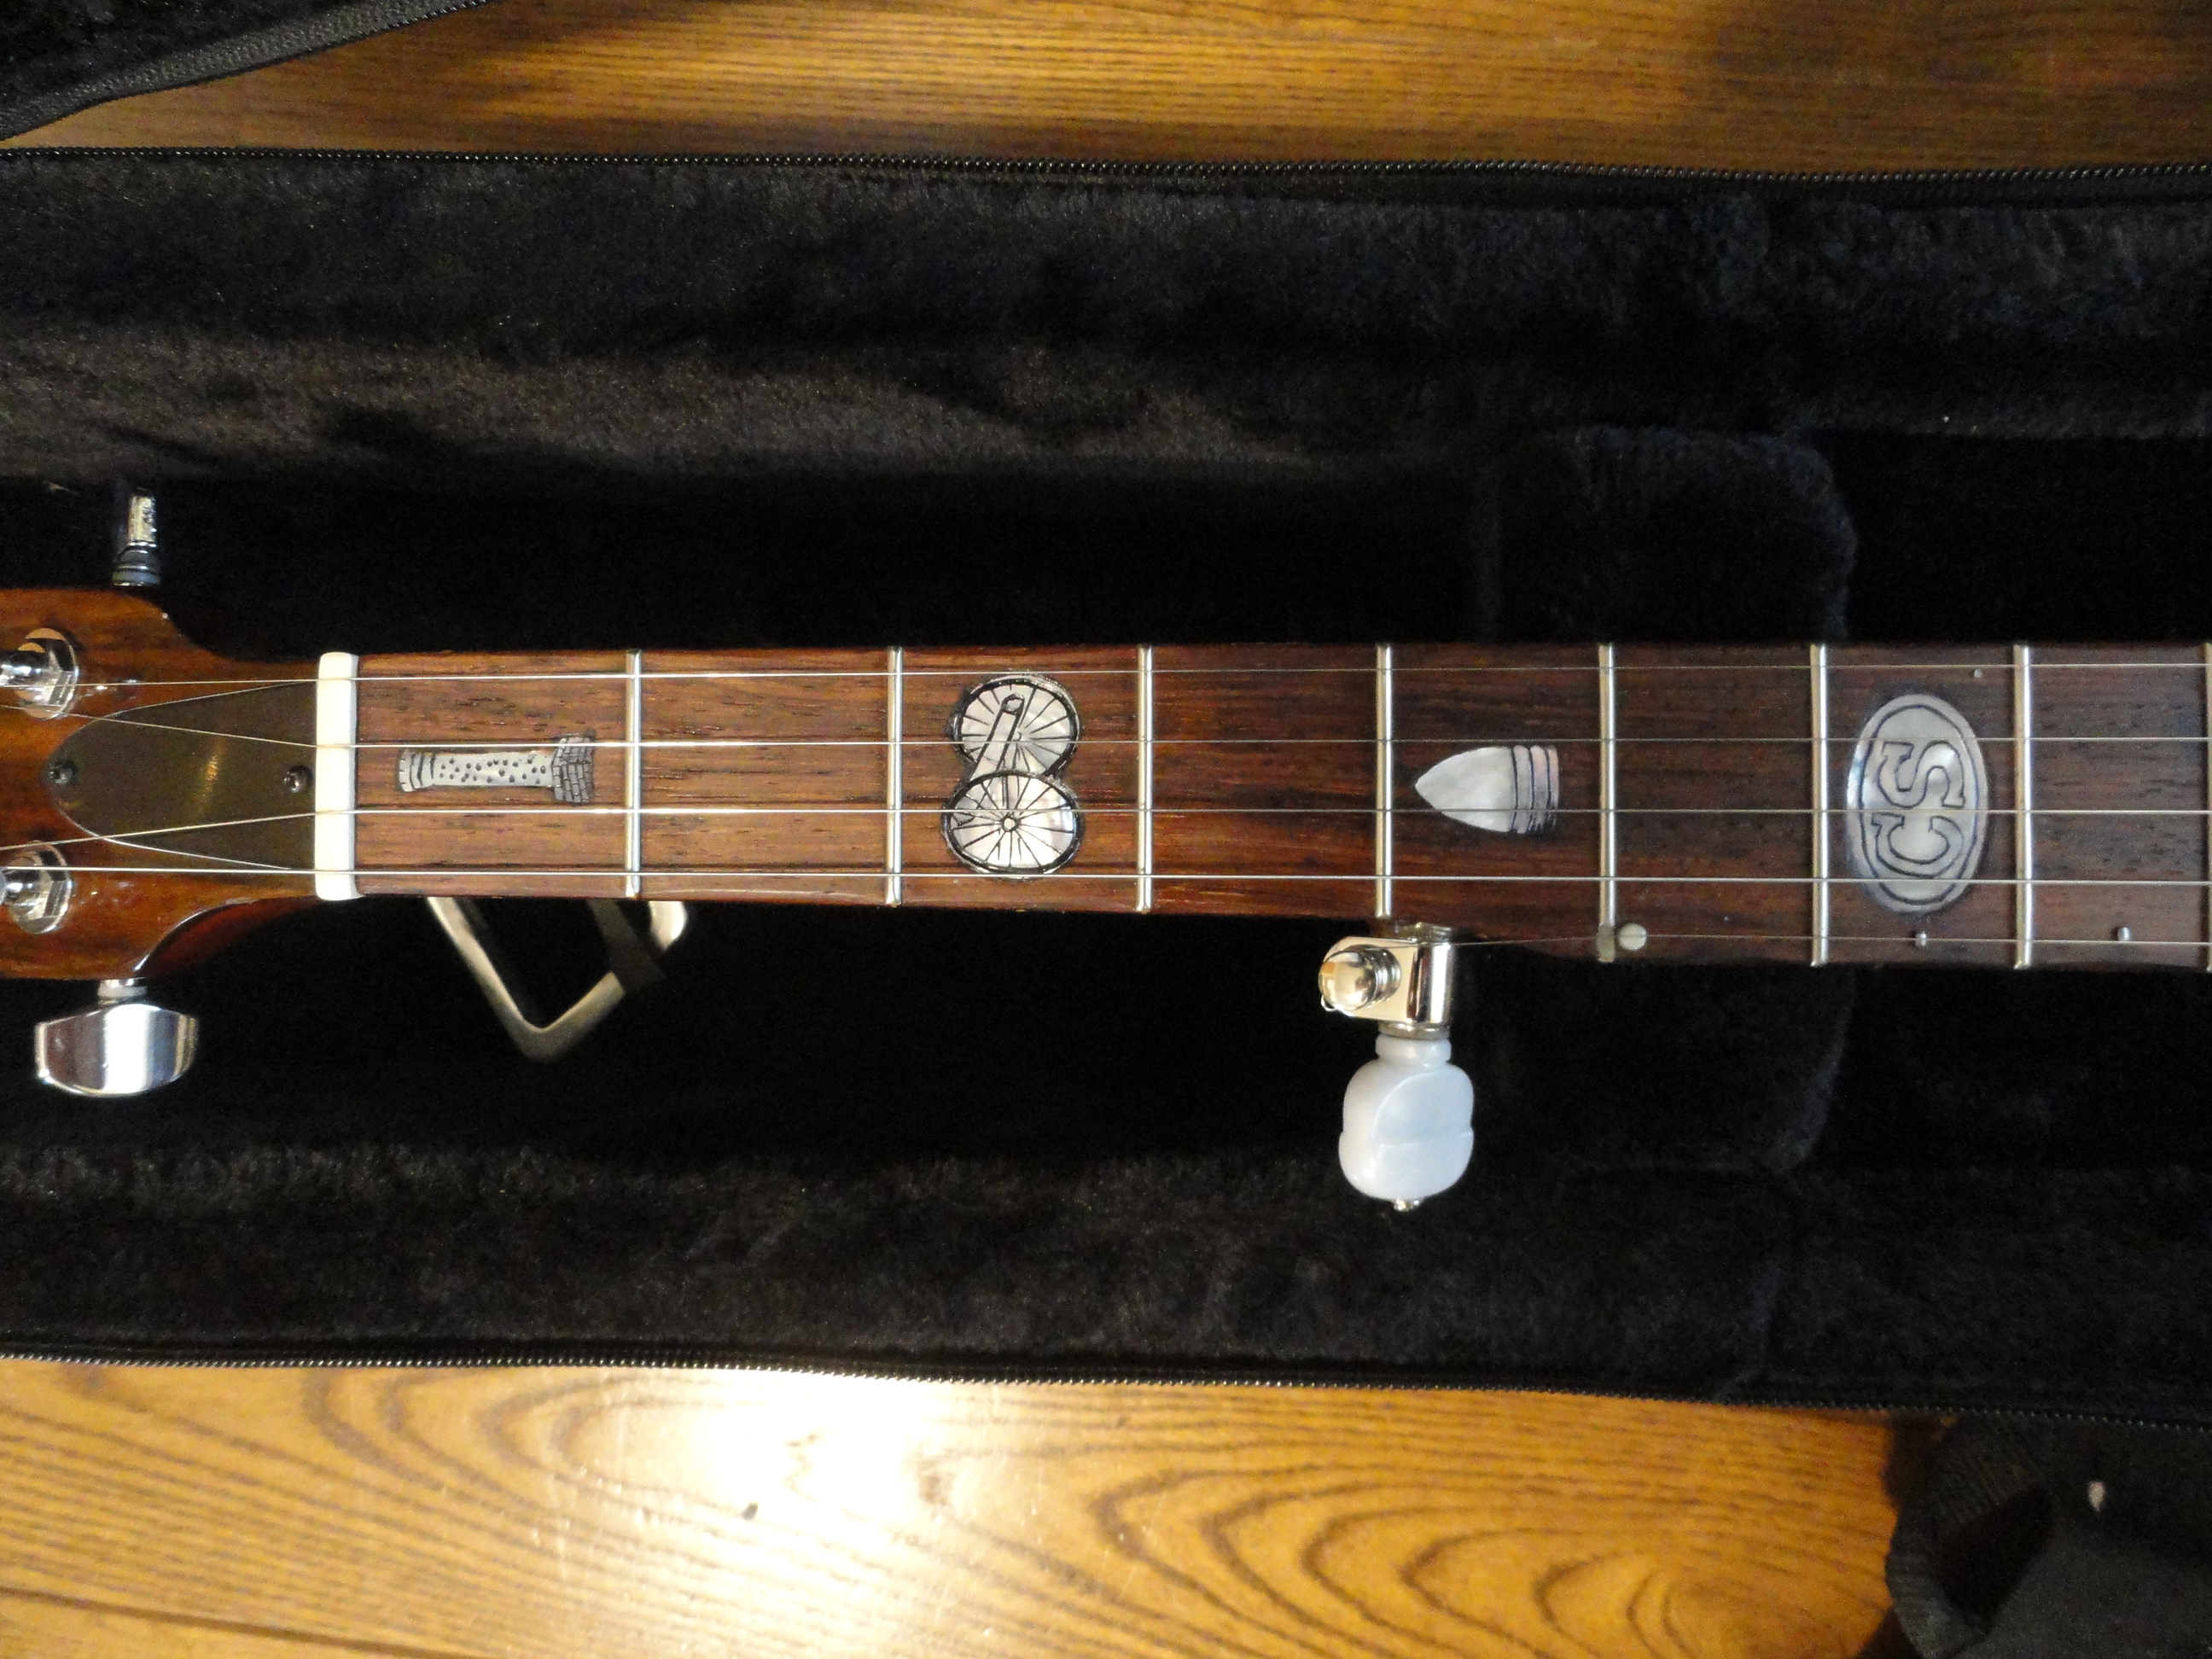
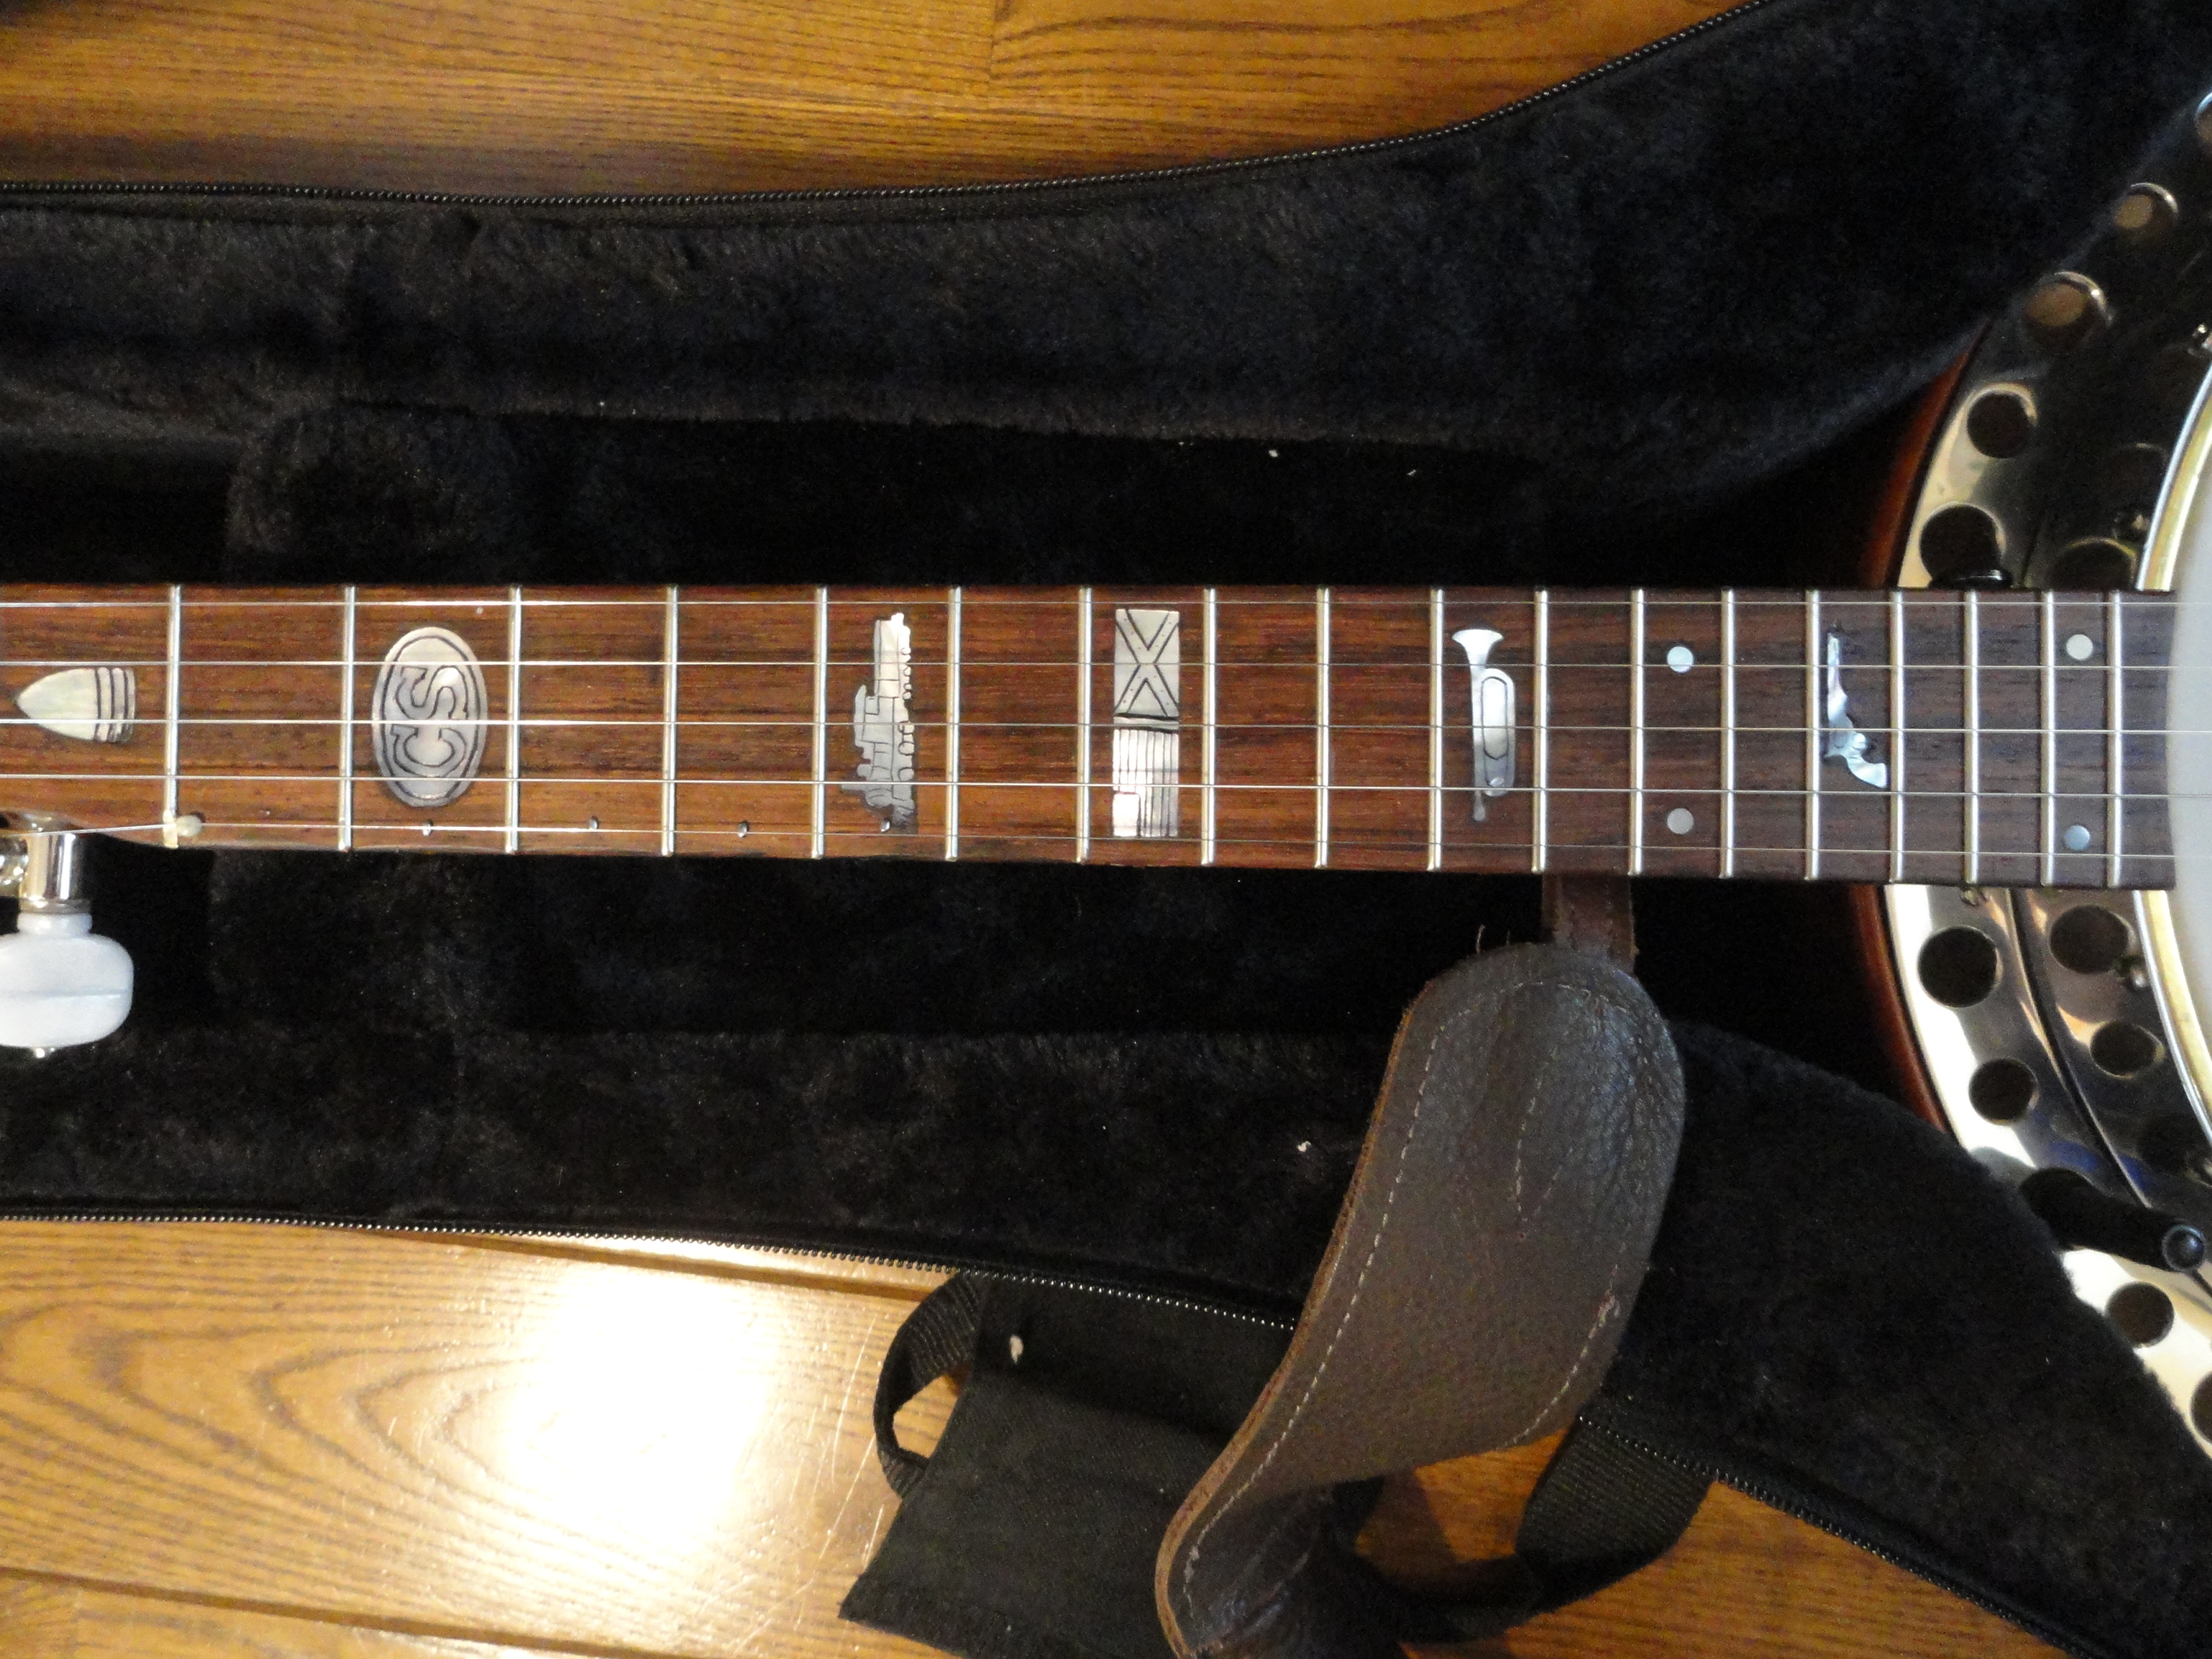
I also made another change in the banjo. I fabricated some inlays from mother of pearl and installed them in the neck. These inlays represent some Civil War images. I have dedicated this banjo to the memory of 2 of my ancestors who lost their lives fighting in the Civil War. It is not popular these days to remember the brave men who died fighting for the Southern Cause. I feel these 2 men deserve to be remembered and this is one way I can show that. These 2 men were James Riley Nichols (my second great grand uncle) who died at Gettysburg and Hesekiah Smith (my second great grandfather) who died after being shot off his horse near Morristown, TN. These two men both gave the ultimate sacrifice fighting for that Confederate Flag that a lot of people these days say represents hatred. That flag does not represent hatred to me. I just think these men deserve to be remembered and honored.
Update: June, 2021- The BLT
I’ve been experimenting for several years with tuning a Nichols Banjo or a Walloon down to D or E tuning. I discovered a while back that it was necessary to put heavier strings on in order for the strings to not be too loose and floppy. I used a string tension calculator, downloaded from the web, to calculate the best size strings to use on this banjo. I ended up with .012,.014,.020, & .032 thousandths size strings on it. I’ve come to really like the sound of this banjo tuned down in D or E. This is what I call a BLT. This stands for a banjo low tuned. Since I sing a lot of songs in these keys, it was especially appealing to me. This particular banjo pot seems well suited for this tuning. It sounds a lot like the banjo that John Hartford used to play. This is just another chapter in my list of experiments in banjo sound. Here is a link to a video showing the sound of this banjo. There are other videos featuring this Civil War Air Banjo with BLT on my YouTube channel.
![]()
Be the first to comment on "Air Banjo #2 -(w/ Civil War Inlays) October, 2015"