Nichols Guitar Bridge Attaching Template
A few years ago, I was gluing a bridge on a guitar and let it slip while clamping it. It caused me a lot of grief because I didn’t know it until it was too late to get the bridge back off. I then developed this method of attaching a bridge. It has worked really well for me.
I purchase some thin plastic material from a local instant sign shop. About .040 inch seems to work best for me.
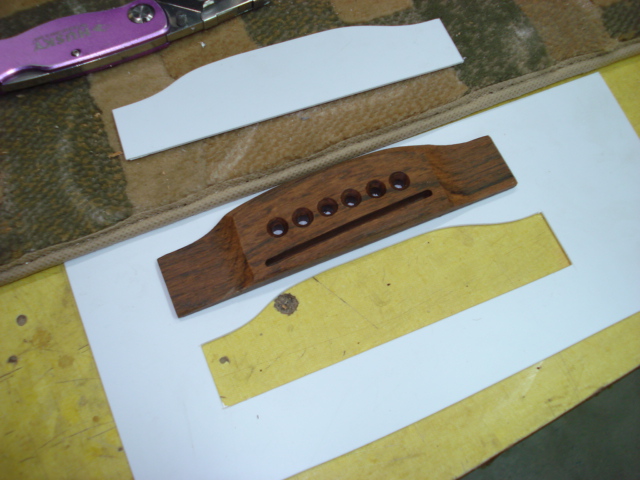
I place my bridge on a piece of this material and cut around it with a sharp razor knife.
Then you can remove the inside of the cut and you have a little template that just fits your new bridge.
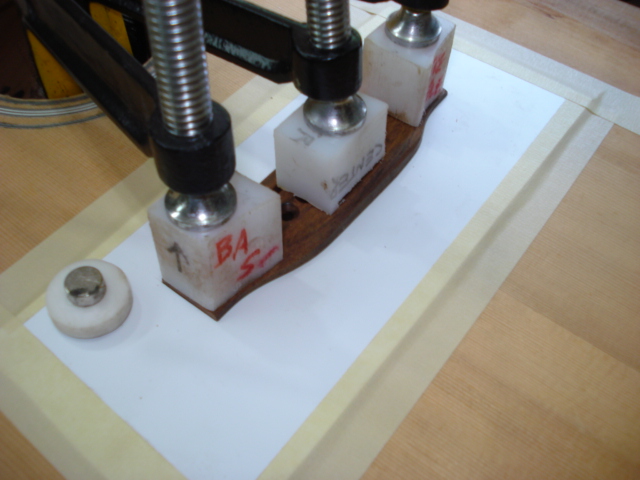
You can then locate the bridge in the proper place and tape it down. When you get it located, you have the hard part done.
Here is my caul that goes under the bridge. It stays in place with some rare earth magnets.
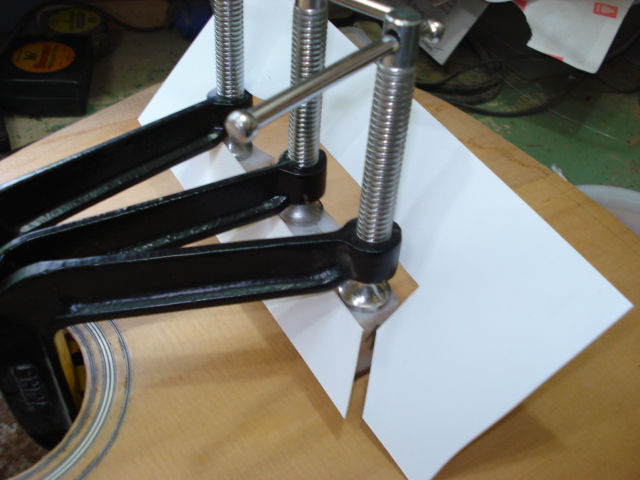
I use 3 clamps to do this job.
After it is securely clamped, you can cut a little line and remove it. I throw them away and use another one for the next job. All these bridges are not the same size. After you get this plastic piece out of the way, you can take a damp rag and clean off the glue. I usually use a thin screwdriver to clean the glue out of the bridge pin holes.
When I build a new guitar or finish the top on one, I have learned to finish the whole top without the bridge on it. You can get the finish around the bridge to look better. When you locate the position for the bridge and tape this template down, you can take a razor blade and sandpaper and clean the glue from the area. It makes a neat looking job.
![]()


Be the first to comment on "My Guitar Bridge Locating Template"